Sometimes I write articles because I ask the magical internet something and get swept into the deep heartless pit called forums where half the folks have great questions and the other half simply exist to make the first half feel as dumb as possible. Fortunately, finding out how to get the photos off of your Mavic Pro is simple. Those of you upgrading from one of the other DJI probably think this is “old-hat” but for the rest of us who are droning (is that a thing?) for the first time will inevitably wonder this very question… The Quick Start directions that come with the drone are all but useless so here you go.
First, the DJI uses a micro SD card so make sure you have a card reader at home for when you get your drone. I didn’t but luckily my beautiful wife had one attached to her SD card reader we have for her MacBook Pro (which by the way… Hey Apple, dropping the SD card reader because it didn’t look cute is, to a photographer, like asking a plumber to quit using a wrench because it’s not sexy.)
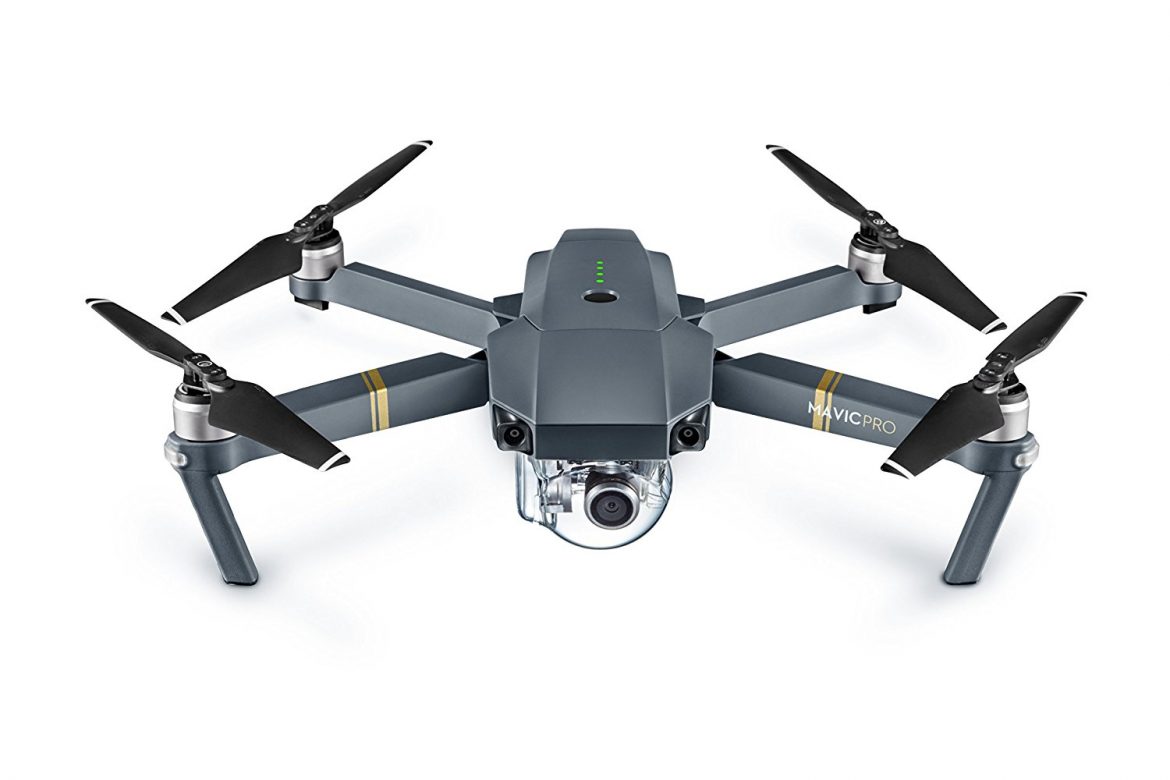
 And yes, those blades do look like they’ve been through a crash… Read on.
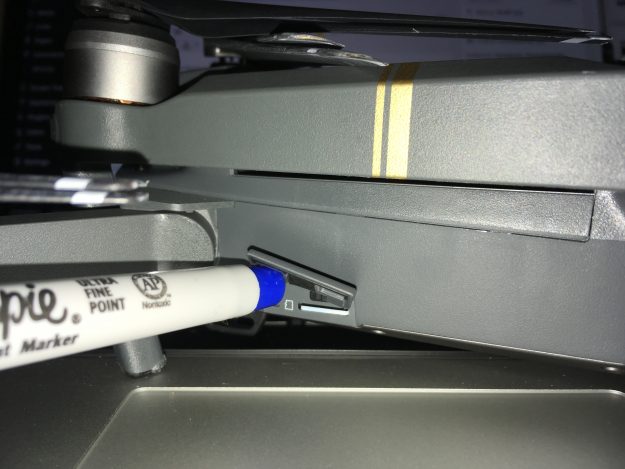
Second, the micro SD card is located under a little flap on the left side of the drone (if it’s facing you) under the leg that folds down and back. Simply fold the leg down and use your finger nail to push down where the flap indent is. Then press in on the card and it should eject slightly enough for you to pull it out.
Stay tuned for more DJI Mavic updates and eventually a review for photographers looking to use the Mavic Pro for still aerial photography. This isn’t going to be a “drone review”, this is specifically a review on whether or not the DJI can be used to create professional quality photography… Including tips like don’t try to fly your drone in your man cave where it may crash and shred a bunch of important papers while narrowly missing your jugular.


