Well, here we are… Remember back in the day when you’d send a roll of film to get developed only to get back the images cursed with the dreaded light leak? Ruined! Or so you thought. Fast forward 20 or so years and now grainy film with imperfections is all the rage. Alright, well maybe it’s not all the rage just yet but mark my words, with the resurgence of the grainy film trend it is only a matter of time before everyone and their sister start to upload images with light leak “imperfections” to Instagram and the likes. So lets discuss how to add faux light leaks to your precious images.
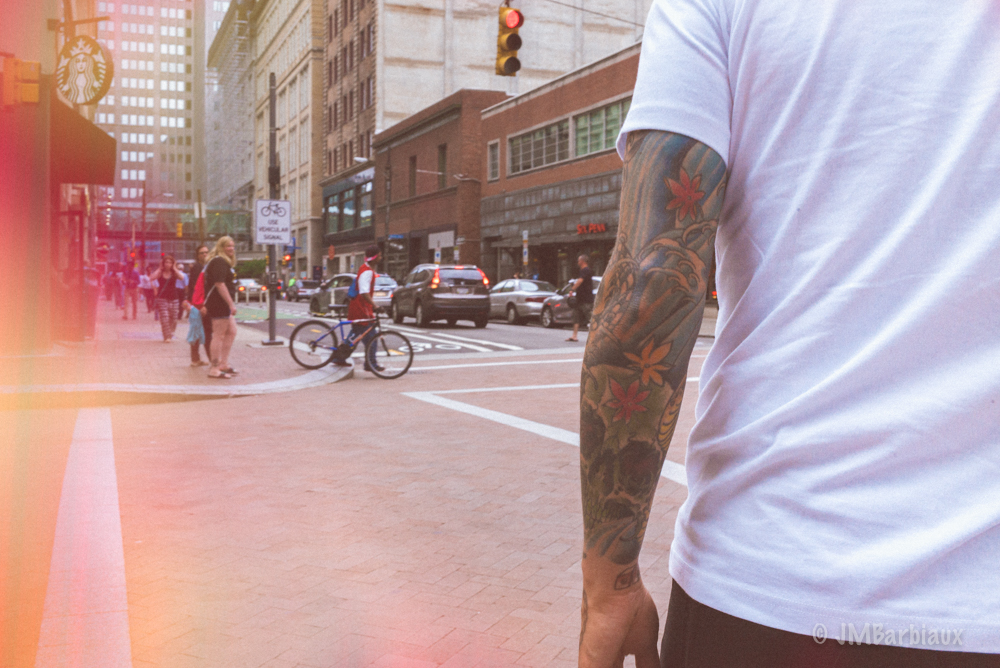
The shot above was taken with the Leica M 262 and the Leica 35mm f2 lens.
What You Will Need
Photoshop or something equivalent like Pixlr (free) and Lightroom. You’ll also need an image (feels like I shouldn’t have to say that). Finally, an understanding of layers and gradient filters is required.
How Long Will It Take
This depends on how much of a perfectionist you are. The image at the top of the page took me about an hour and a half, but I started over from scratch a couple of times because I didn’t like the road I had gone down.
What Did I Do?
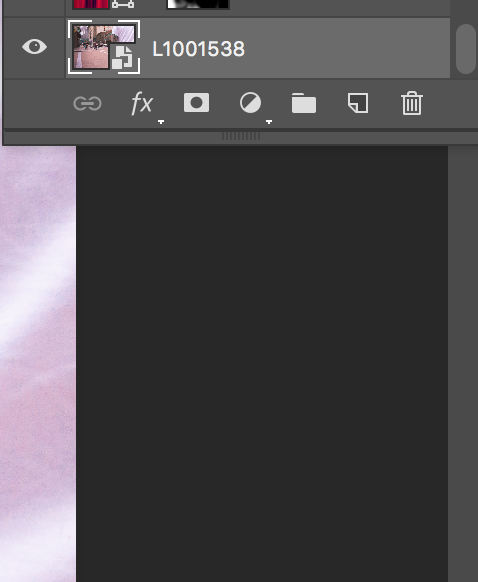
First, I imported the image into Photoshop as a smart object by right clicking on Lightroom and selecting Edit In > Open As A Smart Object In Photoshop.
Second, I created a gradient filter by clicking the circle with a half-moon in it (center) under where the layers list is (there is probably a proper name for it but… meh).
 Then I played with the gradient layer, testing out different colors and types until I had it right where I wanted it.
*Once I created a gradient layer I would adjust the layer type to something like screen and make adjustments to the opacity until I had what I wanted. As I stated above, lots of trial and error…
It’s that simple. I’m not going to go into exactly what I did because no light leak should be the same but honestly, it’s not hard to figure out (there aren’t many settings so play around). Use multiple gradient layers, use layer masks to get creative, and then save it back to Lightroom and adjust further. That’s it!


