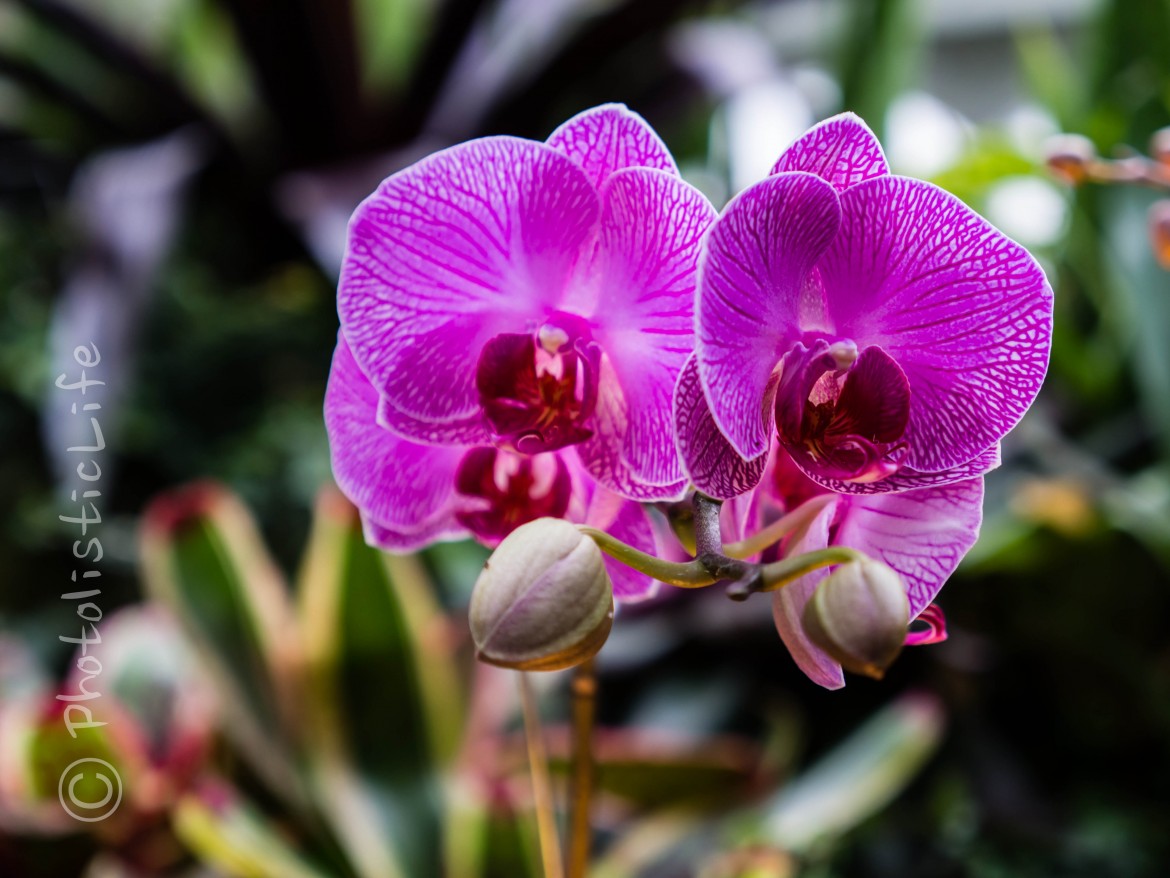
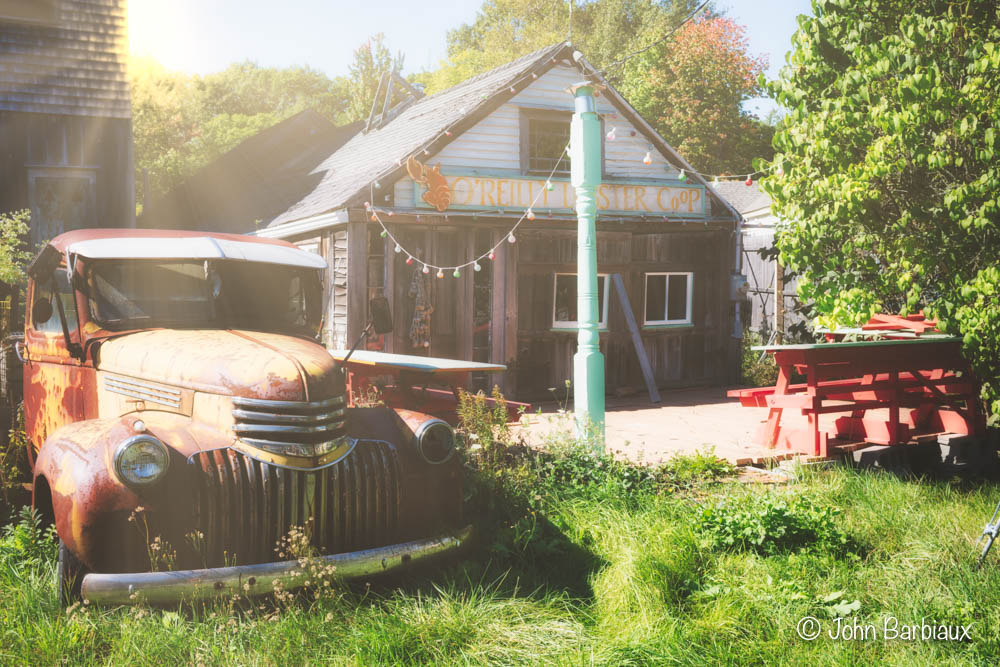
Processed RAW Photograph taken with the Olympus OMD EM5 and the Panasonic 12-35mm lens. ISO 200, f/2.8, 1/25sec, 35mm. Shot Handheld.
Photo Processing is a tricky business, there are photographers who swear by it and enthusiasts that swear at you for using it. I imagine the argument probably sounded similar in prehistoric times, when people stopped drawing with just black charcoal and some wise guy decided to mush up some flowers and add some color to an otherwise dim cave wall.
I do not spend a ton of time post processing my photos because that is not the fun part for me, I enjoy going out and capturing the photographs. I imagine some of my photos could really be enhanced in the hands of someone more experienced with one of the post processing tools like Lightroom or Photoshop. With that being said, I do a little processing to every image before I publish it to the site or have it printed. This article is geared as your guide for when to use either and how to process them to get the most out of your photograph without deviating so far from the original that you don’t recognize it.
Note: I will be referencing Lightroom 4 as it’s the primary program I use because of its speed and simplicity.
RAW or JPEG
If you are unsure what the difference is between the two, reread my article explaining the difference here. Now that you know what the difference between the two are, it’s time to decide when to use either. There are some photographers that would tell you to shoot in either one 100% of the time and there is no need or reason for the other. This is just not true. A good rule of thumb is to shoot JPEG in good lighting and non crucial events (a crucial event is one that you’re getting paid to photograph, like a wedding or fashion shoot). If you’re photographing an event like a wedding or party it is a good idea to at least shoot JPEG and RAW (most cameras allow you to select both) because you have more flexibility if you botch the entire shoot by leaving your camera’s white balance set to tungsten while shooting outdoors under the light of the sun.
If you like to do low light, night, or long exposure photography it is a good idea to shoot in RAW format as well. You retain more details in the shadow area and are able to pull that detail out in post processing if you wish. That’s not to say you can’t take a great long exposure or night photograph in JPEG format, think of the RAW format as a way to give yourself some room for error. If you have a RAW copy of your photograph it’s like retaining the negative of that photograph which gives you the flexibility to pull more information from that photo since it wasn’t lost in the compression of a JPEG.

RAW Compared to JPEG

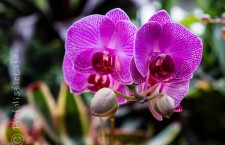
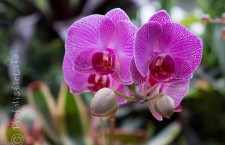
Looking at both of these photos side by side it may be difficult to notice a difference, the adjustments were fairly subtle because that is my preference. Photoshop and Lightroom 4 are very powerful programs and you can make your image look as vivid or dull as you like. I enjoy adjusting my photos to look as close to what they looked like in real life so the difference is only really noticeable when you zoom right in.
Notice how the RAW unedited crop to the right has grainy specks all over it (more noticeable in the green/gray background behind the flower.)? If you are having trouble seeing it then I recommend you taking your camera and snapping a shot in RAW, your photograph will look grainy, dull, and washed out. When your camera captures a photograph in JPEG format it adds sharpening, saturation, noise cancellation, etc. while RAW does not.

Once you have had a chance to adjust your RAW photograph it should look less grainy, more colorful, and all around better. You may be asking yourself why the heck would I shoot RAW if I’m just gonna Photoshop it into a JPEG? Good question, many folks feel the same way. The truth is, a lot of the time you don’t need RAW. RAW retains a lot of the information the sensor picked up for the off-chance you need to drastically change the white balance or recover lost detail in the shadow areas (sorry, if you lost detail in the highlights its most likely lost forever unless your name is Harry Potter).
How to Process RAW files in Lightroom 4
The process to take your RAW photo from bland to vivid is simple and straight forward. That’s not to say you couldn’t make it difficult if you wanted to, there are a million different things you could adjust in Lightroom that we are not even going to look at. This is a quick guide to get you started and give you a good starting point, you should be able to make your photograph look just like the JPEG that your camera would have captured had you not used the RAW format. Here is some good old nut shelling for you…
Start Here
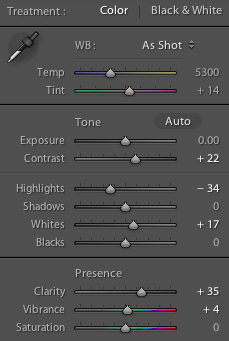
The “Basic” panel is the first panel you come to (under the histogram) when in the “Develop” section of Lightroom. Is your photographs white balance correct? The very first settings you’ll see are Color | White & Black, I suggest you get your image cleaned up before you play with the black &white setting (it does exactly what you think it does). If you’ve shot in RAW format then when you click the “WB: As Shot” button at the top of the image to the left, you’ll see a drop down of all the different white balance settings you have on your camera (sunny, cloudy, fluorescent, tungsten, etc.), you can click auto if you’re not sure where to start.
Once you have chosen your white balance skip over exposure and contrast, we will come back those in a moment. Adjust your highlights down a bit to get some of the detail you may have lost as well as reduce the reflections in the image. If your editing landscape photographs don’t be afraid to reduce that all the way to -100 to get some great detail in your sky.
Your shadow slider will either darken shadows (towards the left) or lighten them (no, not further left… to the right this time). If you have details you’d like to pull from a dark alley way or dark leaves then slide the little button to the right and magically some detail comes back. When you pull details out of shadows you may introduce some noise to the photograph in those areas so be cautious and look for a balance.
Adjusting whites and blacks gets you truer whites and black in your image. A neat trick in Lightroom 4 is holding down the option button (on a Mac) while adjusting these settings and the image turns black, the further your slide the button to the right on whites the image will start to show where you’re loosing details in the highlights. Same goes for blacks except you’ll be sliding the slider to the left as opposed to the right.

Clarity enhances the details of your photo by increasing local contrast, it will give your photo more vividness. If you go much higher than 35 you’ll start to get a HDR like look to your photograph, if that’s what you are going for then have at it. As you move the clarity setting further and further to the right you’ll desaturate some of the colors in your image so increase the vibrance a tad and that should solve that issue. Here is the same image (on the right) at +100 clarity, looks rather fake to me but others may like it.
I’m going to skip over saturation for now, this is just meant to be a starting place for your RAW image processing. Next we will take a look at your Tone Curve. In the attempt to keep things very simple and not overly complicated there is only one setting you’ll adjust here (if any).
Once you have adjusted your clarity you’re going to want to head back up to the top where we skipped over contrast. Adjust this to your desired contrast level and then jump down to Tone Curve (the box below Basic).

“Most of the adjustments I skip over would cancel out the other adjustments you’ve already made (or be redundant) and photographers who like to make things super complicated because it makes them feel really special are the only ones that adjust every little setting…”
Look all the way down to the bottom of your tone curve setting and select the point curve (should say Linear by default) and adjust it to Medium Contrast, if you like that then keep it. If you don’t like medium contrast you can try high or back to linear and adjust your contrast on your own. Again, this is just a basic tutorial on getting your image up to JPEG standard before you get all Picasso on it and make it beautiful so don’t fret the adjustments I’m skipping over. Would it make you feel better to know that most of the adjustments I skip over would cancel out the other adjustments you’ve already made (or be redundant) and photographers who like to make things super complicated because it makes them feel really special are the only ones that adjust every little setting… because it’s true.
Crucial Adjustment
Remember that noise in the RAW file we talked about a few hundred words ago? It’s time to eliminate it quickly and easily. The first thing you’ll notice is a small image of a blown up section of your photograph, this is to show you what the noise level looks like and what kind of detail or sharpness you have. There is a tiny little square to the top left of this image that got cut off in my screen capture, this little square, if clicked, will allow you to move your mouse over any section of the image and make that the sample shown in the small box. If you don’t want the sample image you can just click the black upside down triangle to the right of the image and it will collapse the image (click it again and it will reopen the image).

When you import a RAW file into Lightroom the sharpening section should automatically set itself to +25, Radius +1.0, Detail +25, and zero masking. Skip over these settings for now and go right to Noise Reduction, Luminance. Adjust your Luminance setting to around +53, this will smooth out your image but you will lose a little detail. To regain a little detail that you may have lost increasing the Luminance setting you’re going to want to increase detail to about +81. If you increase your detail all the way you may introduce artifacts or splotches in your image so just back off a little to get things cleaned up if that happens. Lastly, increase your contrast setting and this will make details stand out a bit more. After adjusting these settings you could call it quits and send your photograph off to all your pals and not worry about anyone laughing at you… unless it was a funny picture.
Note:
If you are using a Cannon or Nikon DSLR camera, and you’d like to take a giant short cut, you can go down to the last box on the right called Camera Calibration and select one of the JPEG settings that your camera would have had. Just click on the profile button (says Adobe Standard by default) and select one of your camera manufacturers presets to quickly convert your image into a JPEG look-alike.
Related Links
Understanding Your Histogram
How to Use the White Balance Settings on Your Camera
Simple Guide to Using Your Camera in Manual Mode
More Long Exposure Photography



I am with you in that I find the fun in the shooting…I prefer to get it as close to right as possible at the time I take the shot and my preferred method of edit is crop. Perhaps that also has to do with the fact that I would probably be spending hours and hours per photo to edit. As I don’t actually sell photos, it is not necessary action….thanks for a little insight. I have to admit, the flower that has been edited does look a cut above!
Thank you! I’m with you though, I think a big part of photography (possibly the biggest) is knowing your gear and how to use it. I’d definitely rather get everything 100% right on the camera than have to spend any time at all post processing.
Why not just use the Autotone preset in LR4? It can do all the exposure corrections you mention. I have set in the ‘Apply During Import’ panel and then do any fine tuning later.
That is certainly an option, however you’ll be left at the mercy of the preset values. I prefer the method above (you can set that to apply on import as well) bc I know exactly what changes were made and I don’t have to back off any over saturation, contrasting, etc that may have happened in the preset choices. The info above is meant to be a very basic starting point that will allow you to fine tune your photograph, it’s not a cookie cutter approach like the presets. Give this approach a try sometime and see if you’re happier with the programs presets or your own custom preferences. Enjoy.
Great tutorial. Made my grainy dark RAW files look great. I was getting soooo frustrated with Lightroom prior to trying your suggestions. You made my day, thank you!
Marianna V Awesome! Thank you for sharing, that’s what I was hoping for when I wrote this. I had the same issue and after reading a lot of Lightroom tutorials I tried my best to sum it up here. Thanks for reading.
@Angus Kirk Lightrooms Autotone preset only partially fixes the RAW image, mostly it makes the image brighter (sometimes too bright) The noise reduction is what makes the image look so much better and Autotone doesn’t take care of that at all.
Hi I get great colors working in lightroom with raw, however when >i export to jpeg the color change to be much more intensive. What do I wrong,