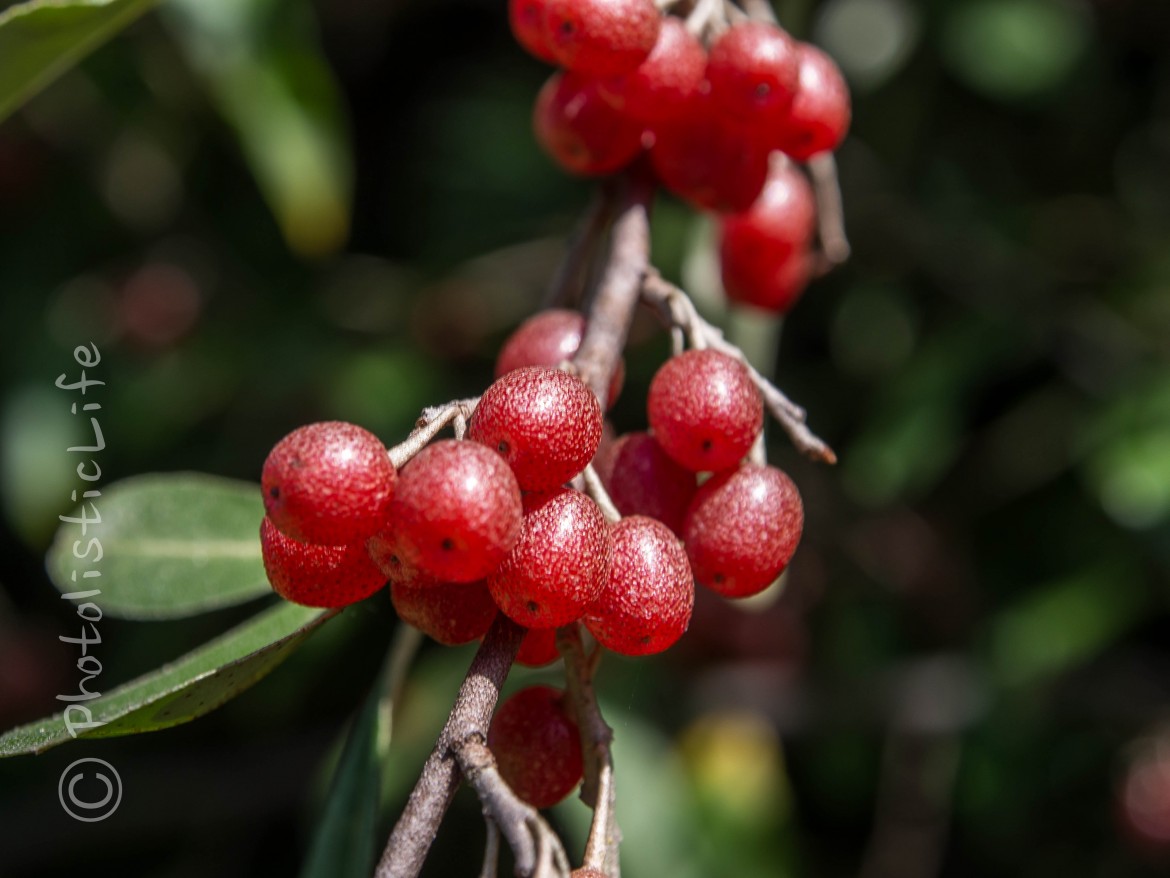

Macro photography is just a fancy way of saying “really close up photography”. Usually a photograph is considered macro if the image is reproduced on the film the same size or bigger than life-size. You’ll hear the ratio 1:1 thrown around to describe a macro lens, that means the image will be reproduced on the film plane (the cameras sensor) the same as it looks in “real life”. Anything larger than 1:1 is pretty much the equivalent of looking through a microscope to take your picture (there are actually digital microscopes that do just that).
Macro photography is a great way to document the tiny world of bugs, flowers, nuts, bolts, and pretty much anything else tiny. You will need a few things to get quality macro shots:
- Camera
- Tripod
- Lens
- Remote Shutter Release
- Flash (optional)
- Reflector
Camera Settings
You’ll want to use manual setting (if your rusty or just learning check out this tutorial) to fine tune your cameras settings for the best results. A lot of pros, in order to get the best focus, will manually focus their lenses. It’s a good idea to use your remote shutter release or timed release so your finger doesn’t shake the camera when you press the shutter.
Lens
You’re going to want to find a good quality lens because sharpness is the name of the macro game. The whole reason to get up close and personal is to get a bright, beautiful, crisp photograph. If you’ve got a Nikon the best lens out there for macro right now is the Nikon 105mm f2.8 lens. If you don’t have a Nikon then I’d highly recommend using a prime lens around the 105mm mark… that way you can photograph the tiny insects without having to get so close to them you end up squashing them on your lens. Prime lenses will give you the best image quality as well.
Lighting
Macro photography looks best when you are able to eliminate the shadows that mask tiny details. You can do this a few different ways; your on board flash, an external flash, sunlight, a reflector, or any combination of these. Personally I prefer natural light (makes my camera bag a lot lighter) so I’ll use the sun and a reflector. The best thing about the reflector is that you see the lighting change immediately and can adjust the light exactly the way you’d like without trial and error. If you don’t already own one check out the inexpensive Westcott Reflector Kit ($99.90). If you’re determined to use a flash then your going to need a diffuser to reduce the harshness of the light. Even from a foot away the flash at its lowest setting will sometimes cause overexposure.
Tripod
Use one! I recommend the Benro Mefoto which I reviewed here.

Benro MeFoto A1350Q1T Transfunctional Tripod Kit (Titanium) ($229)
Nikon ML-L3 Wireless Remote Control ($19)


Nikon 105mm f/2.8G ED-IF AF-S VR Micro-Nikkor Lens ($899)

Phoenix Smart Flash RF46C Macro Ring Flash Canon Digital SLR Cameras ($89.99)