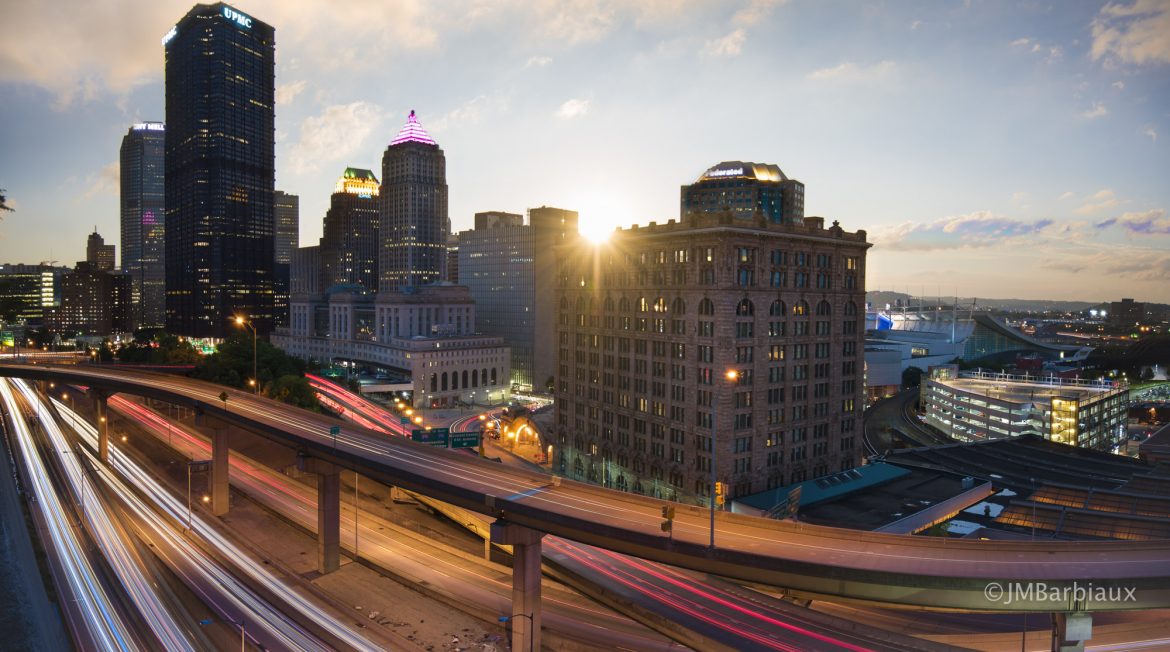
Day-to-night photography, where the photographer merges a series of images taken from before sunset until after and then blends them in a way that the day fades to the night photos from top to bottom or side to side, is an easy and fun way to practice your photography as well as your Photoshop skills. I’ve used a method like this before but never in an obvious way like what you see above. The opportunity presented itself when I revisited an old spot I had shot from before but the sky was rather uninteresting.
For this image I chose to blend from the top down for a couple main reasons. First, I wanted the light star that the sun created as it dropped behind the buildings. Second, I wanted to capture the light trails because I felt that they would stand out against the obvious day sky and sun on the top part of the frame.
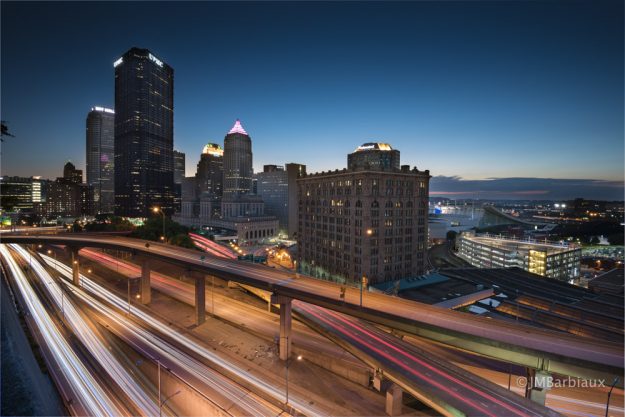 The evening shot is made up of about 10 to 12 frames to get the most out of the light trails.
I’m certainly not inventing anything here, there are plenty of examples of day-to-night photos and have been for years.
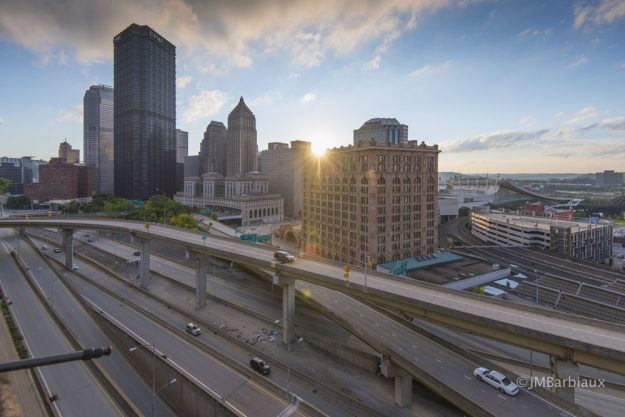 Here is one of the daylight frames that was used in the final image. The difficulty was that the daylight images were taken from a slightly different location as the nigh images so it took a ton of massaging in Photoshop to line everything up.
To create the shot I simply imported all the frames I wanted to work with into Photoshop as Layers (except for the daylight shot, that comes last). Once all the frames were loaded I auto-aligned them, just in-case there was a slight shift of the camera I hadn’t noticed. Once everything was aligned I changed all but the base layers merge method to highlights which brought all the brighter lights to the front of the image while ignoring the darker colors (emphasizing the light trails).* After everything looked good in regards to the light trails and building lights I brought in my daylight layer.
*If you’d like to be a little more specific about what is shown on each layer you can use layer masking, invert your layer, and then paint with a white brush over what you want to show through.
The daylight layer is where things got pretty tricky. You see, I was shooting with a friend and his tripod leg was in my frame initially (I was shooting at 16mm). After photographing the sun burst images I finally realized the leg of the tripod was in my frame and scooted down about a foot to resolve this. The slight difference in perspective made merging the layers automagically in Photoshop impossible. I had to spend an hour or two manually moving things into place using free transform, puppet warp, and some layer/masking tricks.
At the end of the day, as always, I learned lots of new things. I had not touched puppet warp in years (where you can drop a pin to hold one area of the photo in place while you adjust other areas, and found it very useful but a little buggy.
Thinking about giving this a try but worried you don’t know enough about Photoshop? This is exactly why I have been posting articles like this… I want to peak your interest in an effort to get you to try new things and get creative. There is no better way of learning than by doing… Unless you’re learning to be a doctor, you should probably read a few books before operating on someone.
Feel free to leave your thoughts in the comments section below.

