Travel photography can encompass an array of photography genres; landscape, street, portrait, and so on. For the purposes of this article, travel photography means being ready to photograph subjects quickly and sharply. These are the settings I use when I don’t have my camera on a tripod but I want it ready to go in a flash.*
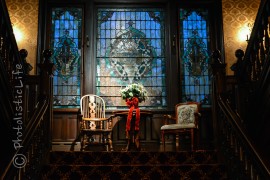
*I highly recommend shooting in RAW as you’ll likely encounter dramatically different light as you travel. Often, when shooting indoors using JPEG you’ll lose the highlights if there are windows… Using RAW will allow you to recover the highlights in the same windows 90% of the time.
Exposure Mode
I’ll shoot exclusively in aperture priority mode, it’s fast and almost always spot on. The old “I only shoot in manual mode” is for the photographers with something to prove. If you want to capture moments as they happen you’ll likely want to shoot in aperture priority or shutter priority mode (depending on situation).
I don’t use shutter priority mode, you can read more on that in the section about ISO settings below. I shoot in fully manual mode if I’m using a graduated neutral density filter, 10 stop ND filter, or if the lighting is terribly difficult… All while using a tripod.
Metering Mode
My metering mode is set to matrix (or evaluative for you Canon guys). I find this to be a good mode when shooting RAW images. Because of the vast differences from camera to camera I suggest trying each mode and seeing which suits you the best.
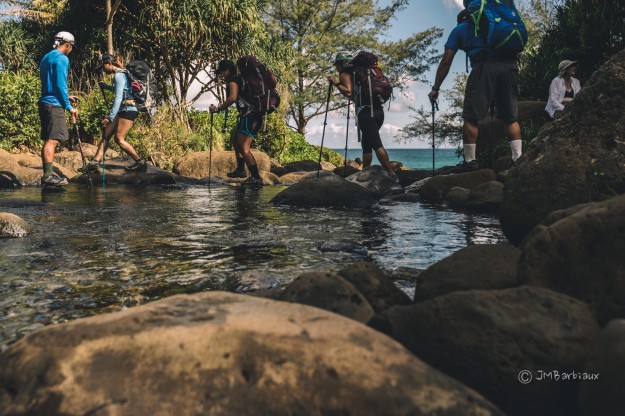 Using RAW format I am able to pull details from the shadow and highlight areas and I feel it retains the most dynamic range in tough lighting like this.
Focus
If you prefer manual focus then I’d recommend zone focusing* the camera. If your camera is speedy at locking auto focus then this is what I’d do. I like to set my cameras up with a single focus point and usually don’t stray far from the center of my viewfinder… I’ll focus on my subject and recompose the image while holding focus (if I want my subject somewhere other than the center of the frame).
*Zone focusing your camera is simply setting your aperture to somewhere around f/5.6 and focusing your camera to a specific distance in front of you… Everything within the zone you’ve focused will be sharp and you can shoot quickly without having to refocus each time.
ISO Settings
If I’m on a tripod and not using a ND filter I will shoot at ISO 100. If I’m using the ND filter I’ll typically keep my shutter speed at 30 seconds or less and increase my ISO manually if the exposure time is pushed further than that.
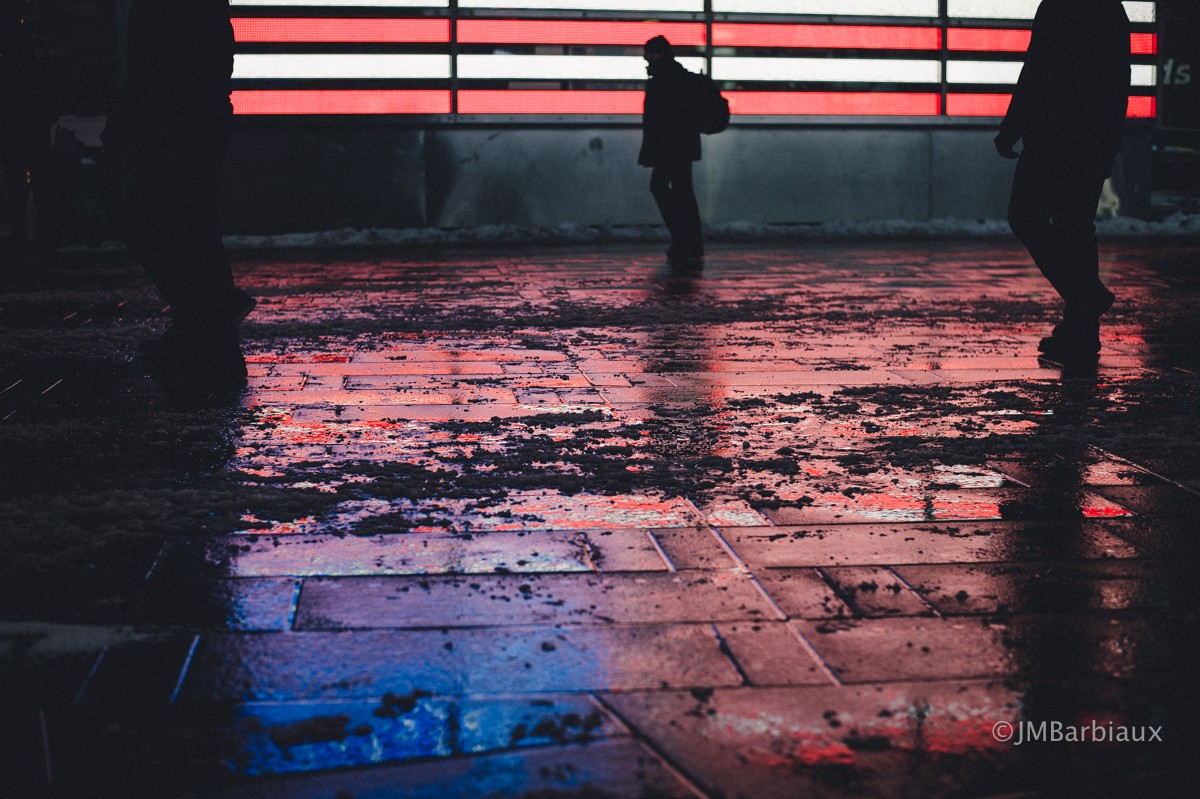
For the rest of the time, which is probably north of 80% of the time, I shoot in auto ISO. Auto ISO gives me more time to focus on composition and my subjects rather than worry about camera settings. I like to set the maximum ISO to ISO 6400 and the minimum shutter speed to 1/200*.
*Using auto ISO eliminates the need for shutter priority for me because I can tell the camera I don’t want to shoot less than 1/200 of a second.
Shutter Speed
I mentioned a couple of times now that I don’t shoot in shutter priority… That’s because I borrowed my ISO settings technique from my street photography settings, I leave my camera on auto ISO unless I’m using a tripod. This ensures that I never miss a shot because my shutter speed was too slow and also cuts down the time it takes to make a photograph.
 Lens
Lens
The lens you choose is a very personal choice, my recommendation is based on years of experience and my style of shooting. The perfect lens for you may vary slightly or greatly depending on your own personal style.
When traveling I carry with me two lenses… A 50mm lens and the Nikon 16-35mm lens, I find these cover 99% of my needs adequately. The 50mm lens spends the most time on my camera, I usually only use the 16-35 if I know I’ll be spending some time on landscapes. The 50mm is very light and small enough that I’m hardly noticed (I’m using the Nikon Df which is one of the smaller full frame cameras out there).
I also travel with the Fuji X100T which is great for those times when I don’t feel like lugging lots of gear but I want to have a camera just in case. The lens is a 35mm equivalent and it has incredible low light/high ISO capabilities.
If you keep your lens 50mm and shorter in focal length you’re able to capture some of the environment with your subjects rather than zooming right in and losing the scenery. If you use a longer lens you run the risk isolating your subject from its environment and then your photography loses the “travel” aspect.
What is your best travel photography tip? Leave your thoughts in the comments section below.

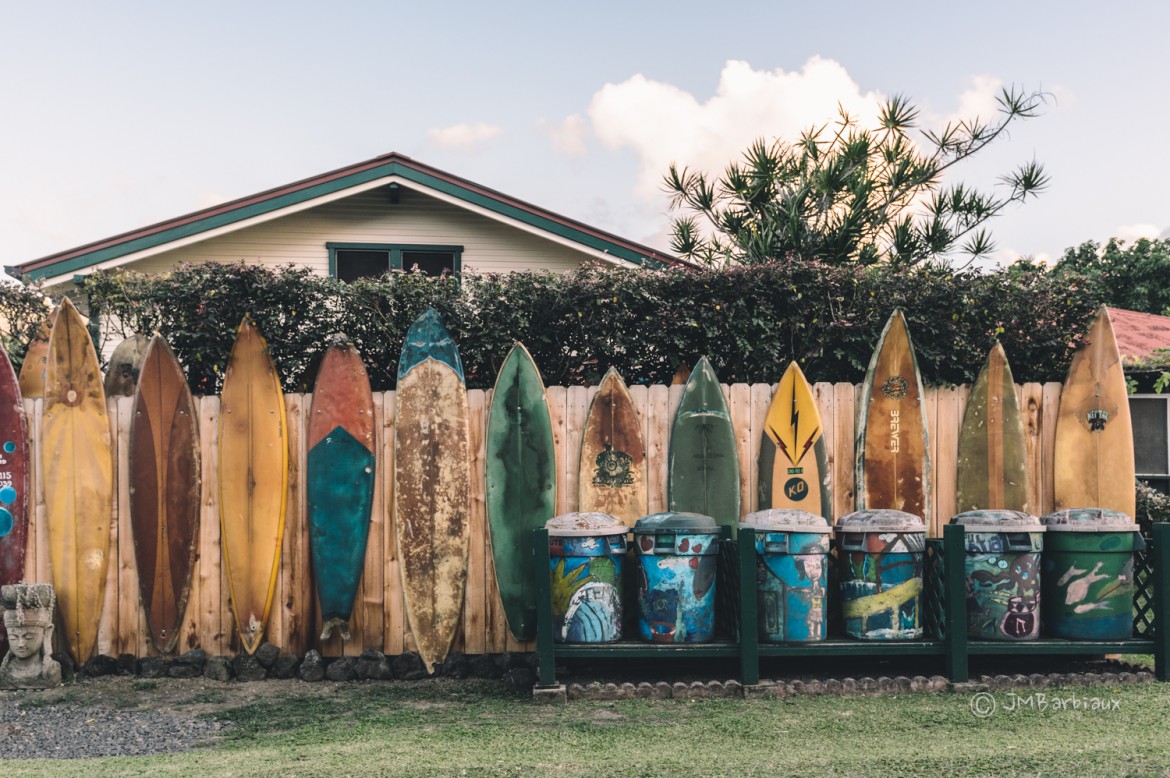
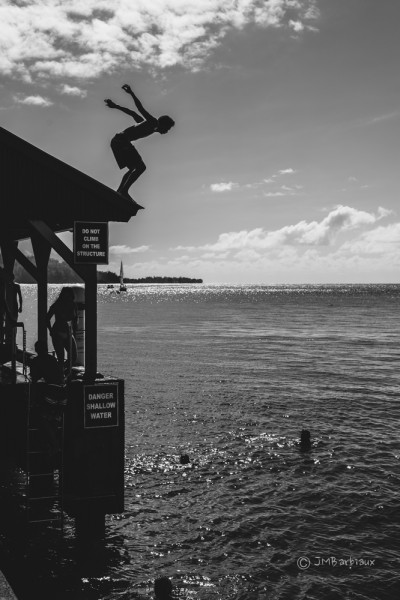
When walking the streets of a different city than my own, I like to use a zoom telephoto for people shots. A 24-70 for all other photos. I’m older now and don’t want to run around trying to get a prime lens into the proper frame in my viewfinder. As always, we all have our preferences.
Nothing wrong with that. I can’t think of his name now but there was a famous street photographer that used to sit in his room with a telephoto lens and capture candid moments from the comfort of the house or hotel he was staying in. To each his or her own.
I think your talking about Andre Kertesz who had a window overlooking Washington Square Park in NYC. Thanks for the reply.