Merry Christmas! By now you either have your tree up or your neighbors are confirming their suspicions that you’re a Scrooge. If you’ve gone to all the trouble of hefting the fake, pre-lit, still decorated from last year tree out of your basement then you might as well document all the trouble you’ve gone to for all your friends to gawk at on Facebook, Twitter, or whatever other new social sharing network popped up over night. Here are some tips to help you get the most out of your Christmas tree photographs.
Tip 1:
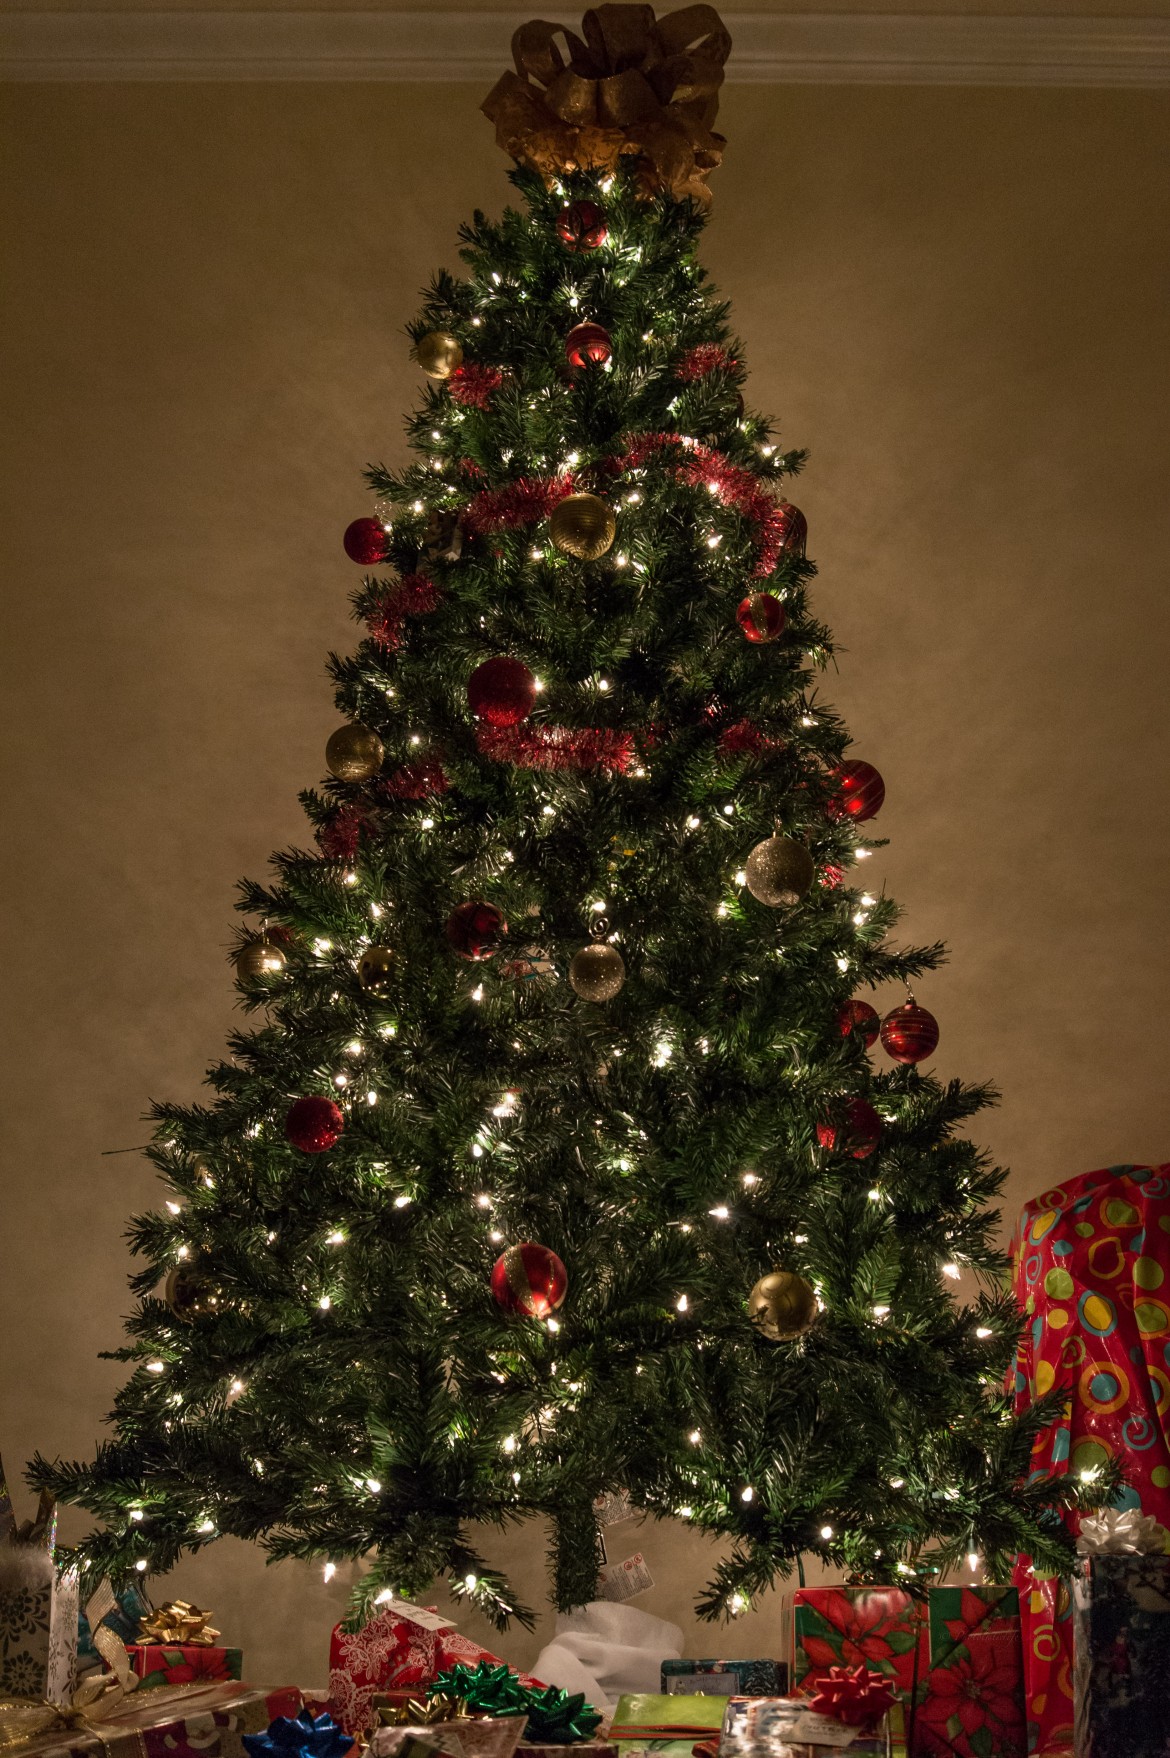
I like to shoot in RAW (or NEF on Nikon) and underexposed a bit so that the lights aren’t blown out and detail is retained. In post processing (using Lightroom 5) I’ll pull details out of the shadows and possibly increase the exposure a tad if it’s needed.
Nikon Df, ISO 2500, 1/30 sec, f/5.6, 45mm. Underexposed to preserve the highlights.
Tip 2:
Keep an eye on your shutter speed, too slow and you’ll lose detail because of camera shake. If you need to boost your ISO try taking a few shots at different ISO values so you can see if there is adequate detail between the pine needles once the increase in noise is present. Different cameras handle higher ISO better than others, some have noticeable noise at ISO 800 and others can be pushed to ISO 3200 before noise becomes an issue (some even further).
Tip 3:
Turn the lights down and capture the ambiance. The glow around the tree in the first photograph is not manufactured in Photoshop, that is the happening because the lights were turned down and the tree lights are reflecting off the wall.
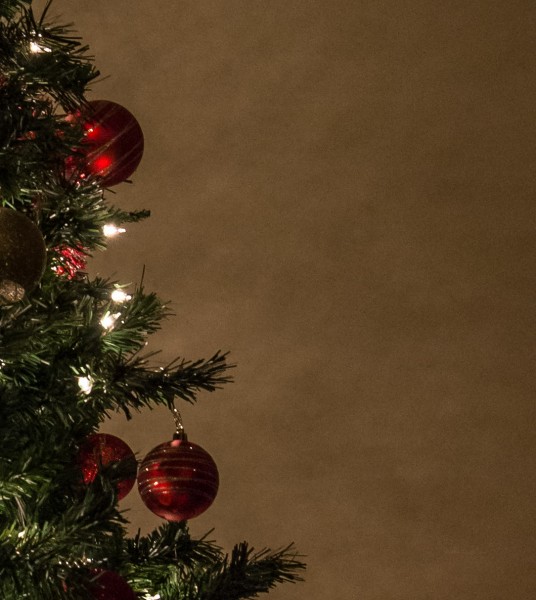
The glow on the wall is created by turning the lights in the room down and letting the tree lights create a sort of halo around the tree that creates ambiance.
Tip 4:
If you are having trouble keeping the shutter speed over the length of the lens (if your lens is 50mm your shutter speed should be 1/50th or higher to ensure crisp, sharp images) you can use a tripod.
Tip 5:
Shoot from a lower or high angle and use a bean bag or pillow to rest the camera on. The image in this article was taken as I laid on the ground and supported the camera with a couch pillow to reduce shake.
Tip 6:
If you like the look of starbursts around your tree lights you can make your aperture smaller (larger f/number). Be aware that your shutter speed will need to be reduced because you are reducing the amount of light that is able to enter your camera with a smaller aperture so you’ll have to use a tripod.
Tip 7:
Pick a focal length that won’t terribly distort your tree, wide angle lenses are not ideal (though you could get some creative shots with a wide angle too). If you have Lightroom 5 you can use the lens profile module to automatically straighten your image.
If you’d like to show us the awesome Christmas tree snaps you captured you can submit them using the… You guessed it, Submit an Article link. Good luck!

