Lot’s of cameras have creative settings which will allow you to turn normal images into Instagramish photos all within your camera. If you use a DSLR that does not have these types of built-in settings you can do them yourself using Photoshop. For this tutorial I’m going to start with the original image you see below and turn it into a photo that looks miniaturized.
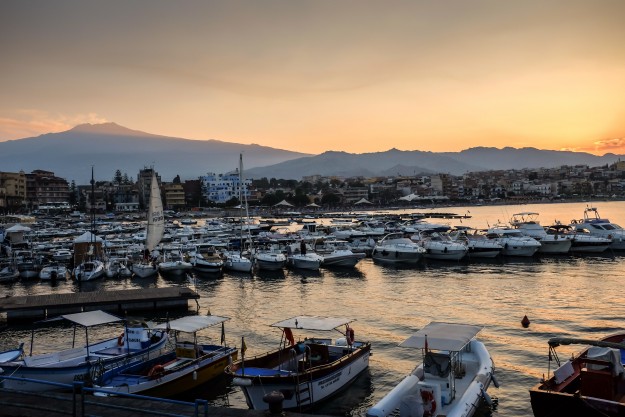
The Original image:
This is a fun process that you can bang out in under 10 minutes. Anyone can do this no matter your skill level with Photoshop.
Step One:
Create a Duplicate Layer by selecting Layer from the top menu and then duplicate.
Step Two:
Add a Layer Mask by selecting Layer from the top menu then Layer Mask and then hide all. Once you’ve done this you’ll see a black Layer Mask icon to the right of your duplicated layer.
Step Three:
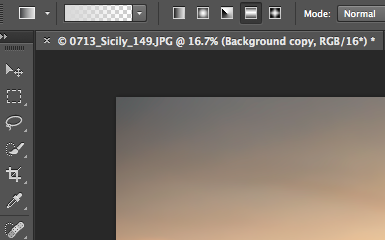
Add a Reflected Gradient by selecting the Gradient tool (looks like a rectangle that fades dark to light on the left side of the screen about half way down the tool bar) and change the gradient type to reflected by clicking on the rectangle at the top of the page (it’s the fourth one in from the right). Then press Q to change to the Quick Mask mode.
Step Four:
Now you can draw a gradient from the bottom to the middle of your image (or over whatever you’d like to look miniature). It may take a few tried so don’t be afraid to head up to edit and click the undo to try again.
Step 5:
Now press Q again to exit the Mask Mode (you’ll notice the area that wasn’t highlighted red is now surrounded by a marquee selection. Now select the Layer Mask (the black layer icon next to your copy of the original image in step 1). After you’ve selected the layer mask you are going to head up to Edit then Fill. Once the fill box pops up you’ll change the “Use” to White and then click OK.
Step 6:
Now you will click back on the Layer thumbnail of the image. Navigate up to Layer then Blur then Lens Blur. Once the selection box pops up you will set the Depth Map Source to Layer Mask, if it isn’t already. Next change the Blur Focal Distance to 30… you can play with this depending on where the focal point is in your picture.
Step 7:
Adjust the blur up and down by adjusting the Radius. I like somewhere between 50 and 70 but experiment with it to see what you like.
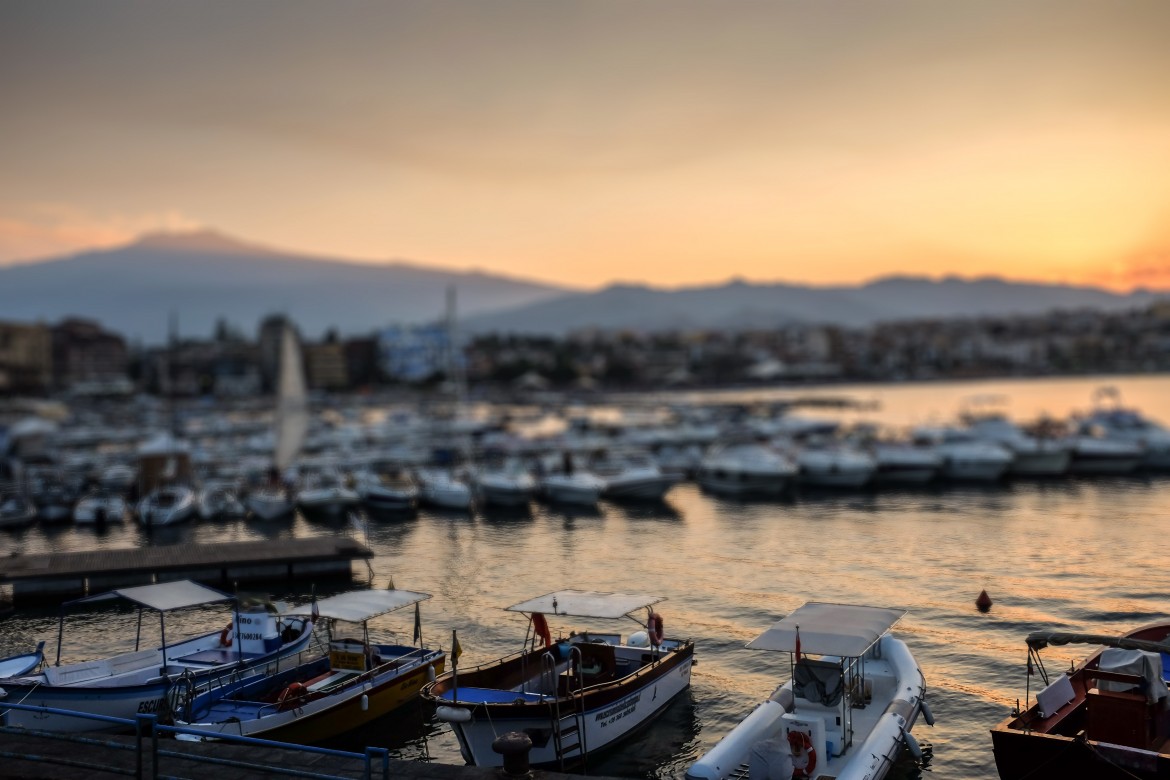
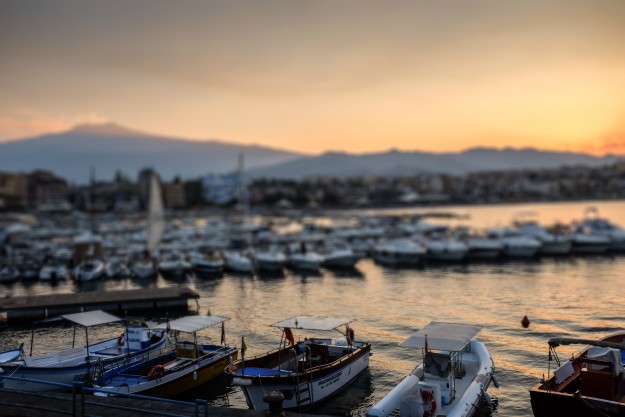
Final Image:
Do you have a Photoshop workflow that you’d like to share? Feel free to submit it through the Submit an Article link and we may feature it here on PhotolisticLife. Be sure to upload your before and after image too. Enjoy!


