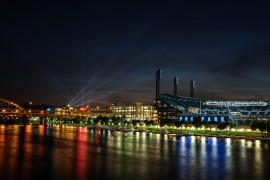
Shooting Towards the Sun
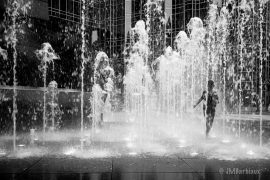
Look, no one is perfect. From time to time you are bound to snap a couple less than great shots that generally get filed in the circular bin (that’s the trash can). But what if you wanted to keep it for some reason? What if you wanted to try to make it presentable to add it to the plethora of really interesting Facebook photos you’ve been uploading recently? It’s possible, I’ll walk you through a quick and easy way to turn the photograph above into the one below.
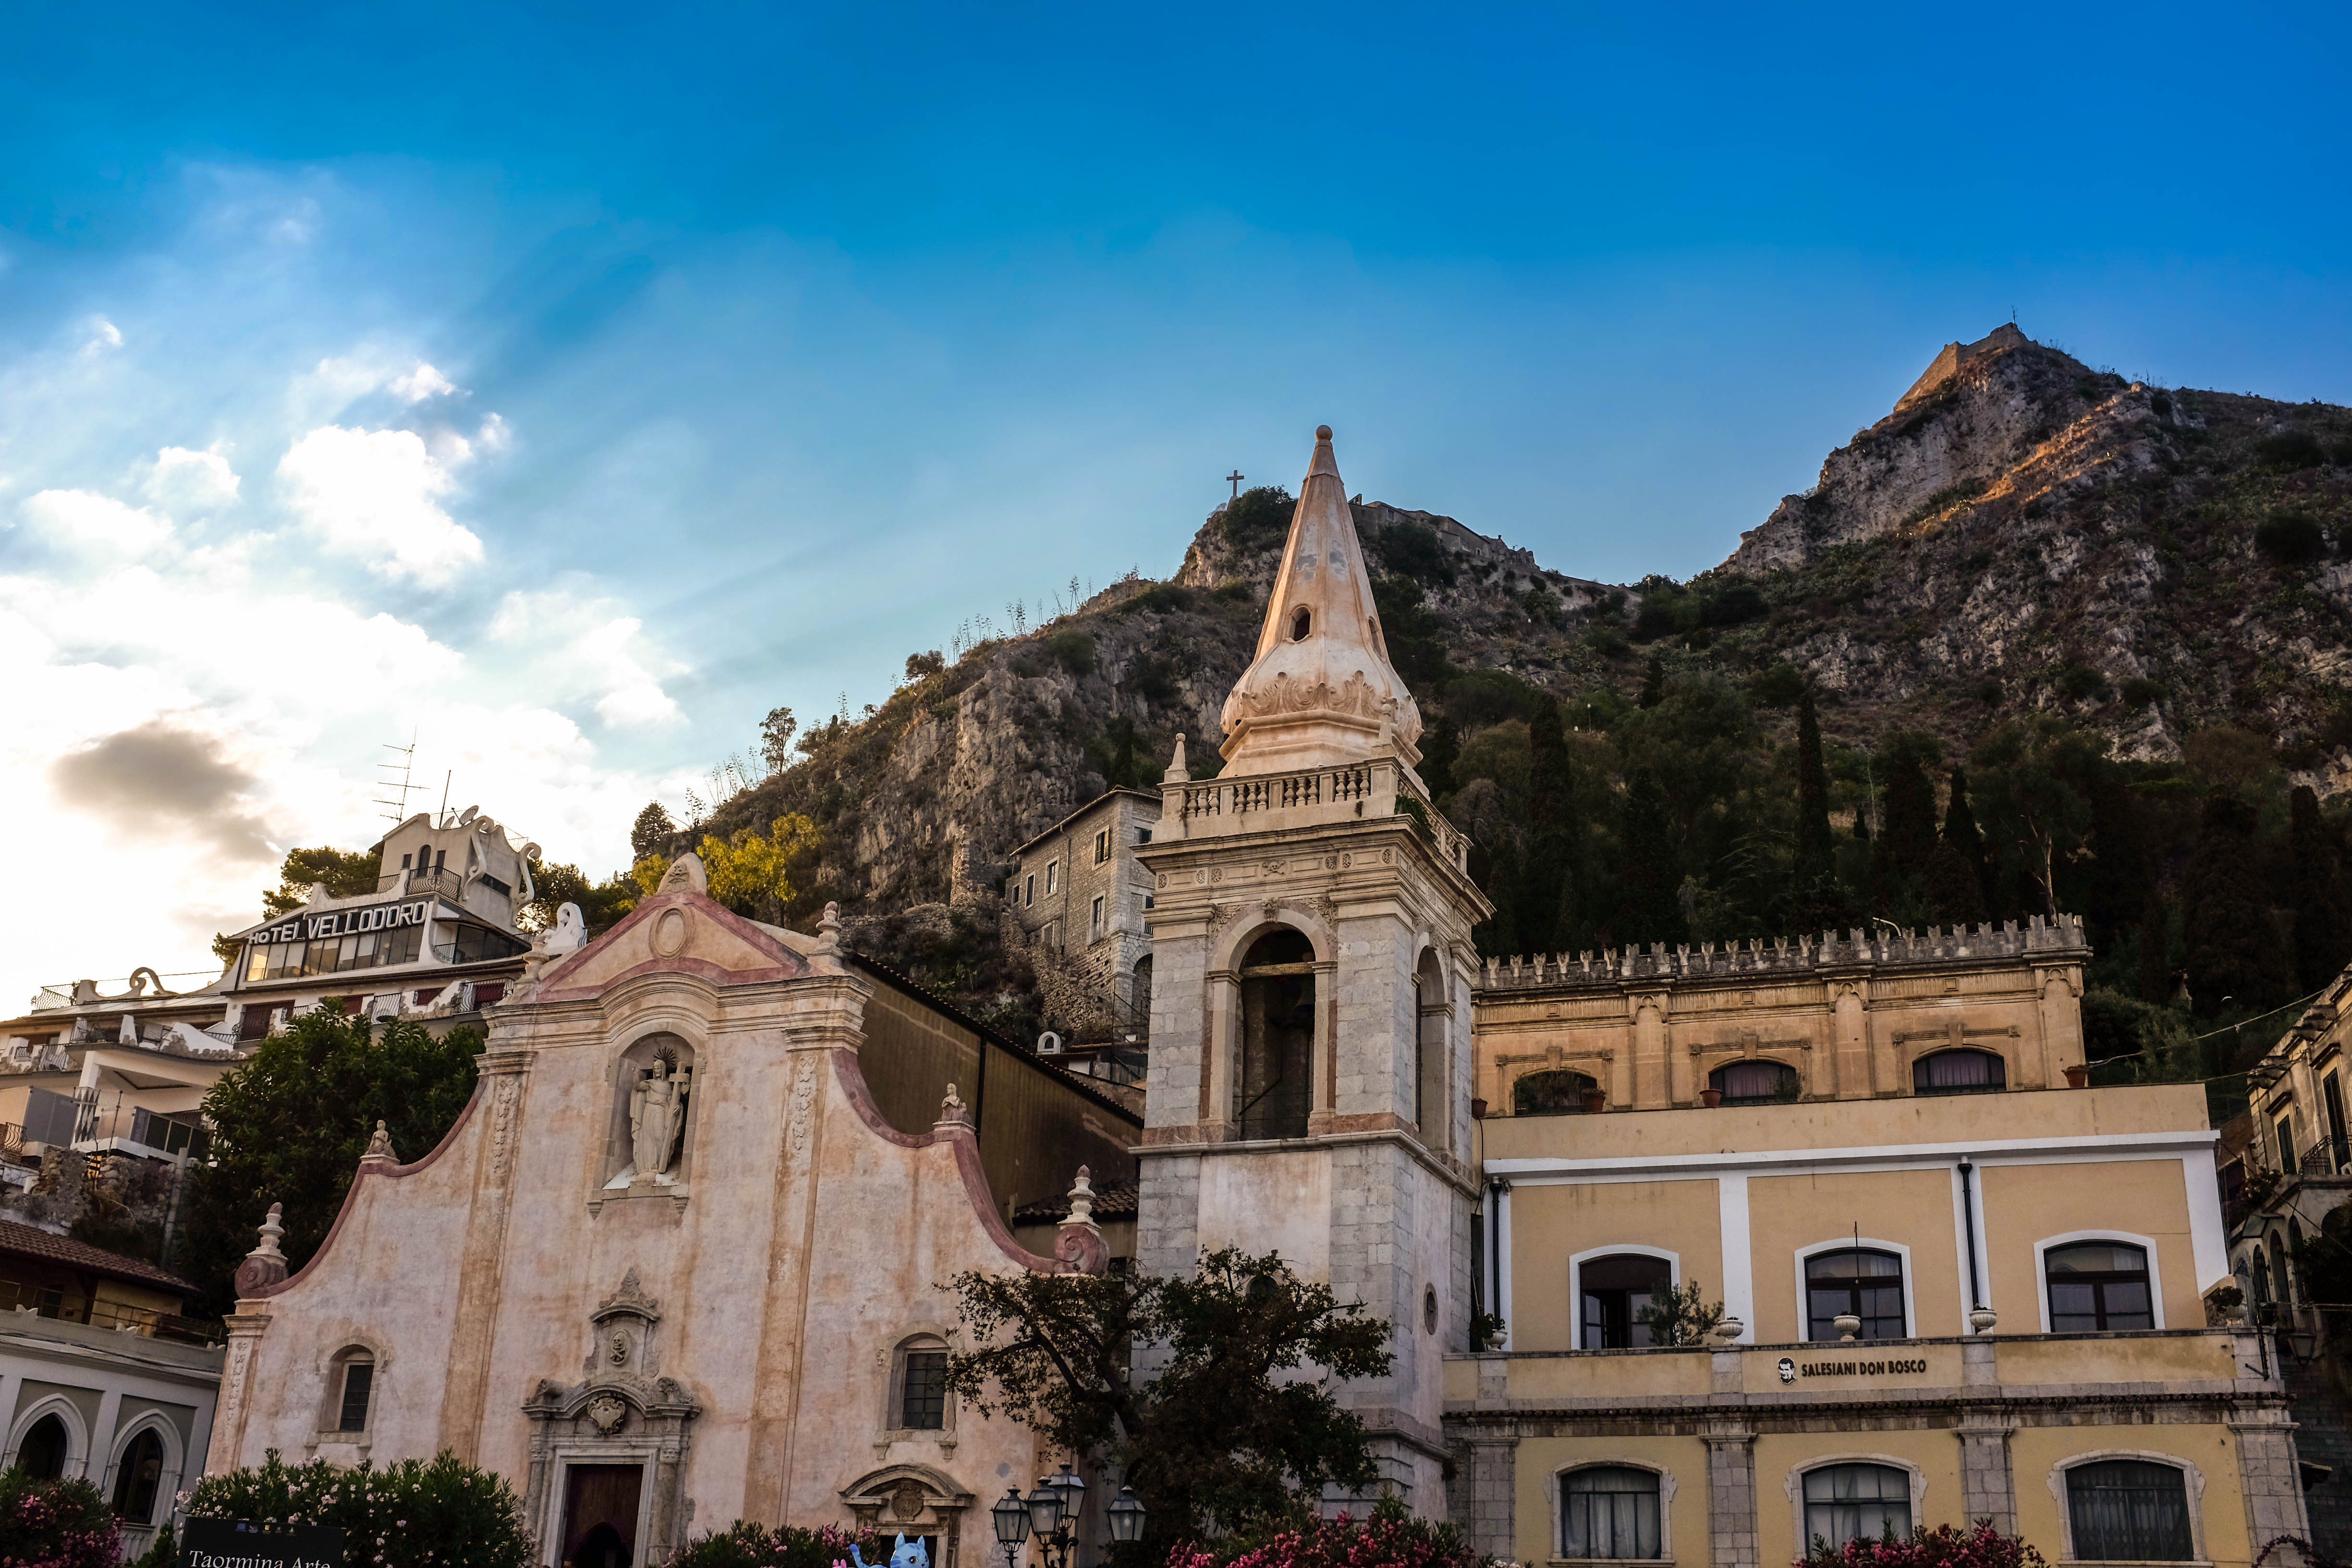
Same Photograph as Above After Processing with Lightroom 4
For this example I shot in JPEG format, if you shoot in RAW your photograph will come out better because the image retains more data and you have more to work with in processing. But an overwhelming amount of people shoot in JPEG format, which is just fine, and so that’s the format I chose. It can be improved to the point where it is useful but it’s not nearly as nice as if you’d get the settings correct in the first place.
Where do you start?
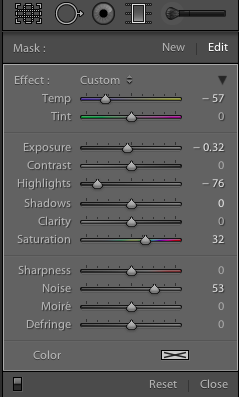
 First thing is first, use the neutral density filter drop down by clicking the rectangle to the left of the grey paintbrush located just below the histogram. Drag the filter from the top of the image to the lowest part of the horizon.
Now lower the exposure, using the exposure slider, to try to eek out some detail in the sky that was lost in the original image. Lowering the highlights slider helps as well. If you introduce noise to the image then you can adjust the noise slider to compensate.
After you’ve recovered some detail you can enhance the blue color in the sky by sliding the temperature slider to the left. Moving the saturation slider to the right enhances the color as well but be careful you don’t make the image look “fake.”
Note: Using a circular polarizing filter will give you a bluer sky as well but when you shoot towards the sun they aren’t much help. Read more about camera lens filters here.
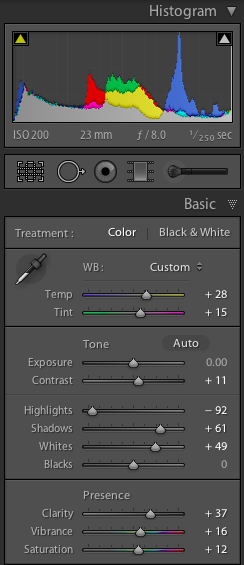
Now that you’ve got the sky looking half decent you can close the neutral density filter tool by clicking the rectangle once again. The final settings you’ll adjust are located under the “Basic” tab which is the first tab after the tools beneath the histogram.
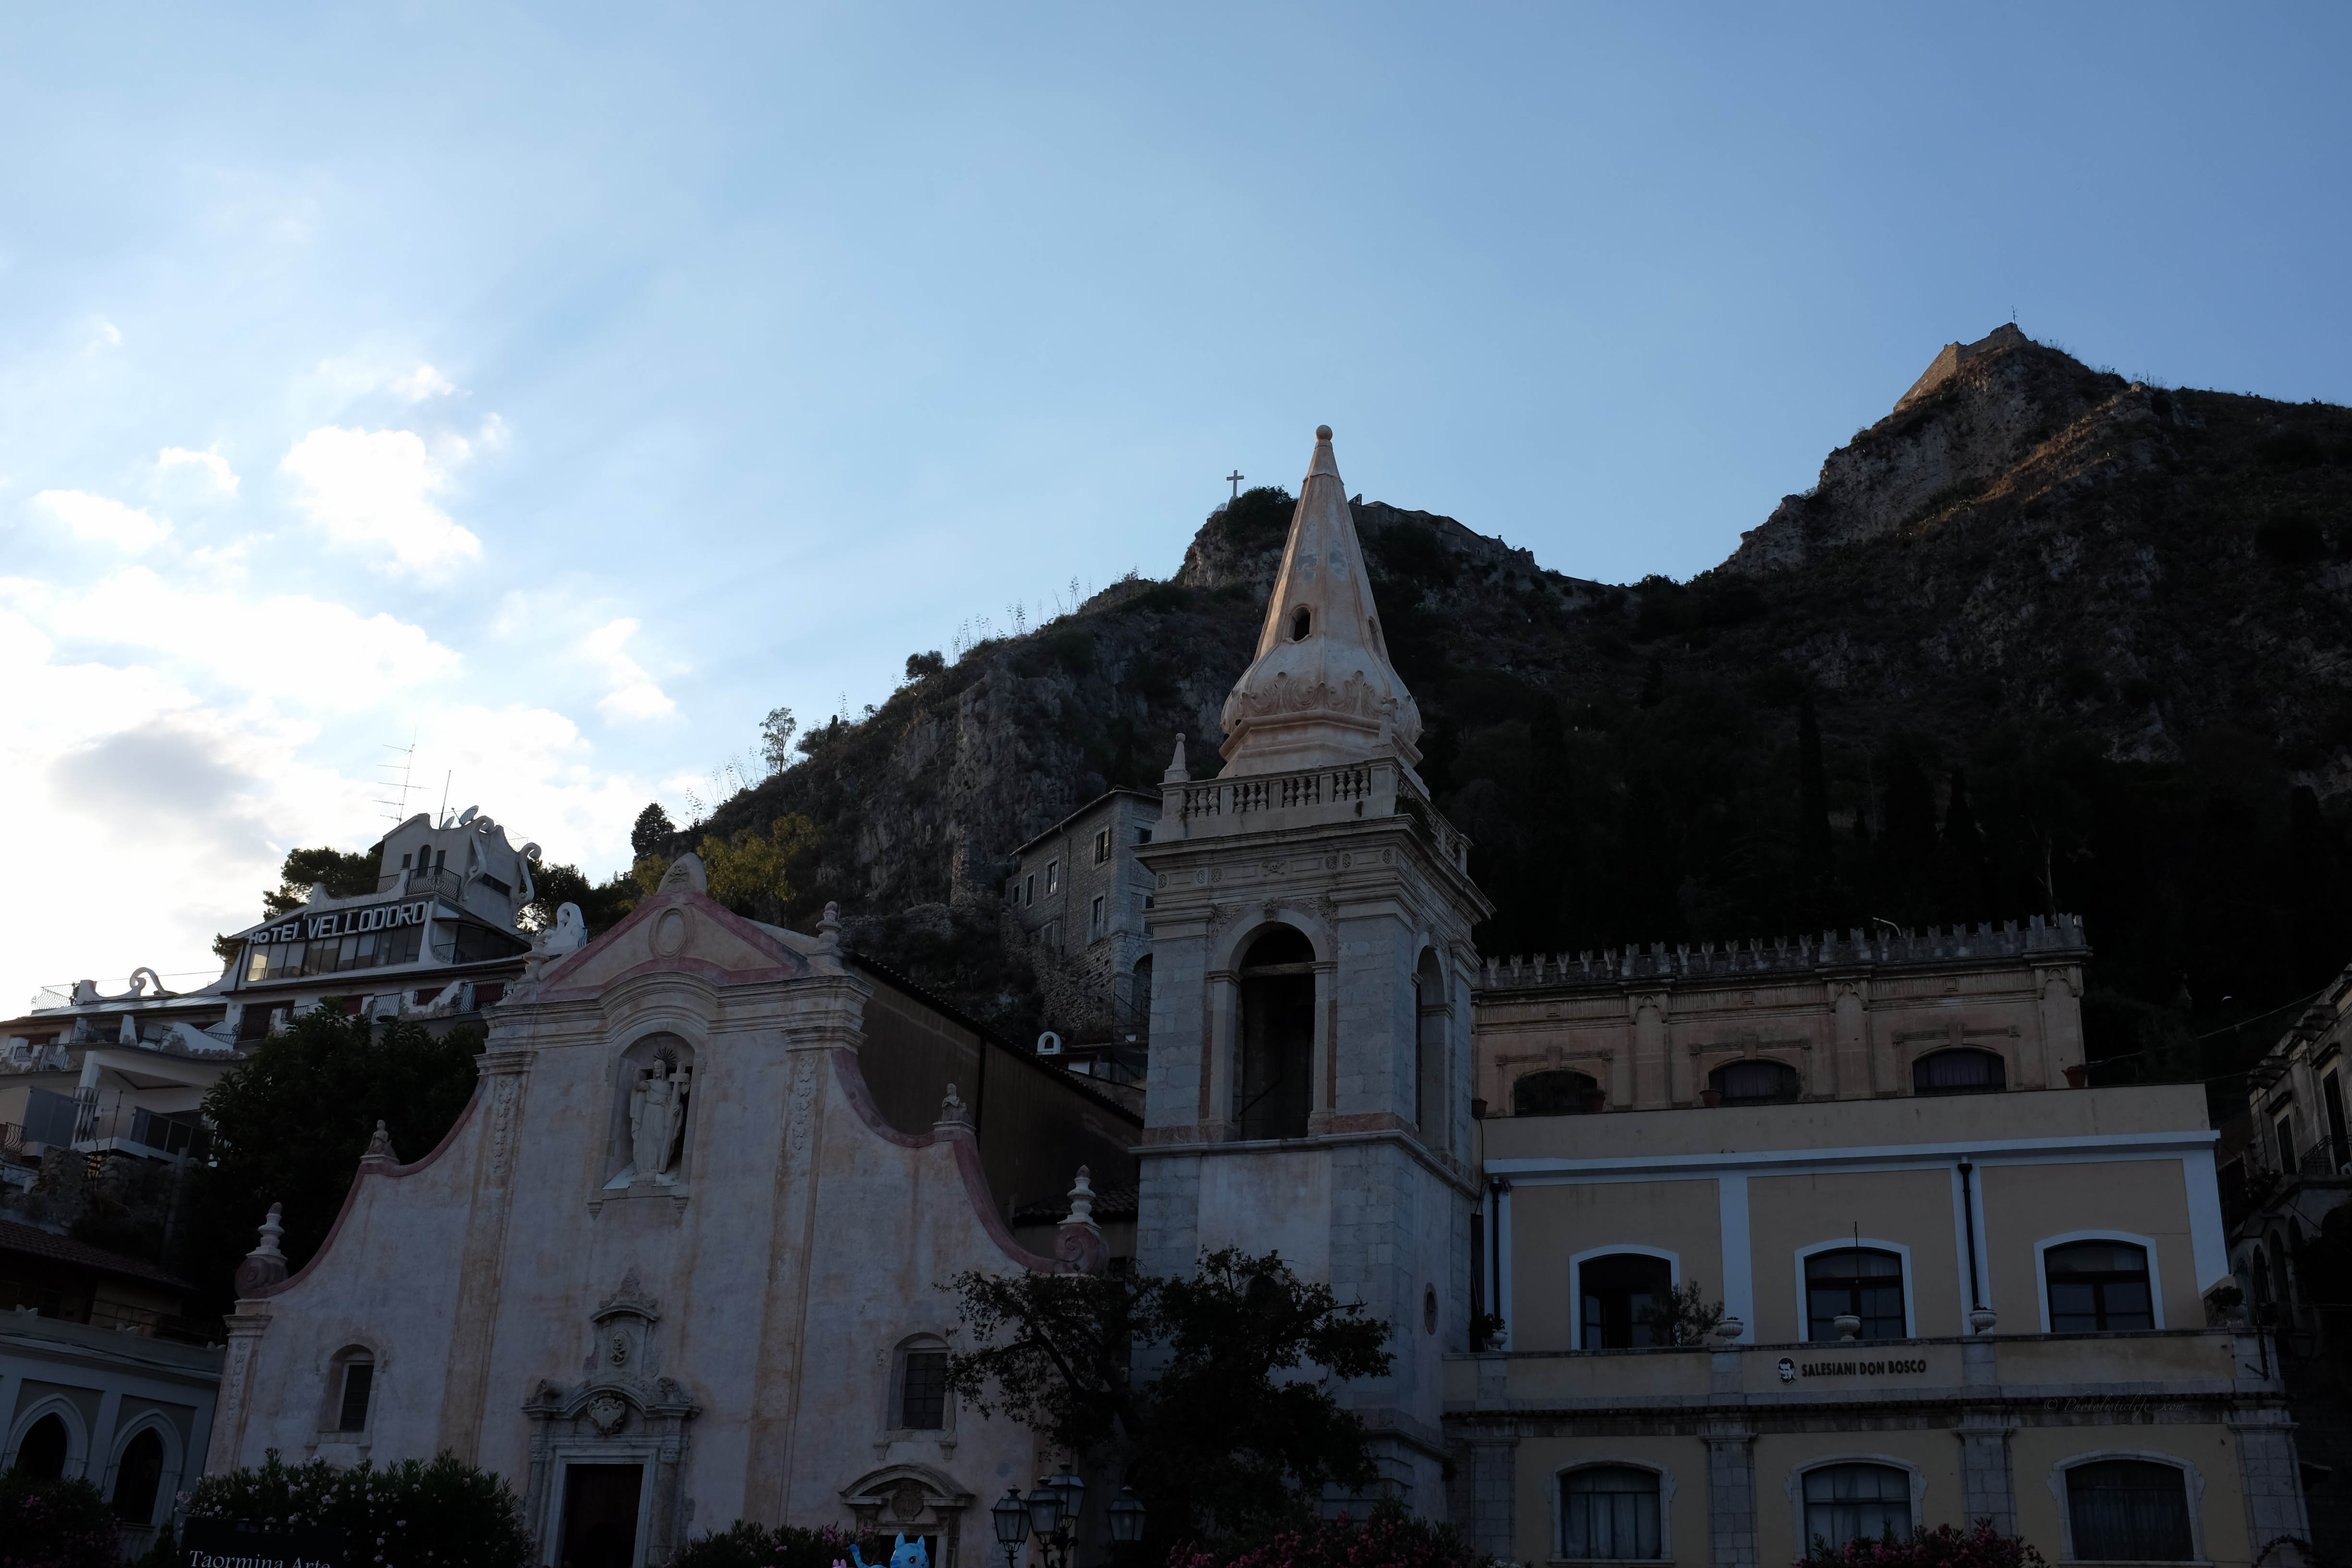
The first thing to do is drop your highlights using the, you guessed it, highlights slider. The image is obviously under exposed but the sky is blown out, taking a shot like this would require a graduated neutral density filter to come out usable out of the camera without any clipping (areas so dark or light that detail is lost in the image) on the histogram.
You could argue that dropping your highlights will make an underexposed image even darker, and you’d be right, but for this image it helped to get a a lot more detail out of the sky than the neutral density filter was able to.
After making an already dark photograph slightly darker we are going to need to uncover some of the detail that was lost when the photo was initially taken. To do this you’ll use the “Shadow” slider. Be aware that as you slide the shadow slider to the right you’ll introduce noise to the image that may need to be compensated for by using the “Noise” slider that is located under the “Detail.”
Now that you’ve brought some of the image out of hiding it’s time to give a little more detail to the image. You can do this by adjusting the “Clarity” slider to the right. I’d recommend keeping this below 40 for landscapes and below 20 for portraits but that’s just personal preference. If you adjust it to far to the right you’ll give your photo a HDR look.
Lastly, your contrast, vibrance, and saturation sliders are optional. The slider in the image above and to the right has the saturation pushed a little to the right (increased) but as I write this I’m noticing that I should have pushed it to the left to about -10 (the corrected image look over saturated for my taste).
Conclusion
Had this photo been taken in RAW format the quality would have been much better (the small cloud on the left of the photograph looks like smoke instead of a cloud after processing). By no means am I telling you to shoot solely in RAW, I seldom do, but you should switch to RAW + JPEG if you know the conditions are going to be difficult (like shooting into the sun).
The process above is a very quick and easy way to recover a few photos that you’d have otherwise tossed. If I missed something or you’d just like to add your two cents then hit the comments below. Thank you for reading and like, pin, stumble, or tweet us if you enjoyed.