One of the most rewarding types of photography has to be capturing the night sky with the splendor of the universe displayed in all of its glory. Unfortunately, most people feel like it’s too technical for them. It’s not, it’s incredibly easy if you own a tripod and a DSLR with manual settings. As a matter of fact, this will be the shortest guide to landscape astrophotography you’ve ever read in the hopes that you spend less time reading this and more time giving it a try.
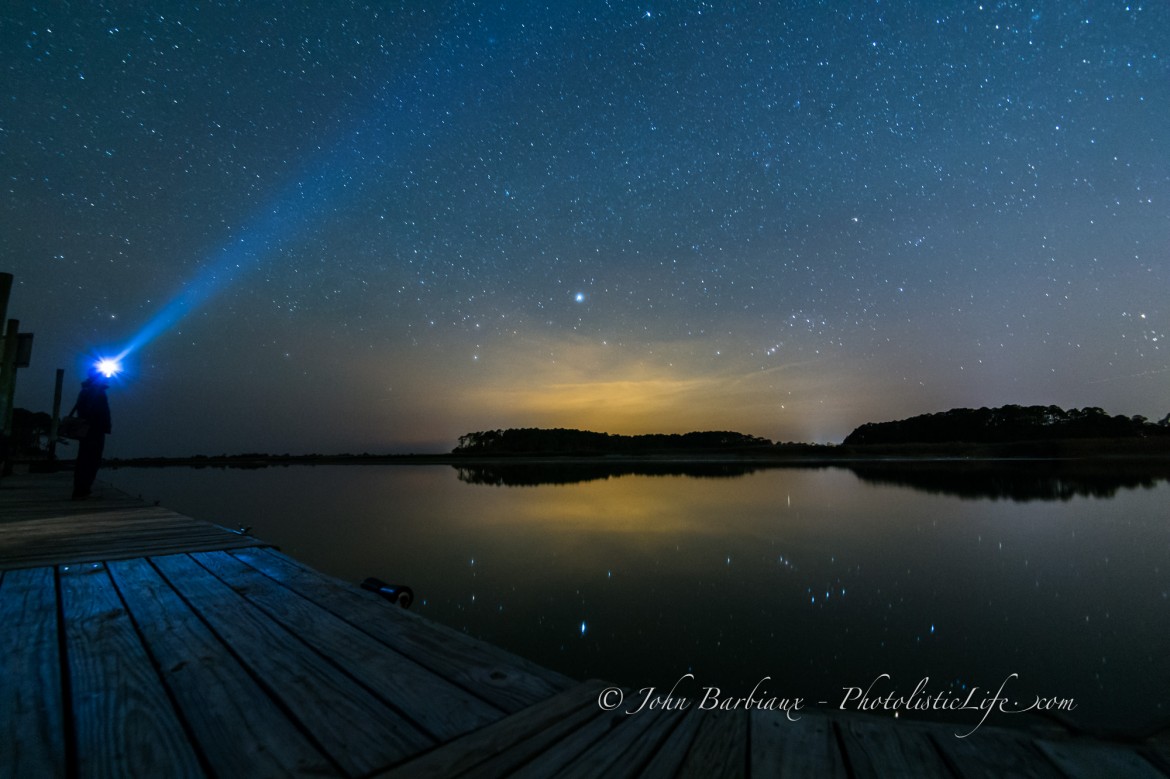
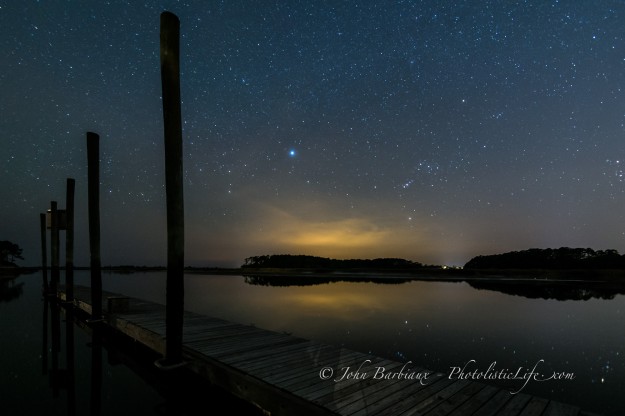
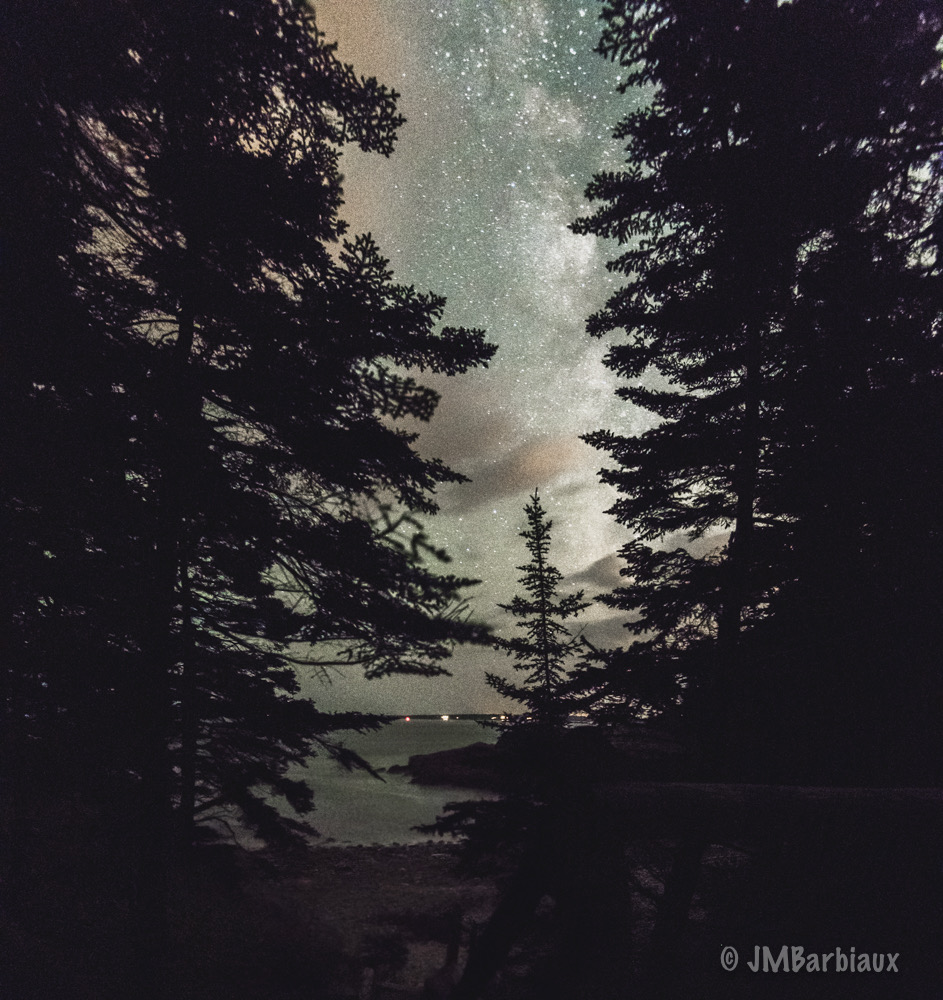
Photo Settings At Top Of Page (ISO 5000, 16mm, f/4, 30 sec.)
Selecting A Lens
Allow me to be obvious for a second… Your camera and lens are the single most important factors when determining the quality of you landscape astrophotography shot. The camera you use, along with the lens, will determine the maximum acceptable exposure you can accomplish.
Different cameras will handle the long exposure needed for landscape astrophotography differently, some will have little to no noise at ISO 5000 for 30 seconds while others will look like you through paint at your photo through a screen door (digital noise). Different lenses will handle the long exposure differently as well, wider angle lenses will allow you to leave your shutter open longer without creating star trails (lines behind the stars as opposed to crisp white dots).
Don’t go buying a new camera and lens for this, lets work with what you have. Grab the widest angle lens you own, all the way up to 50mm will work fine (longer than that will work as well but you may get star trails with the exposure time needed to capture details). Slap your that puppy onto your camera and make sure the lens is clean.
Settings
Here’s the thing, setting your camera up when you’re outside under the stars can be a challenge. You’re excited, your heart is racing, and you forget to increase your ISO. Maybe you increased your ISO but in your fit of excitement you forget to open your aperture. Instead of possibly forgetting something go ahead and make the big adjustments now while you’re indoors, in a well-lit house, apartment, or hut.
Here is a checklist of the settings we are going to adjust before heading outside:
- ISO – Turn your ISO up to 3200 (that’s where we will start) and if your camera handles ISO well (limited noise at higher ISO) or you need more light while outdoors you can increase it. I have shot as high as ISO 5000+ with acceptable results (below).
- Shutter Speed – Set your camera to 30 seconds to start. You’ll need to review your shots to make sure you are not getting streaks instead of dots. The wider your lens the longer you’ll be able to set your shutter speed without getting star trails. If you see star trails you can shorten your shutter speed (unless you want star trails). Most cameras only go to 30 seconds before switching to bulb mode. If you’d like a longer shutter speed you’ll need a remote trigger.
- Aperture – You’ll want the widest aperture you your lens allows to let in the most light. Conventional wisdom would tell you “hey, my depth of field will be too shallow” but that’s not the case because the further you focus (the stars are pretty far away) the larger your depth of field will be.
- Focus – Go ahead and focus your lens to infinity before you go outside. For those of you with a little focus window on their lens this will be easy, just rotate your focus ring until the little infinity sign (a figure 8) is lined up with the hash mark on the lens. For the rest of us, just rotate the focus ring in the direction that makes far away things clear. Once you determine if it’s clockwise or counter-clockwise just rotate it all the way in that direction. Once you take a shot of the stars you can preview it on your LCD to make sure they are in focus, if not you can fine tune it in the field.
Those are the most important settings to get you started. Be sure to preview your first couple of shots to make sure your white balance isn’t throwing the colors off, if it is you can try a different white balance setting on your camera (I recommend shooting in RAW and adjusting this in post processing if you have the software). Don’t forget your tripod, you’ll need it.
Be sure to bookmark PhotolisticLife.com for future articles with more in depth guides to landscape astrophotography.

