Dodging and burning are not exclusive to pyromaniacs, it’s used in photography quite a bit with (mostly) professionals and pro-enthusiasts. If you haven’t taken the time to familiarize yourself with these techniques then I’d tell you you’re missing out and something that could really impact the quality of your photographs.
Before you argue that dodging and burning ruins the photograph by breaking away from its puristic roots I’m going to go ahead and lay some knowledge on you… People were dodging and burning their images before you were born, dodging and burning was borrowed from the film days and brought over to the digital era via post processing programs like Lightroom and Photoshop.
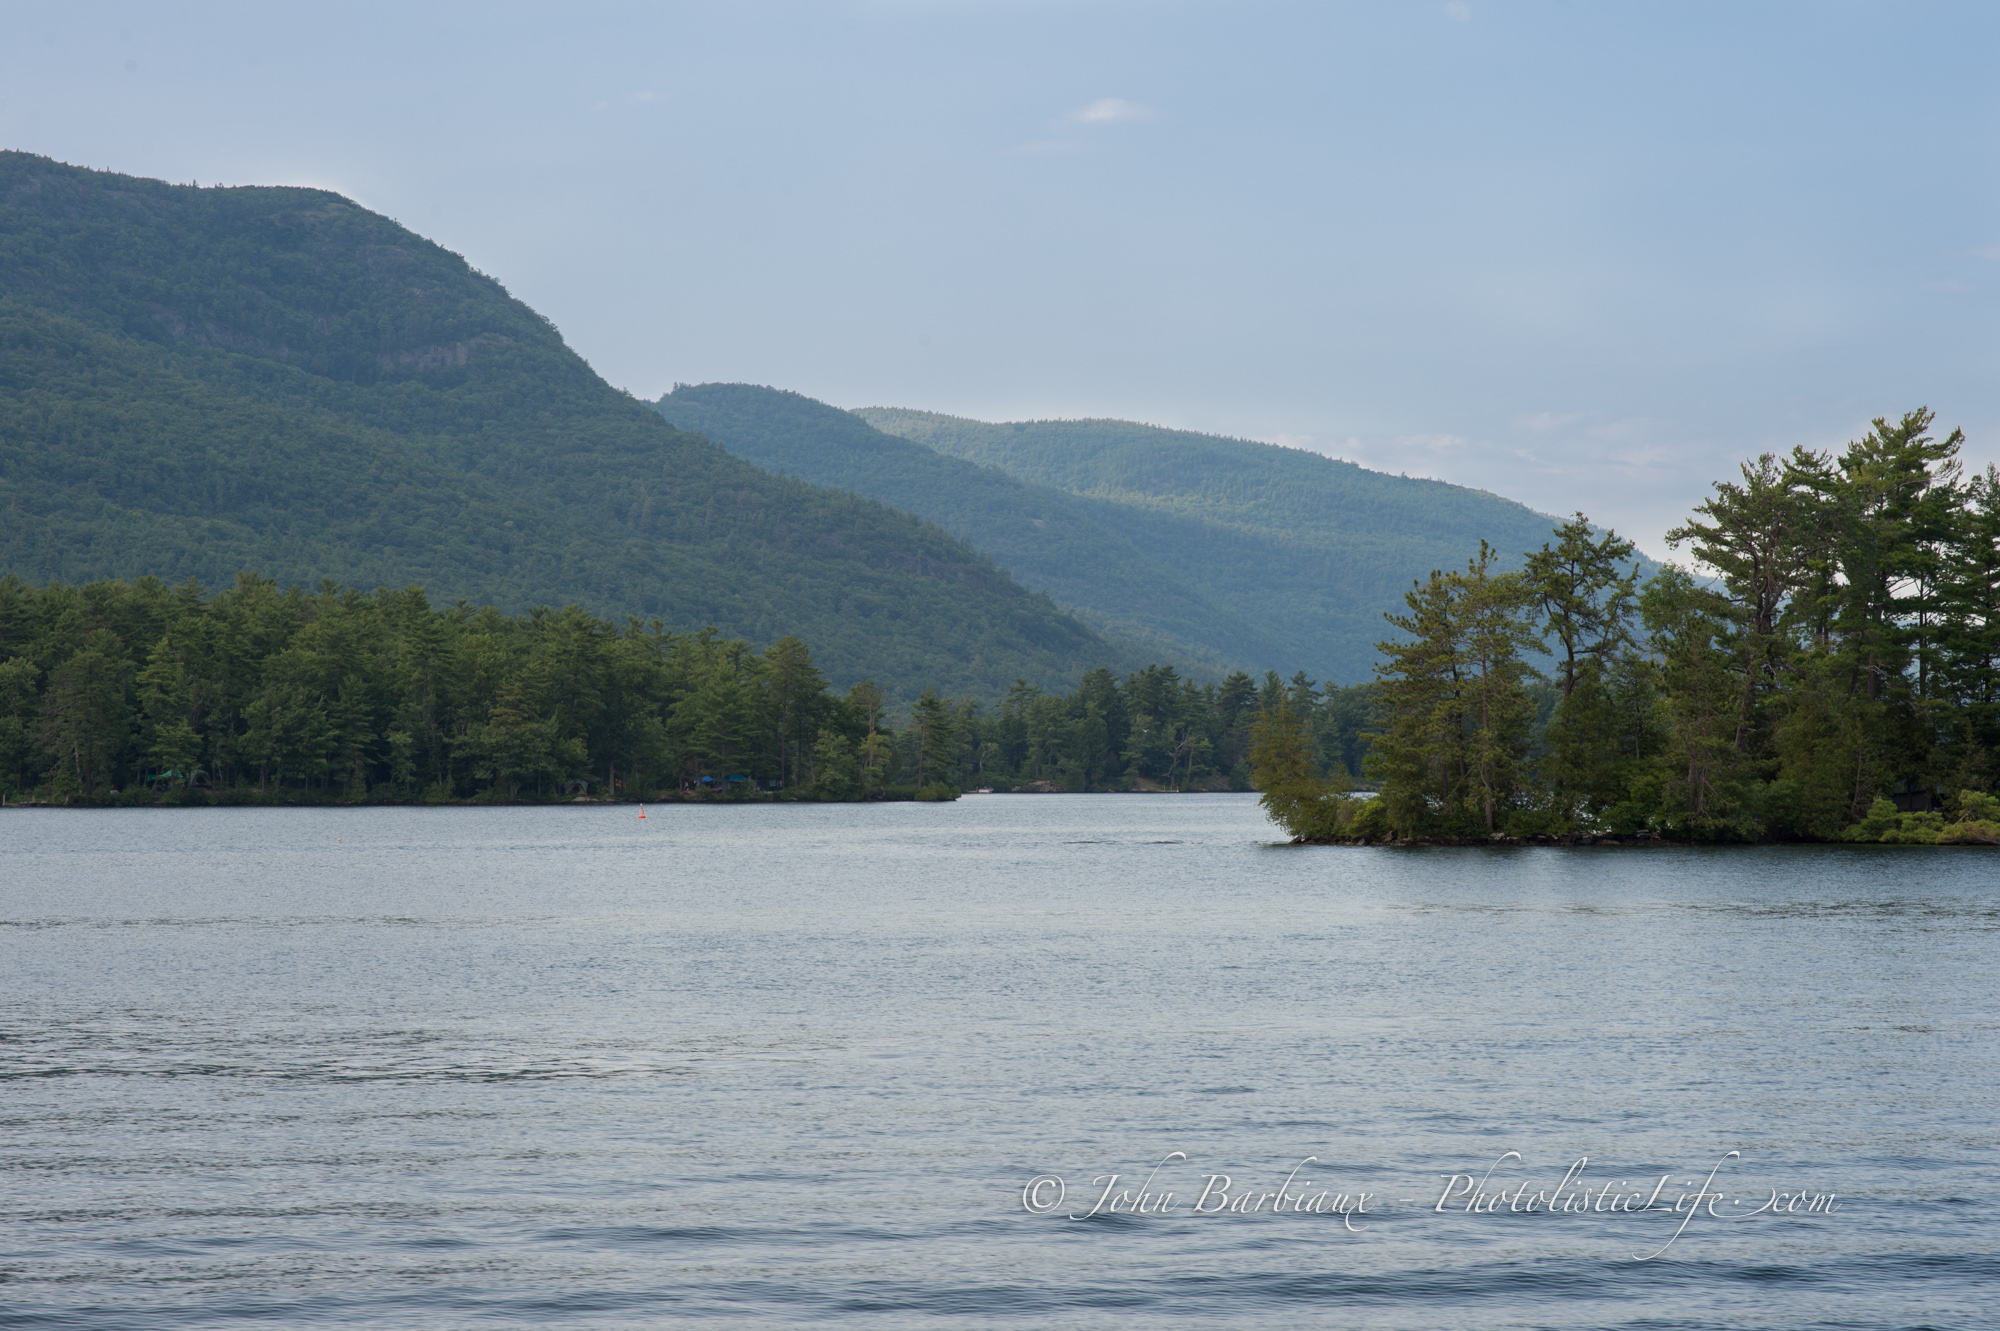
The Original
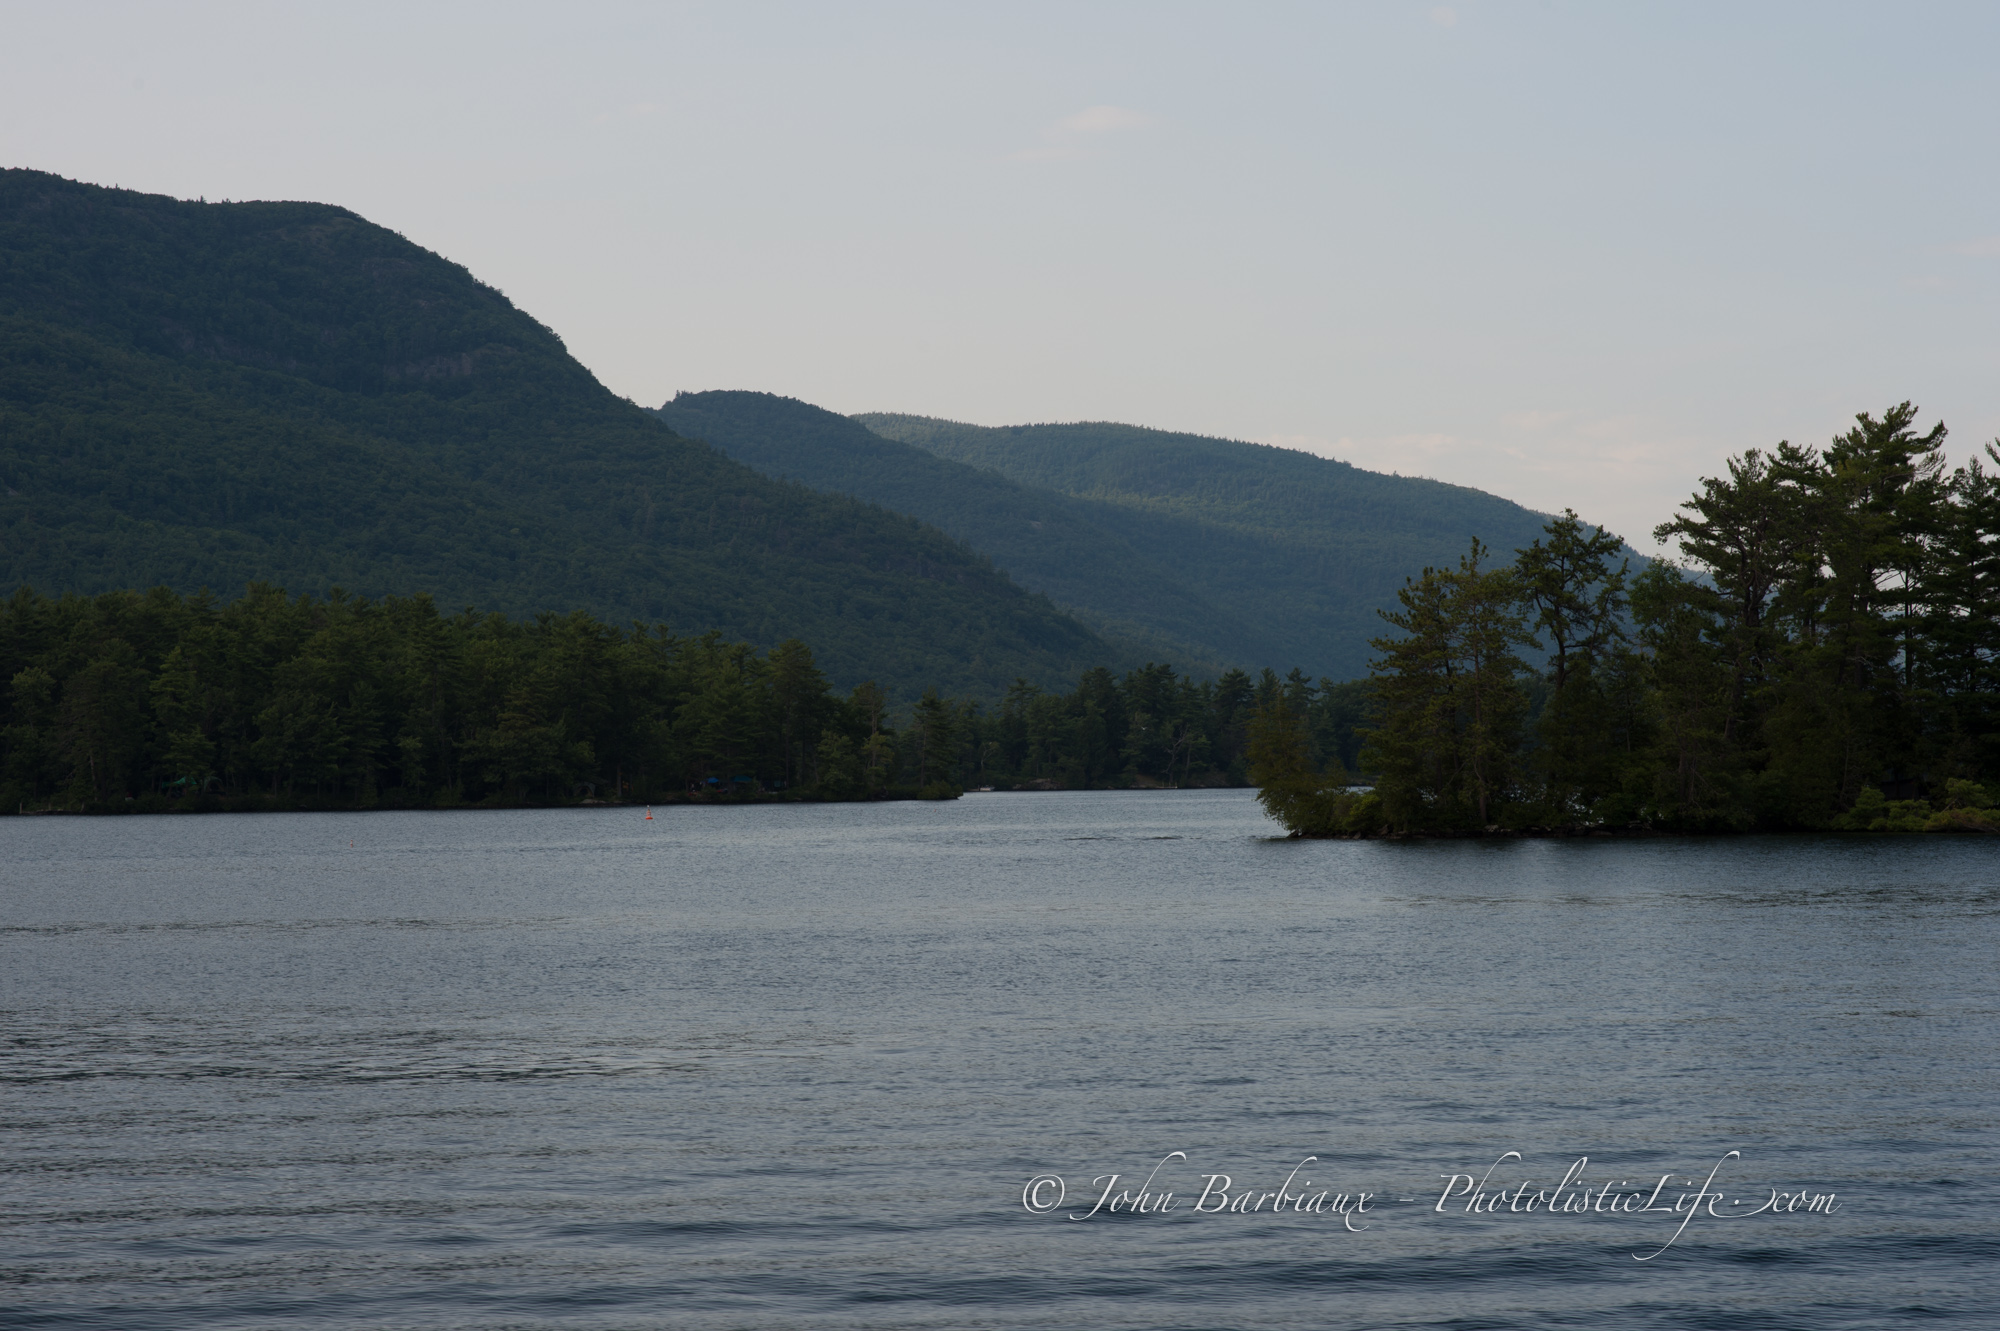 As you can see, I exposed for the sky to try to capture what little detail was there (the small cloud formation to the right of the mountain and directly above it) causing the rest of the image to be underexposed and flat.
I’ll take you through some basic dodging and burning in the photographs below. The first thing I would do to this photograph is adjust some of the general settings like exposure, highlights, and shadows to create a good starting point. For this shot I increased to the exposure to +1.02, decreased the highlights to -100, and increased the shadow slider to +24. Now it’s time to use the brush and burn the sky.
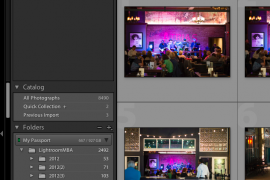
Step One – Starting Point
In Lightroom there is a brush tool that you can select to get a drop down where you can then select the “effect” drop town on the top left of the initial drop down. Under the “effect” drop down you can select the burn effect (once selected you can adjust its effect on exposure, highlights, shadows, clarity, etc.).
Step Two – Burning The Sky
 While using the brush be sure to select Auto Mask so that if you accidentally brush outside of you line the computer will help catch it and keep you from inadvertently brushing too much. It doesn’t catch everything so you may have to go back over certain areas with the “erase” function.
Dodge And Burn The Trees
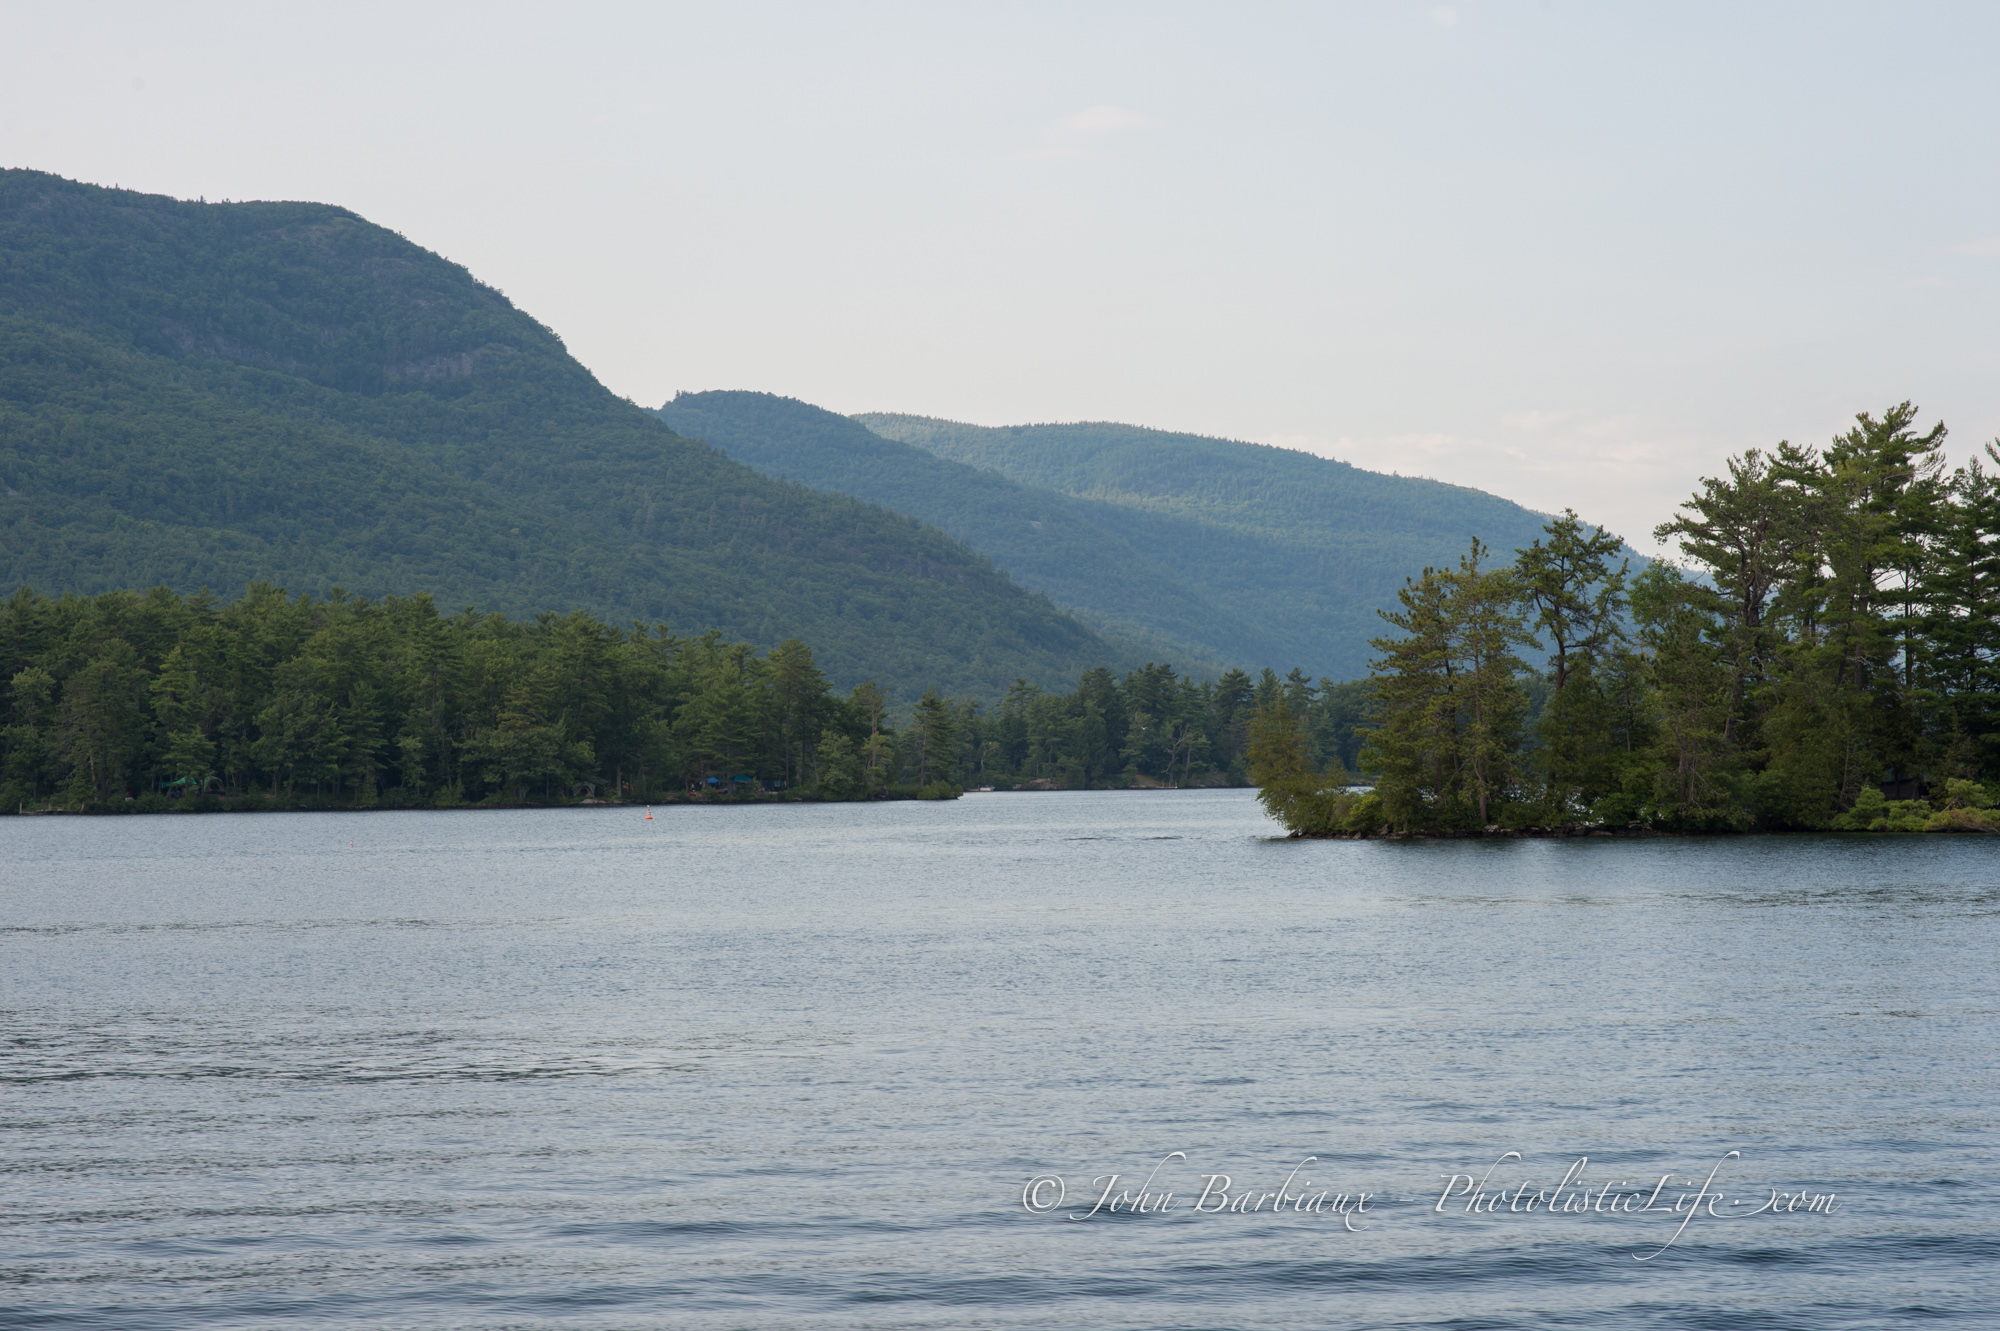
 The last dodging and burning I did was on the mountain where the highlight was from the sun and on the last little island of trees behind the two islands on the right and left. The furthest island was burned to make the first two islands stand out a little more.
The Final Image
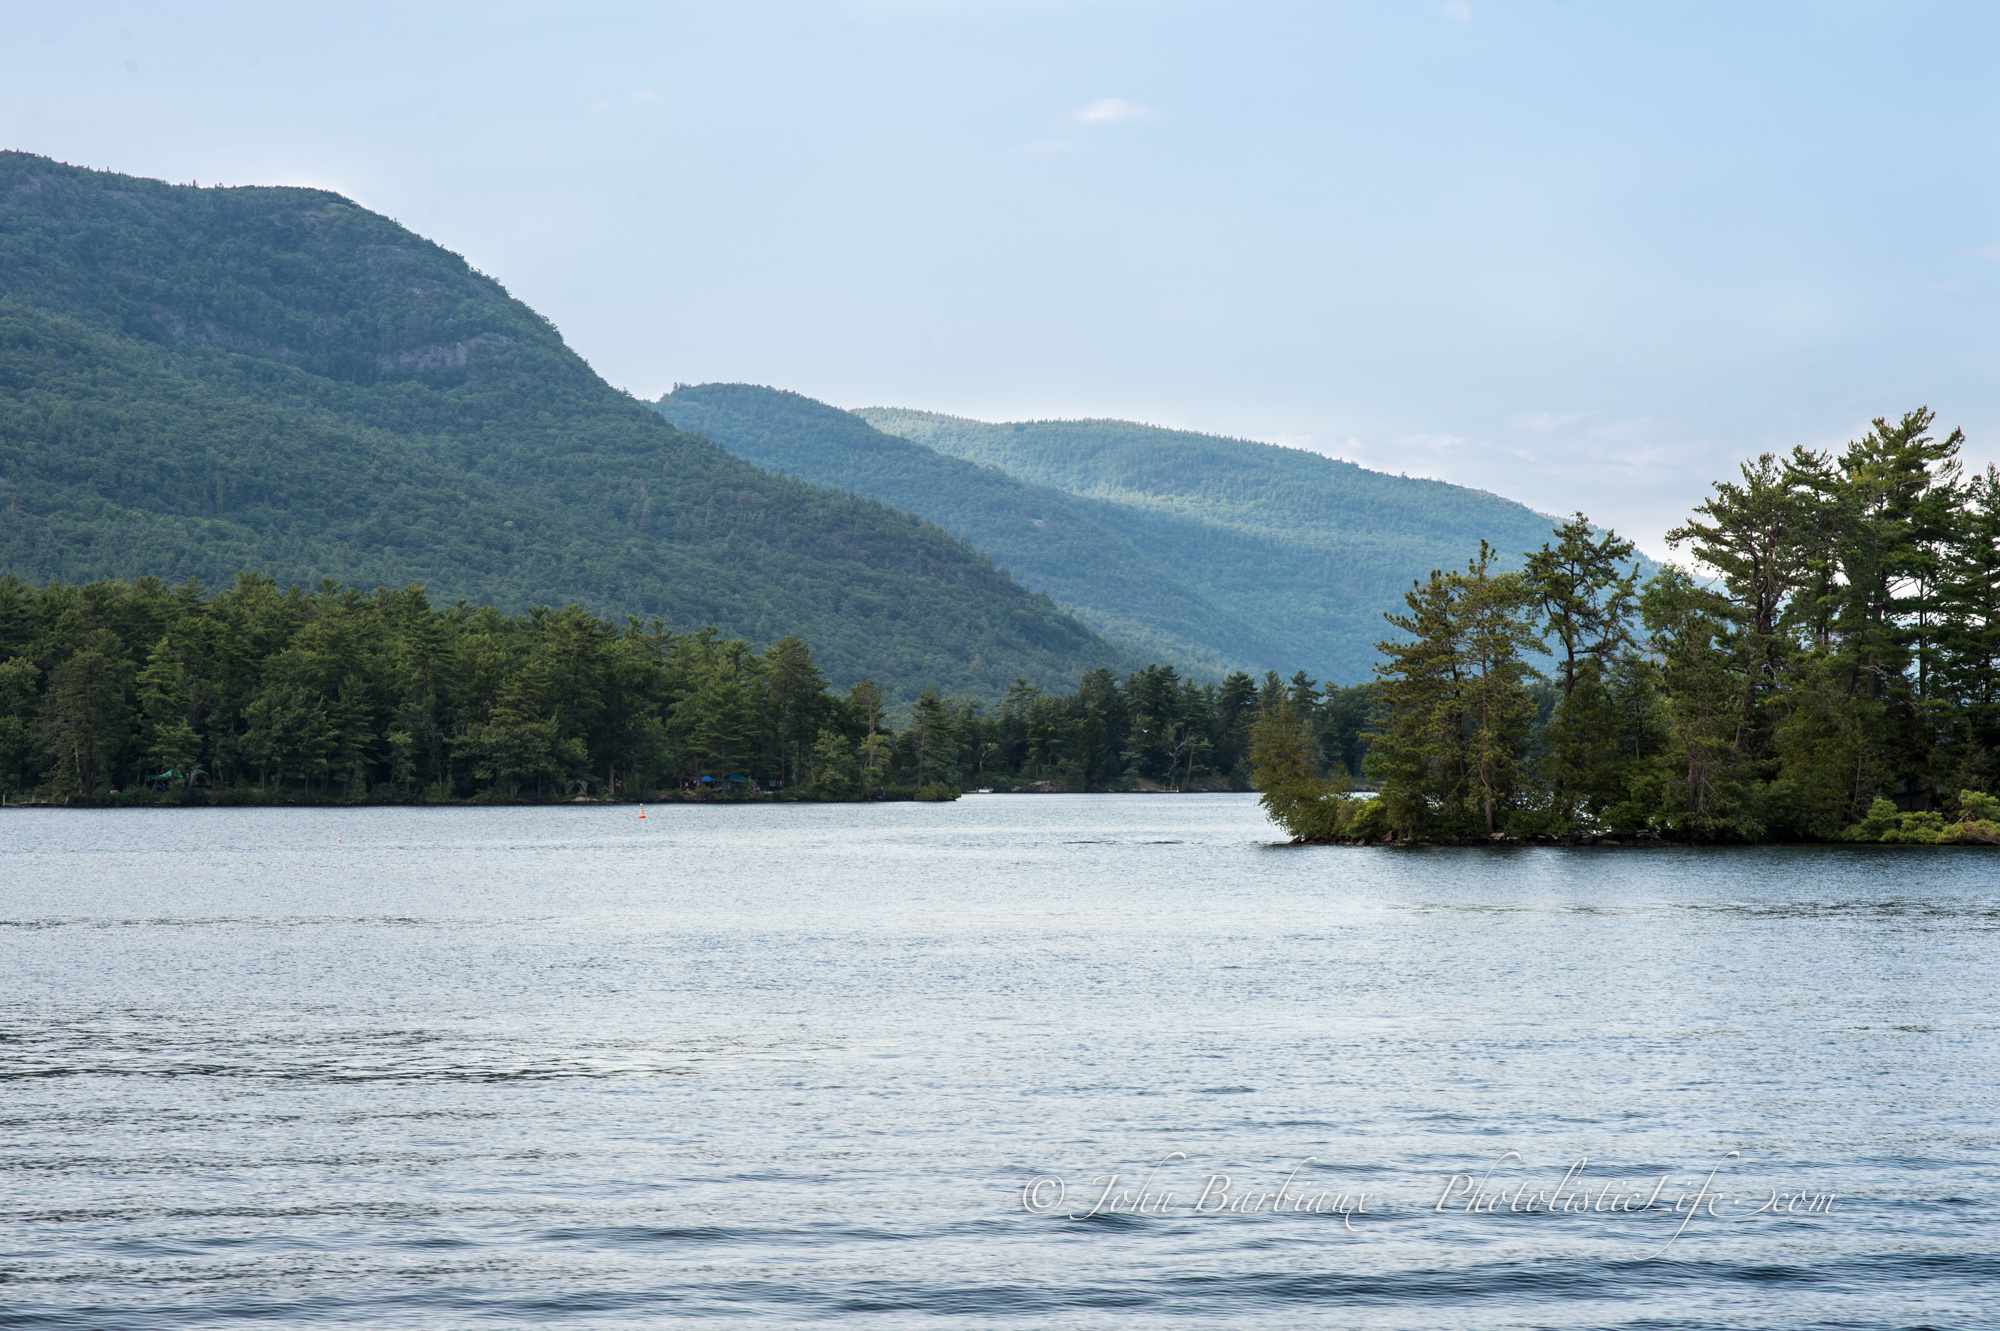 The final adjustments were done to the white and black sliders as well as the clarity (to bring out a little detail).
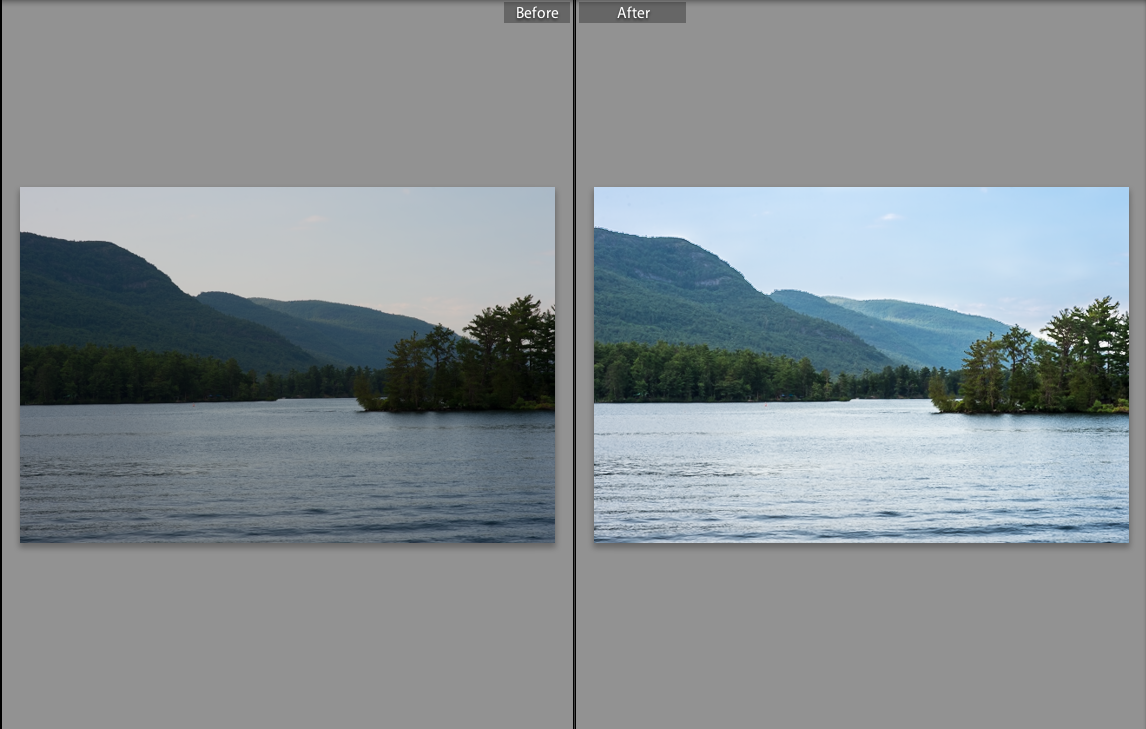
Dodging and burning does not have to have dramatic effects on your image, subtlety is key. When people look at your photography they should not be able to pick out the places where you brushed it. Dodging and burning takes lots of practice and a good eye. Give it a try!