When we talk about taking better photographs we usually tackle things like “use a tripod” or “follow the Rule of Thirds” but rarely do we talk exclusively about light… Which is weird if you think about it, light is the single most important aspect of photography, without light there would be no photo (photo literally means light).
When we talk about “Mastering Light” I don’t mean you should be able to shoot beams of light from the palms of your hands, I’m talking about the ability to see a scene and know how to create the shot you’re looking for based on the direction of light and how that will react with your camera and lens. Knowing where to stand, where to point your lens, and how to frame the light source (if you so choose) as to not blow out the image are all skills that come once you’ve mastered light. So what are you waiting for? Let’s make light your B#$@!.
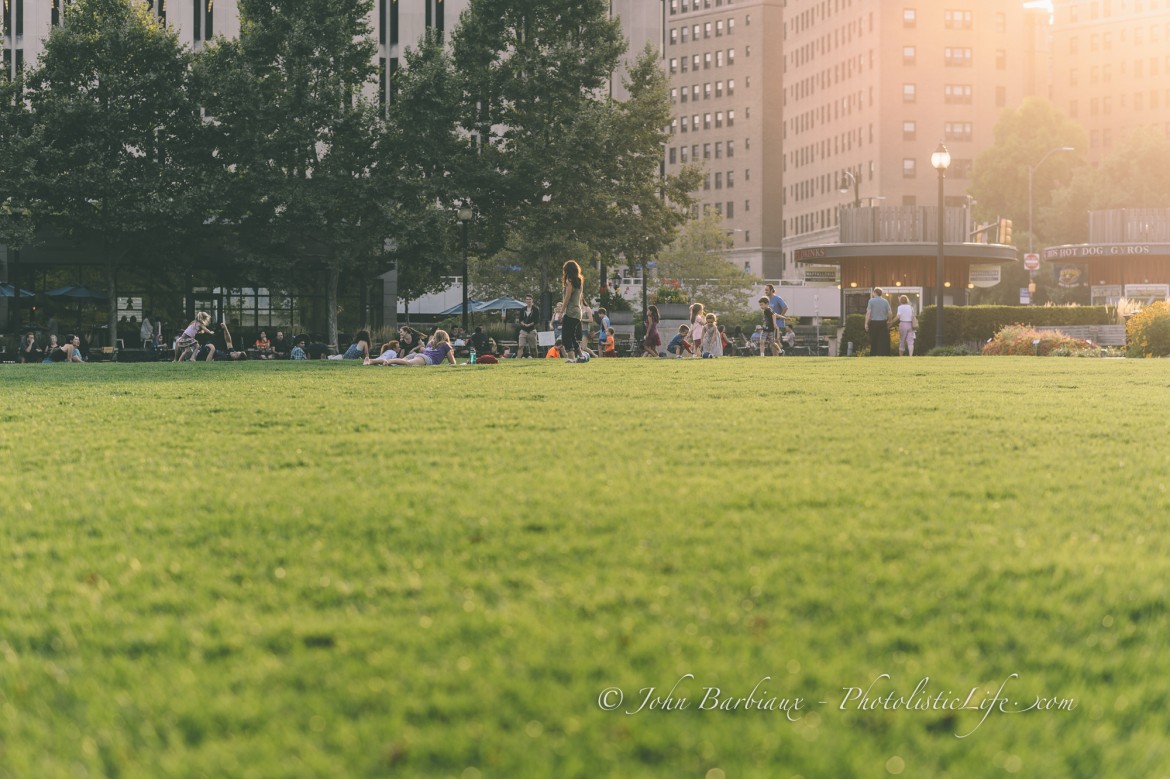
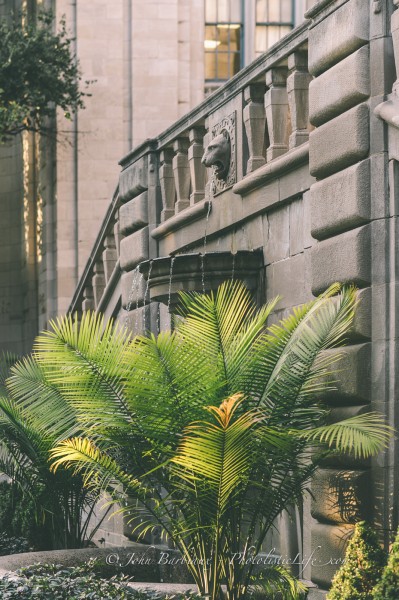 At certain times of the day light can hit a subject making it look as if it’s glowing.
Direction of Light
You probably already know the basics of mastering the direction of light… Want to create a silhouette? Put the light directly behind your subject and shoot towards it. Want to illuminate the subject? Put the light pretty much anywhere else but directly behind the subject. Well, if you’re thinking “There has got to be more to it than that!” then you’re right. When creating a silhouette you’ll also want to expose for the light source and not your subject, meaning you’ll want to underexpose the image a bit (otherwise, you’ll end up with a properly exposed subject and a blown out sky).
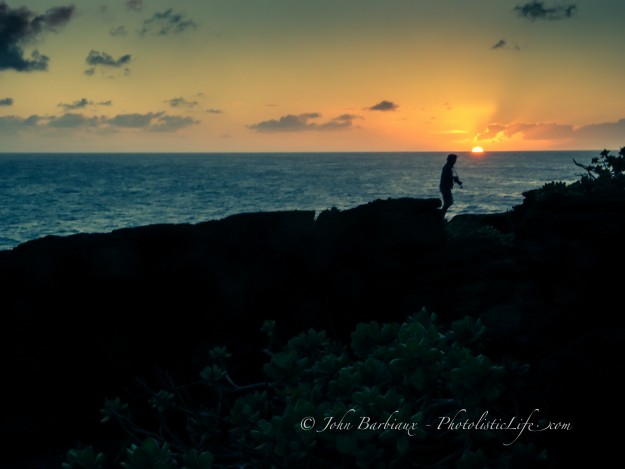 * underexposing the subject for a silhouette is the same technique used to capture beautiful sunsets where all the color and detail is captured in the sky (Sunset 101).
You can use the direction of light to emphasize a subject or outline something you want to draw your viewers eyes to. For instance, the shot below may have worked without using the light to my advantage but I have no doubt the light makes the shot more notable.
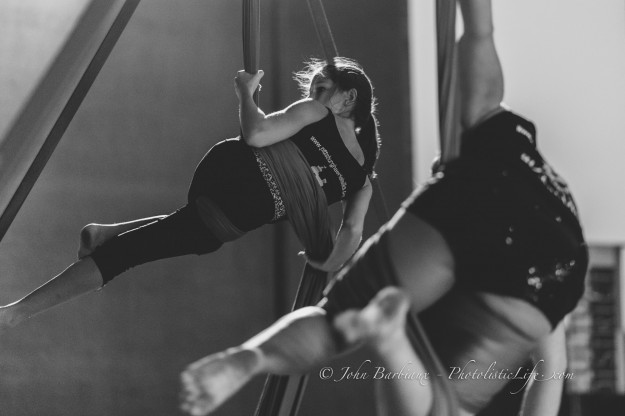 Using something as simple as a street lamp allows you to create dynamic images even after the sun has gone down.
Direction Of Light
There are literally 360 degrees of possibilities when considering the direction of light in relation to your subject. I won’t touch on all of them for the sake of our time/sanity but here are a few…
High Front Sunlight
- If the light comes from high and in front of your subject, and the subject has eyes, then you’re likely to battle squinting eyes in your photographs.
- In bright sunlit conditions the colors in a scene are generally fully pronounced.
- If the sun is too high it will cause shadows under your subjects features (eye sockets, nose, lips, and chin).
Side Light
- Side light emphasizes texture, dimensions, shapes and patterns.
- One of the most flattering types of light for portraits (but can be too harsh for some).
- Great for showing depth in landscape photography (think sunset or sunrise photographs).
Front Light
- Front light typically comes from a cameras flash.
- Front light is ideal if you’re less experiences with exposure because your camera has the easiest time metering a scene with front light (by no means does this mean it doesn’t take an immense amount of skill to master artificial lighting… it does).
- Front light is the least flattering to a subject, it tends to look harsh or fake when done incorrectly.
- Front lit scenes typically appear flat.
- If your background is out of range of your flash then it will appear dark and underexposed while your subject will look brightly lit (sometimes this is sought after and sometimes it’s not).
Back Lit
- Everyone likes a good silhouette.
- Back lit photography is the trickiest to perfect but the results are dramatic and appealing.
- Subjects that are back-lit sometimes have flattering halos and landscapes develop nice shadows which emphasizes texture.
- Dark subjects lose much of their detail.
- Can cause lens flare.
- Most people try to overcompensate with exposure compensation and blow out the background (a full frame camera is worth its weight in gold because of its ability to capture more detail and later be recovered in post processing with a magic slider called “shadows”.
Quality Of Light
Believe it or not, different times of the day have different qualities of light. The often talked about Golden Hour is the hour enveloping sunrise and sunset where the sun is near the horizon and the light is softer (indirect) creating ideal light for many types of photography. The sunlight is usually more reddish or yellow in color and shadows are longer.
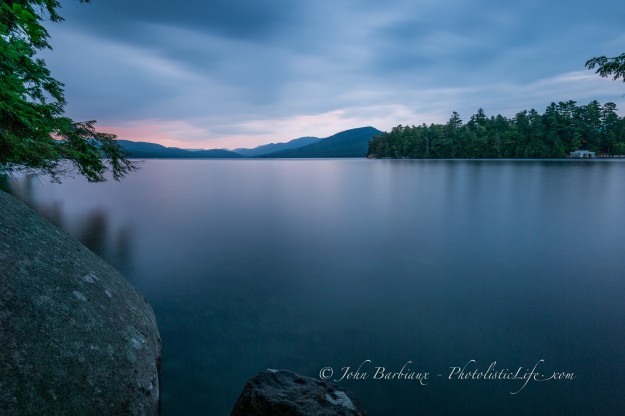 Blue hour is sometimes even more beautiful than the often talked about Golden Hour
Blue hour, the less talked about but equally important time, is present the hour before the sunrises and the hour after the sun sets. Blue light is indirect light occurring when the sun is well below the horizon (out of view) and the residual light takes on a blue hue… Or for the technical people out there, it’s when red light passes straight into space while blue light is scattered in the atmosphere and then reaches the earth’s surface.
For more on the Blue Hour check out my recent article: What Is The Blue Hour
The quality of light varies greatly depending on weather, timing, and location (if you’re shooting in the shade of a large building the light may be ideal in the middle of the afternoon because there is no direct sunlight). I’m sure we have all heard of people leaving their cameras behind because of an overcast day… if you ask me, that is crazy! When the sun is covered by clouds the light is diffused and shadows are all but eliminated, creating great conditions for all types of photography.
Knowing when the best light is available is only half of the battle. Knowing how the different directions of light will impact your final image before you even press the shutter is the other half. Sure, you can get lucky every once in a while (a blind squirrel finds a nut once in a while) but why not practice and become familiar with the different qualities and directions of light so you can quickly capture a fleeting moment the way you want rather than leaving it up to luck.
Knowing things like how near to the sun can I point this specific lens before I have to battle lens flare are things that good photographers know, only practice will tell you. Revisit familiar areas and you’ll learn where the sun rises and sets, when the ideal time to photograph is, and how best to utilize the lighting. I assure you, revisiting an area time and time again is one of the best ways to improve your photography. Be sure to visit at different times of the day, different seasons, in different lighting, and shoot from different angles (including straight towards the sun).
Be sure to bookmark or subscribe to PhotolisticLife to follow this series on mastering light. You can subscribe by entering your email on the right side of the screen or you can follow us on Facebook.


Great article, John. Thanks for posting.
Thank you!