Those of you that follow this site know by now that I am a huge advocate of trying to get the best image you possibly can out of your camera so that you don’t have to spend time processing the images while you could be out enjoying life. And if you don’t follow the site… Start. Once you learn the ins and outs of your camera you will inevitably learn of your cameras shortcomings. What? You mean my camera doesn’t take photos exactly how my eyes see things?? Sorry, it’s true. There are plenty of tools in Photoshop and Lightroom that can alter an image so that it can closely resemble what you see but here we will talk about a tool that can help you achieve the same results without having to perform wizardry on your computer. Next to the circular polarized filter the grad ND filter is my favorite.
Note: For those of you that prefer wizardry, there is a tool in Lightroom that will give you the same results (it’s also called a neutral density filter).
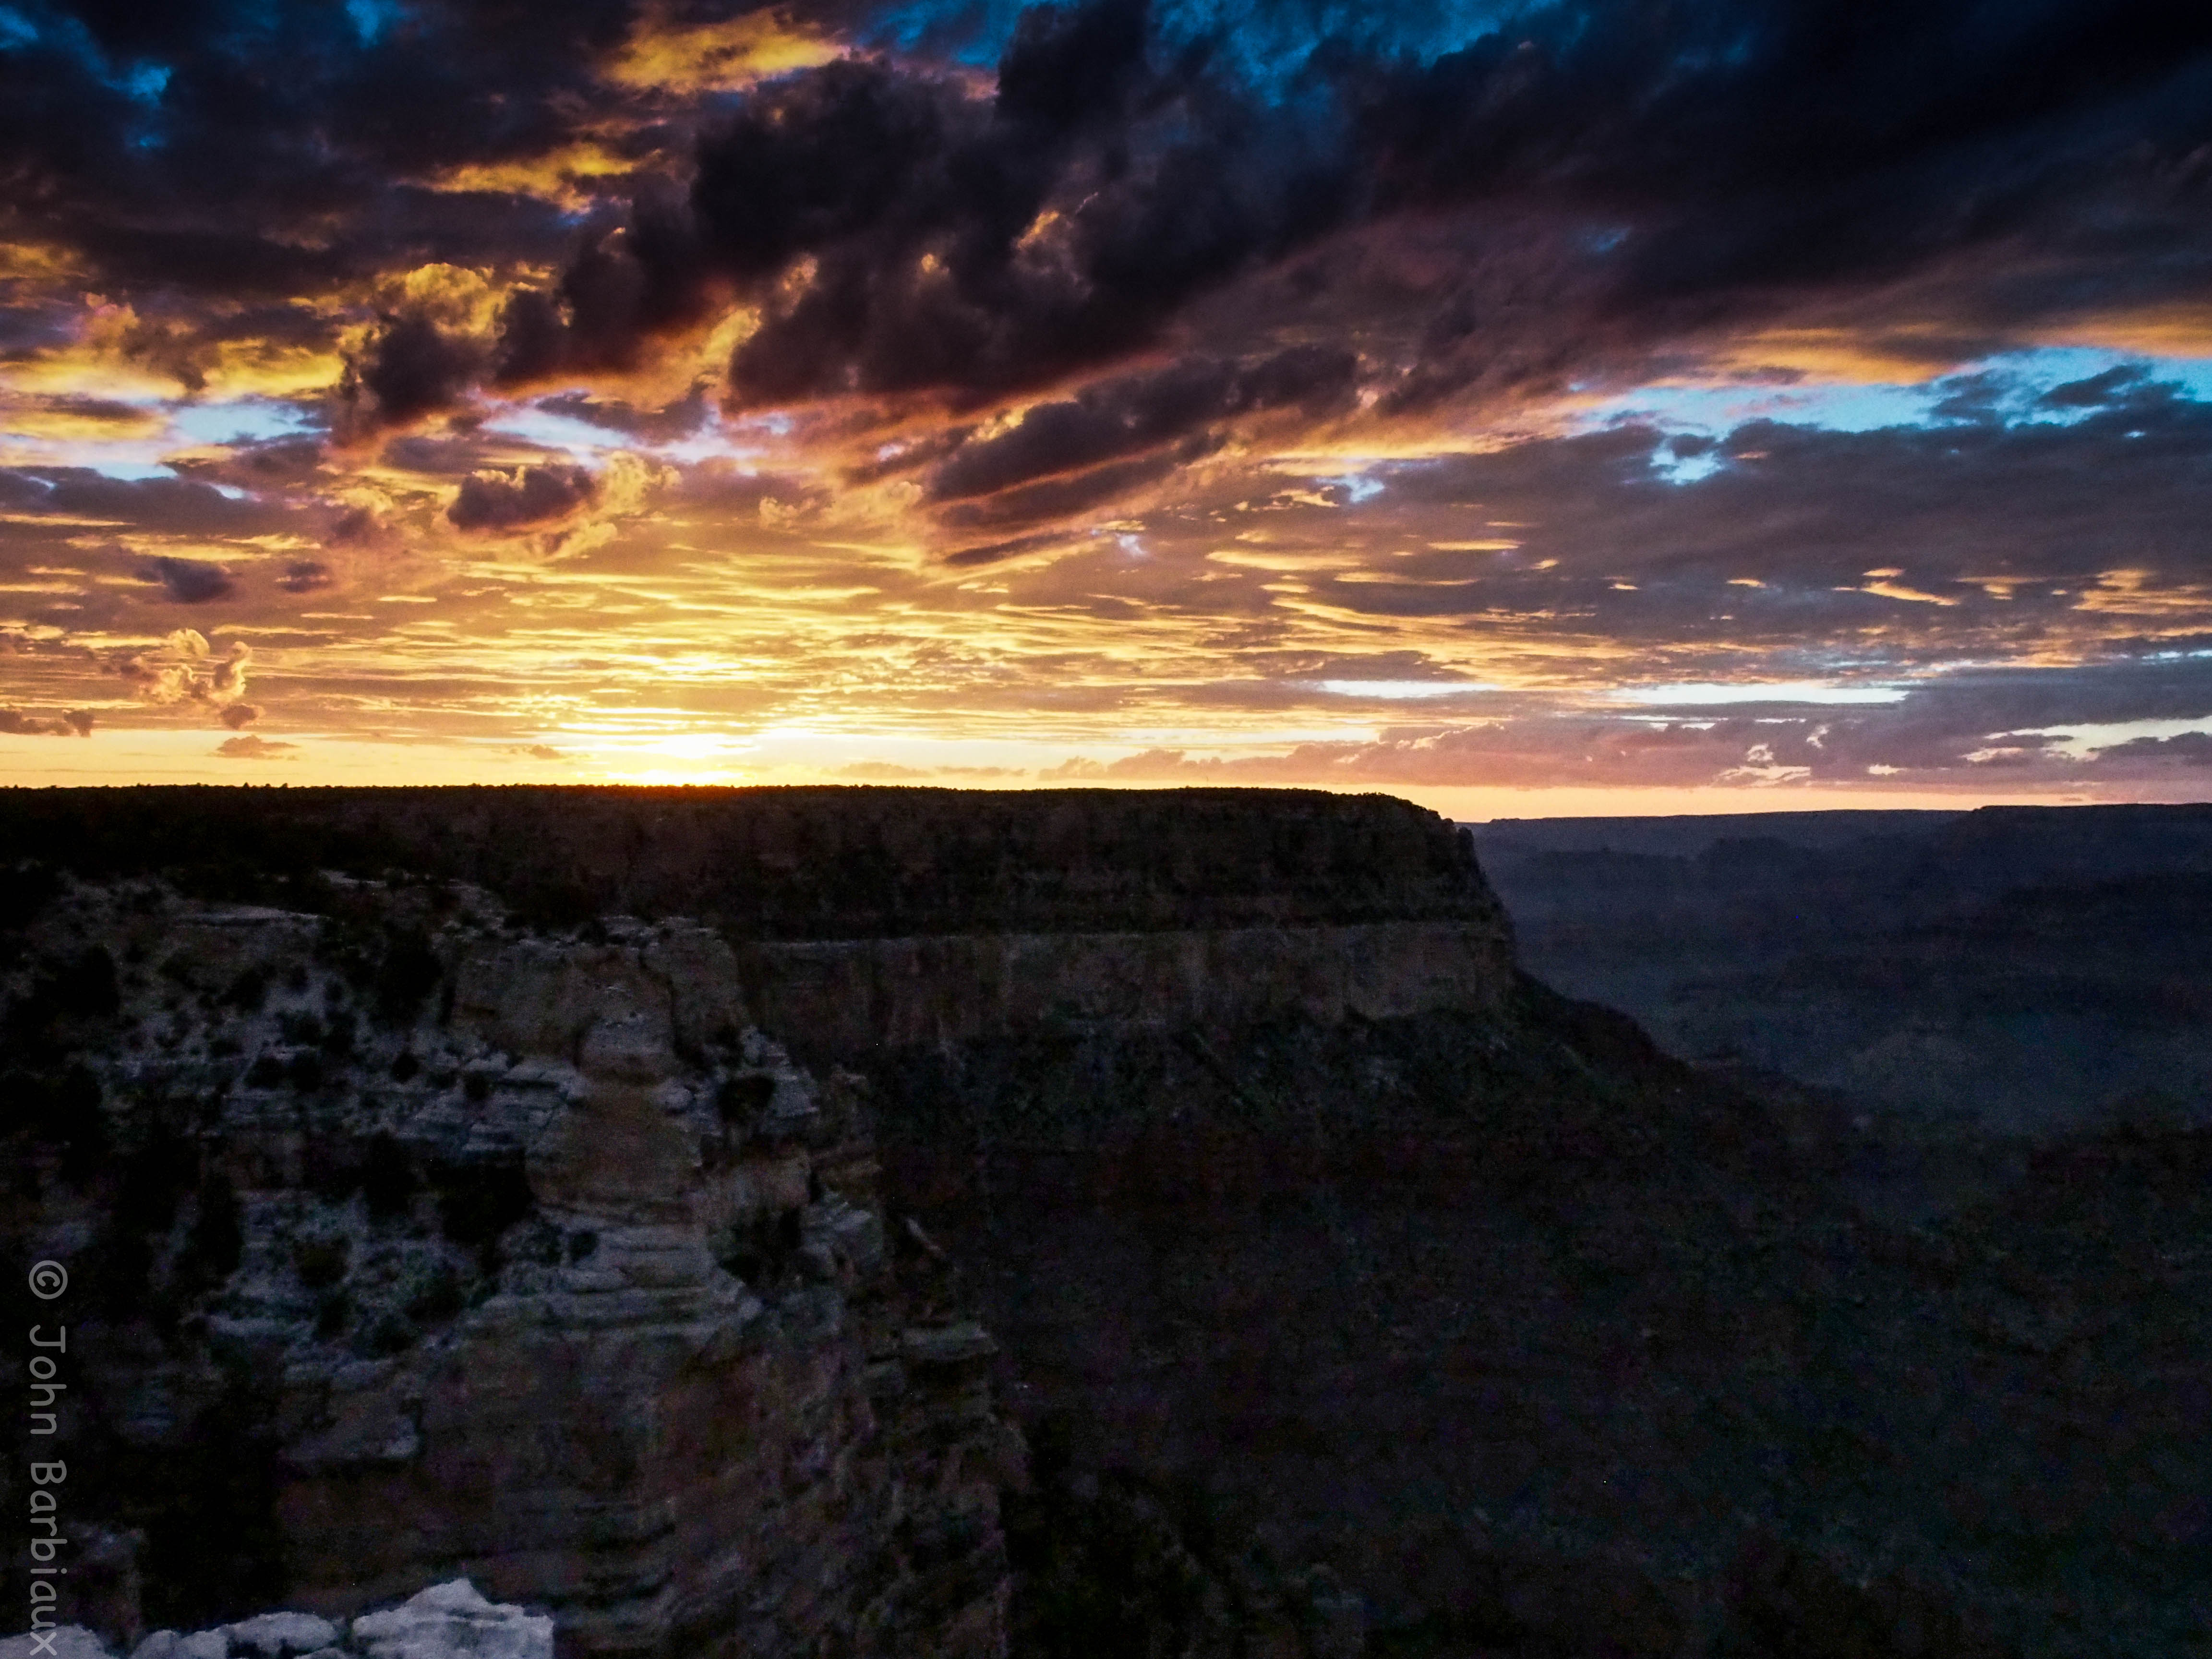
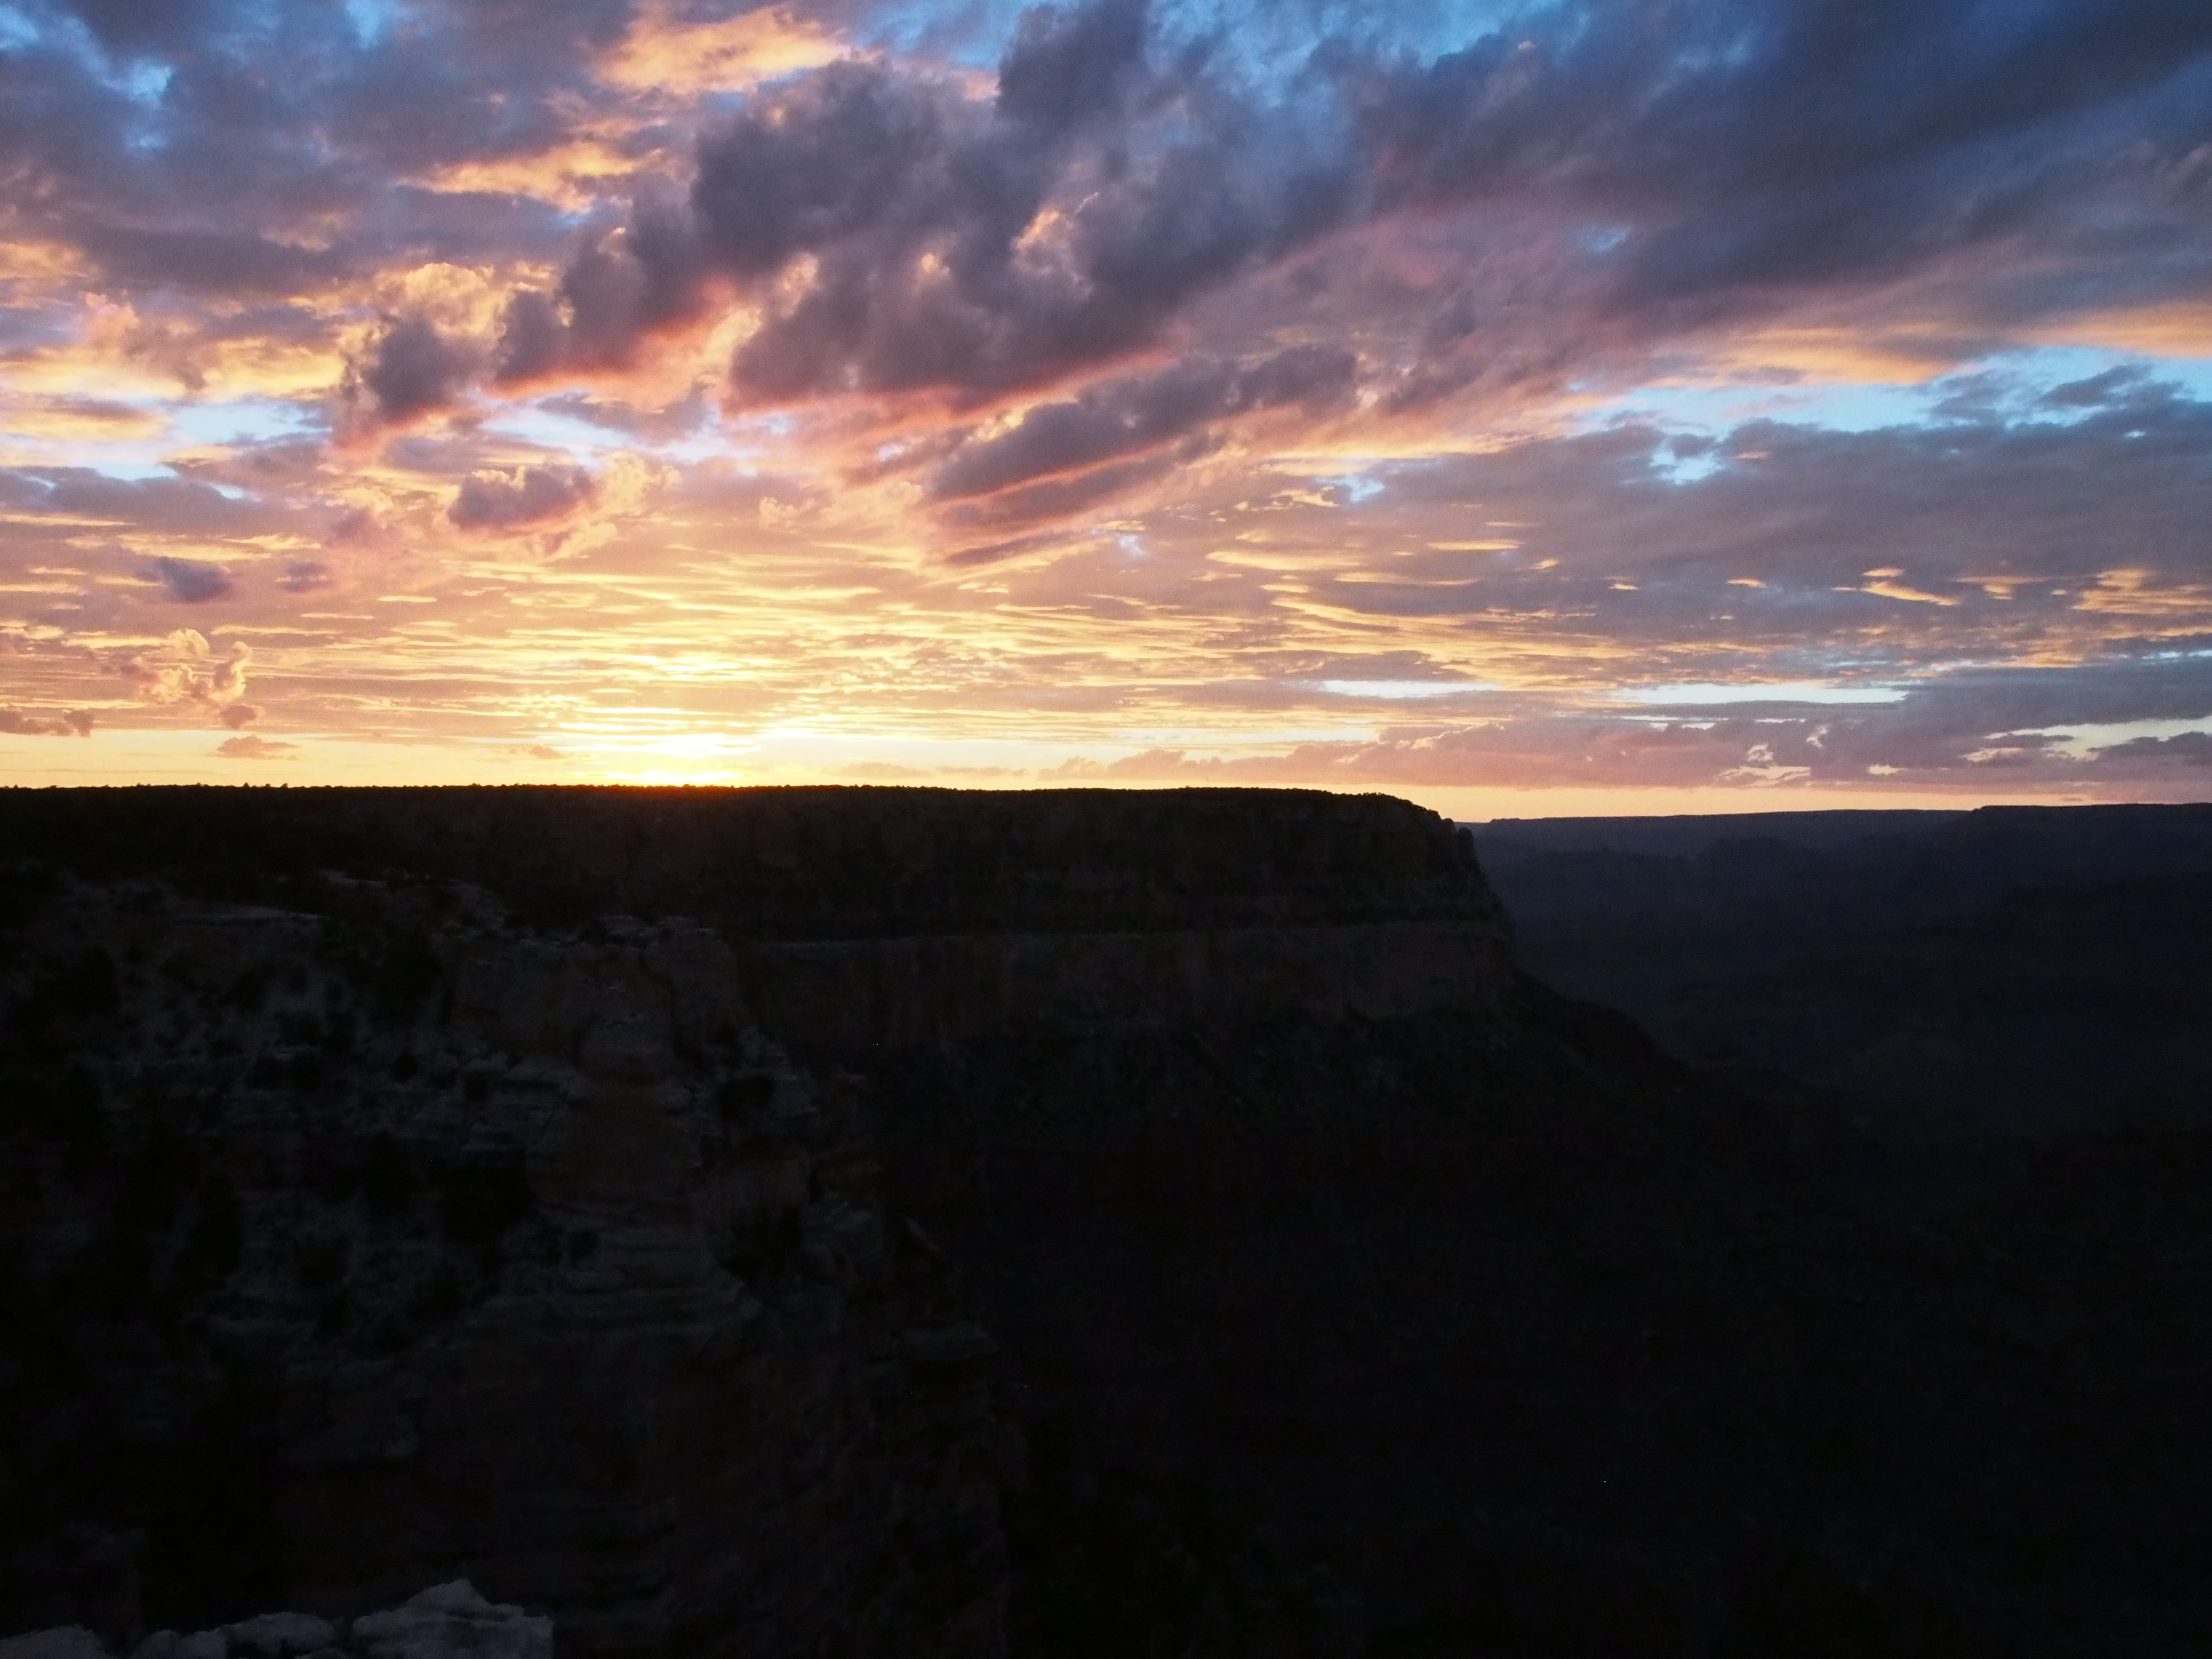
The photo below is an example of an image taken from the camera without using any kind of filter or post processing. You can see how the camera struggles with exposure when you have a bright sunset against a foreground. Either the foreground can be properly exposed or the sunset, not both. The photo above was the best compromise I could get. Usually if I don’t have a filter I would error on the side of the colorful sky and blow out the foreground making it completely black giving the picture a nice contrast. But let’s say you want to keep your foreground exposed to give the viewer some context and you want your sky beautiful. How do you get your cake and eat it too? Grad ND filter (otherwise known as graduated neutral density filter) to the rescue (Top Photo).
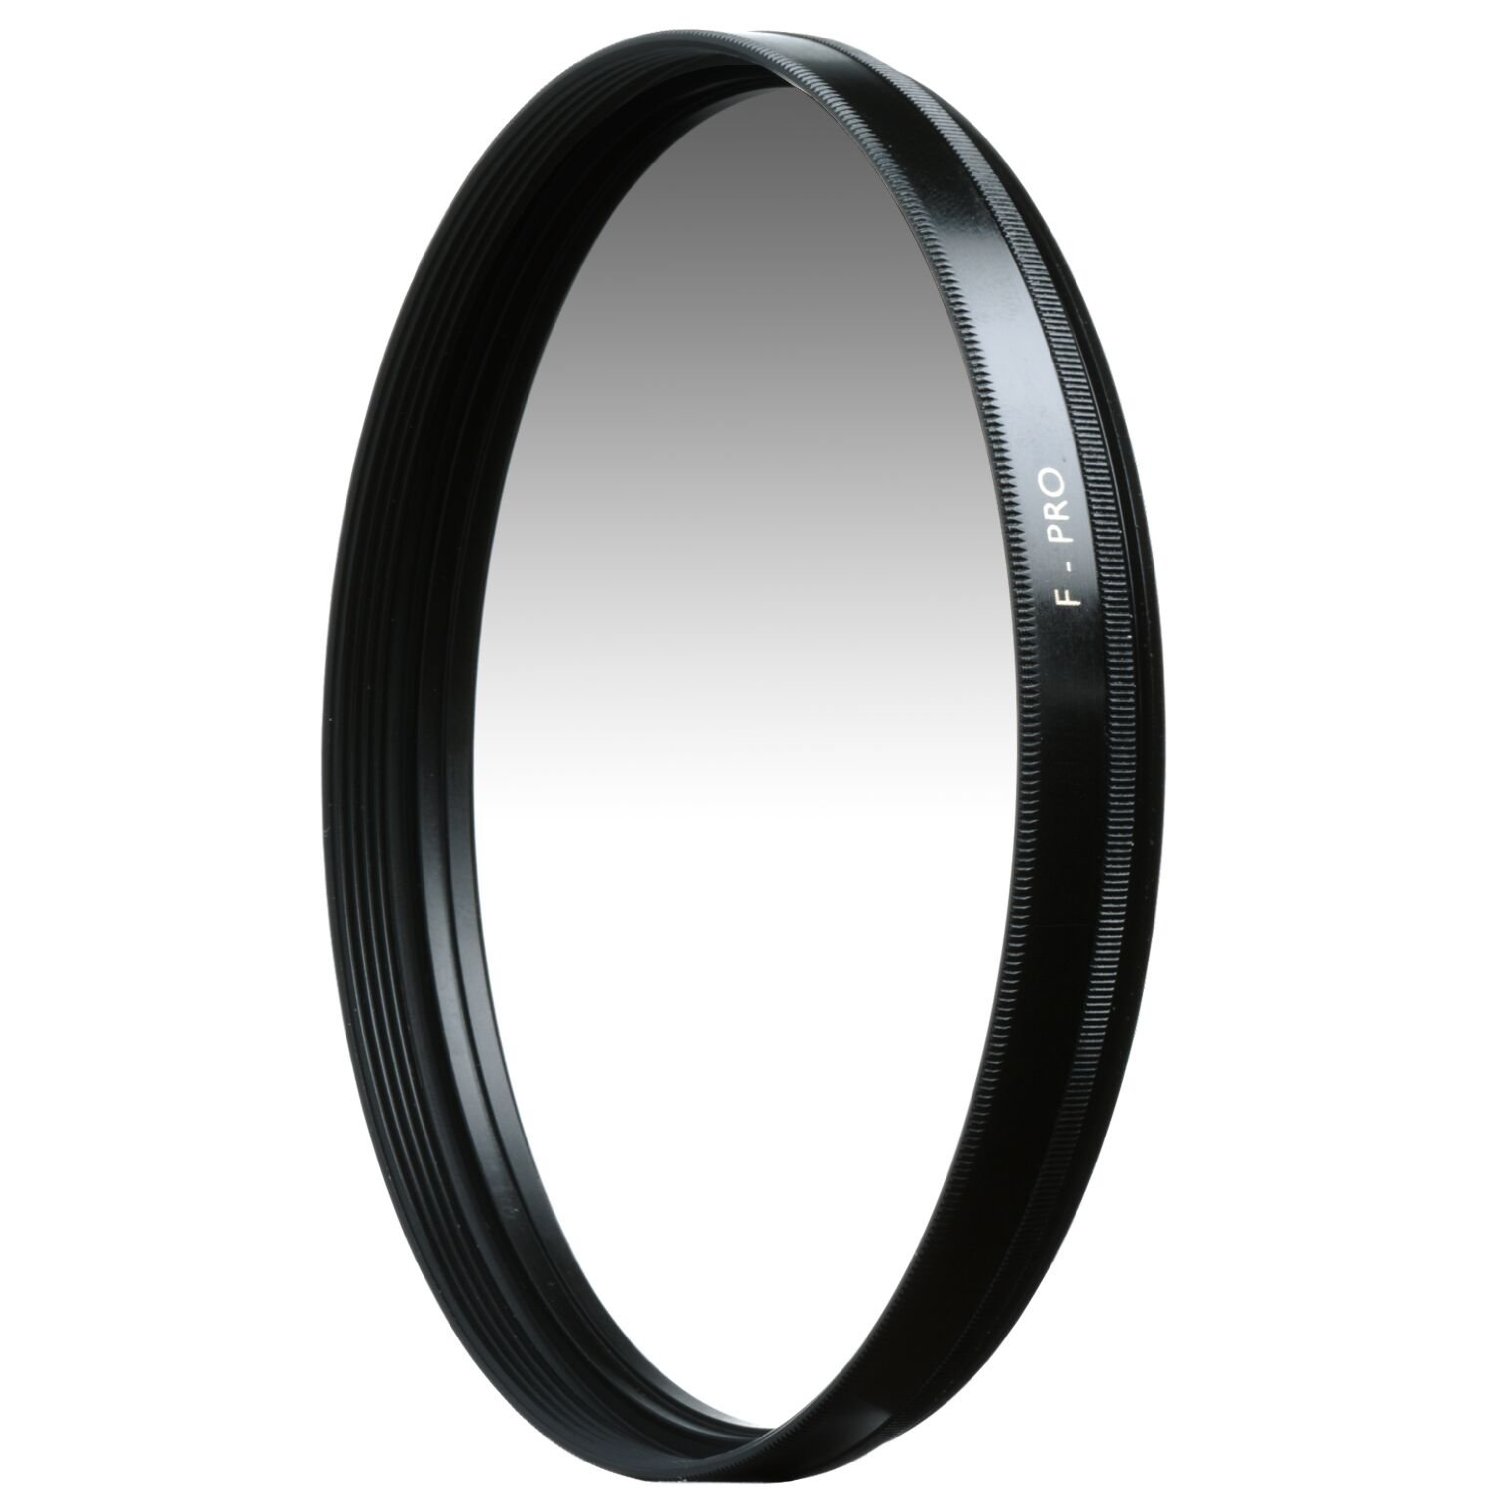
Once you get a graduated neutral density filter you will see that it is pretty straight forward. Screw it onto your lens and rotate it until the darker area is where you’d like it. For the photo at the top I was able to set my exposure so that my foreground was fairly clear while the sky stayed a beautiful dark color. Sunsets aren’t the only place you can use this type of filter and graduated filters aren’t the only version of a neutral density filter.
If you’d like to learn more about the different types of filters available for your camera check out our camera lens filter guide. Remember not to skimp on your camera lens filters, the quality of your photo is dependent on the quality of glass you shoot through. The best available are made by B&W, hit one of the links above to visit the Amazon page and learn more about them, or just click here Captain Lazy: Graduated Neutral Density Filter.


So with the graduated neutral density filter on the lens for a sunrise photo, for example, you would still meter for the sky – correct? Also you recommended a 6 stop and a 10 stop but the link in your review takes you to filters that say they are only 2 stop I believe?