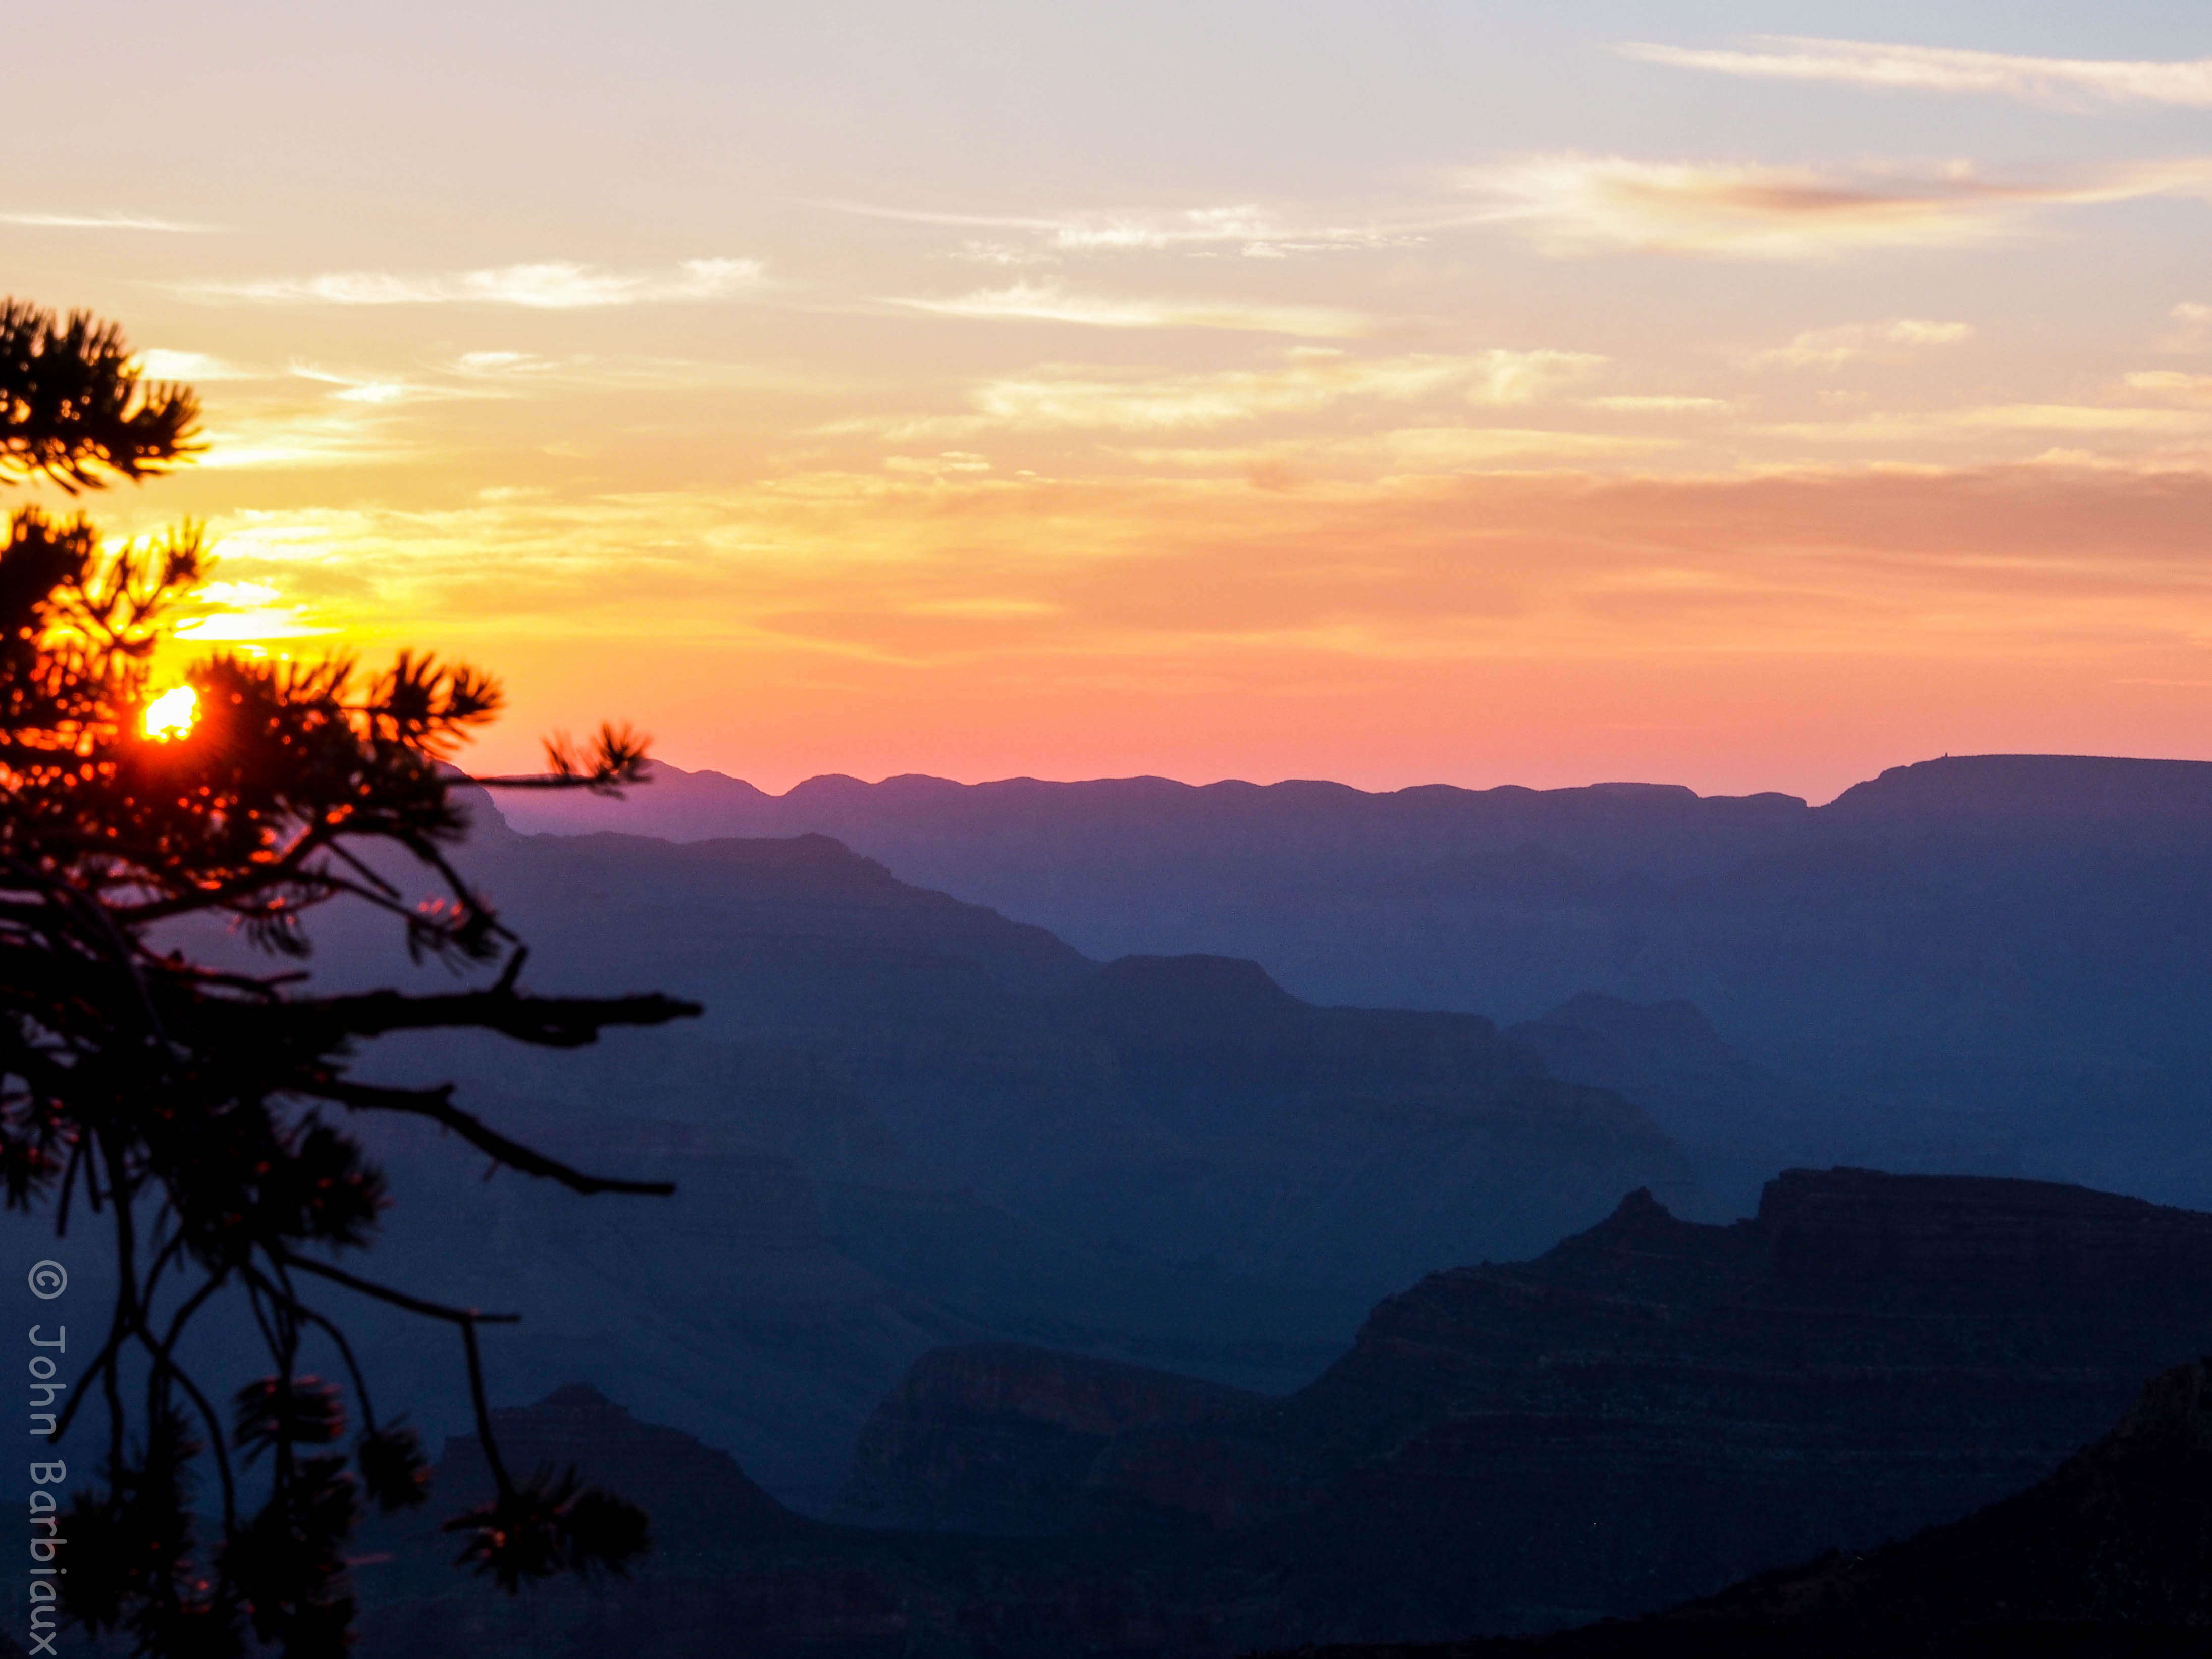
Photography is a million times more popular now than it ever has been. There is a vast amount of people who have a camera on them, in one form or another, almost constantly. Companies have kept up or sprung up with all sorts of accessories, hardware or software, to fulfill the needs of the mainstream photographer like never before. Unlike the new cutting edge software or hardware products that are springing up, Neutral Density filters have been around since the days of analog photography, since before Steve Jobs was an Apple in his mother’s eye (pun intended).
Neutral density filters are becoming well-known tools rather than obscure seldom used objects only seen in a professional photographers bag. Almost every photography magazine you read will have a section (each month) devoted to neutral density filter tutorials. As you begin to use neutral density filters in your own photography you should be aware of some of the common mistakes and how to avoid them.
Light Leak

The neutral density filter works by limiting the amount of light that is able to enter your camera so you can slow your shutter speed down. Using a strong ND filter (6 or 10 stop) will allow you to keep your shutter speed open for multiple seconds in direct sunlight. The problem with this is that your viewfinder will leak light into your camera causing streaks of light or discoloring in your image.
The solution is simple, cover your viewfinder. Amazon has plenty of cheap solutions for viewfinder covers or you can hold your hand over it (I’d recommend the cover as holding your hand over it can cause you to bump it and ruin the shot).
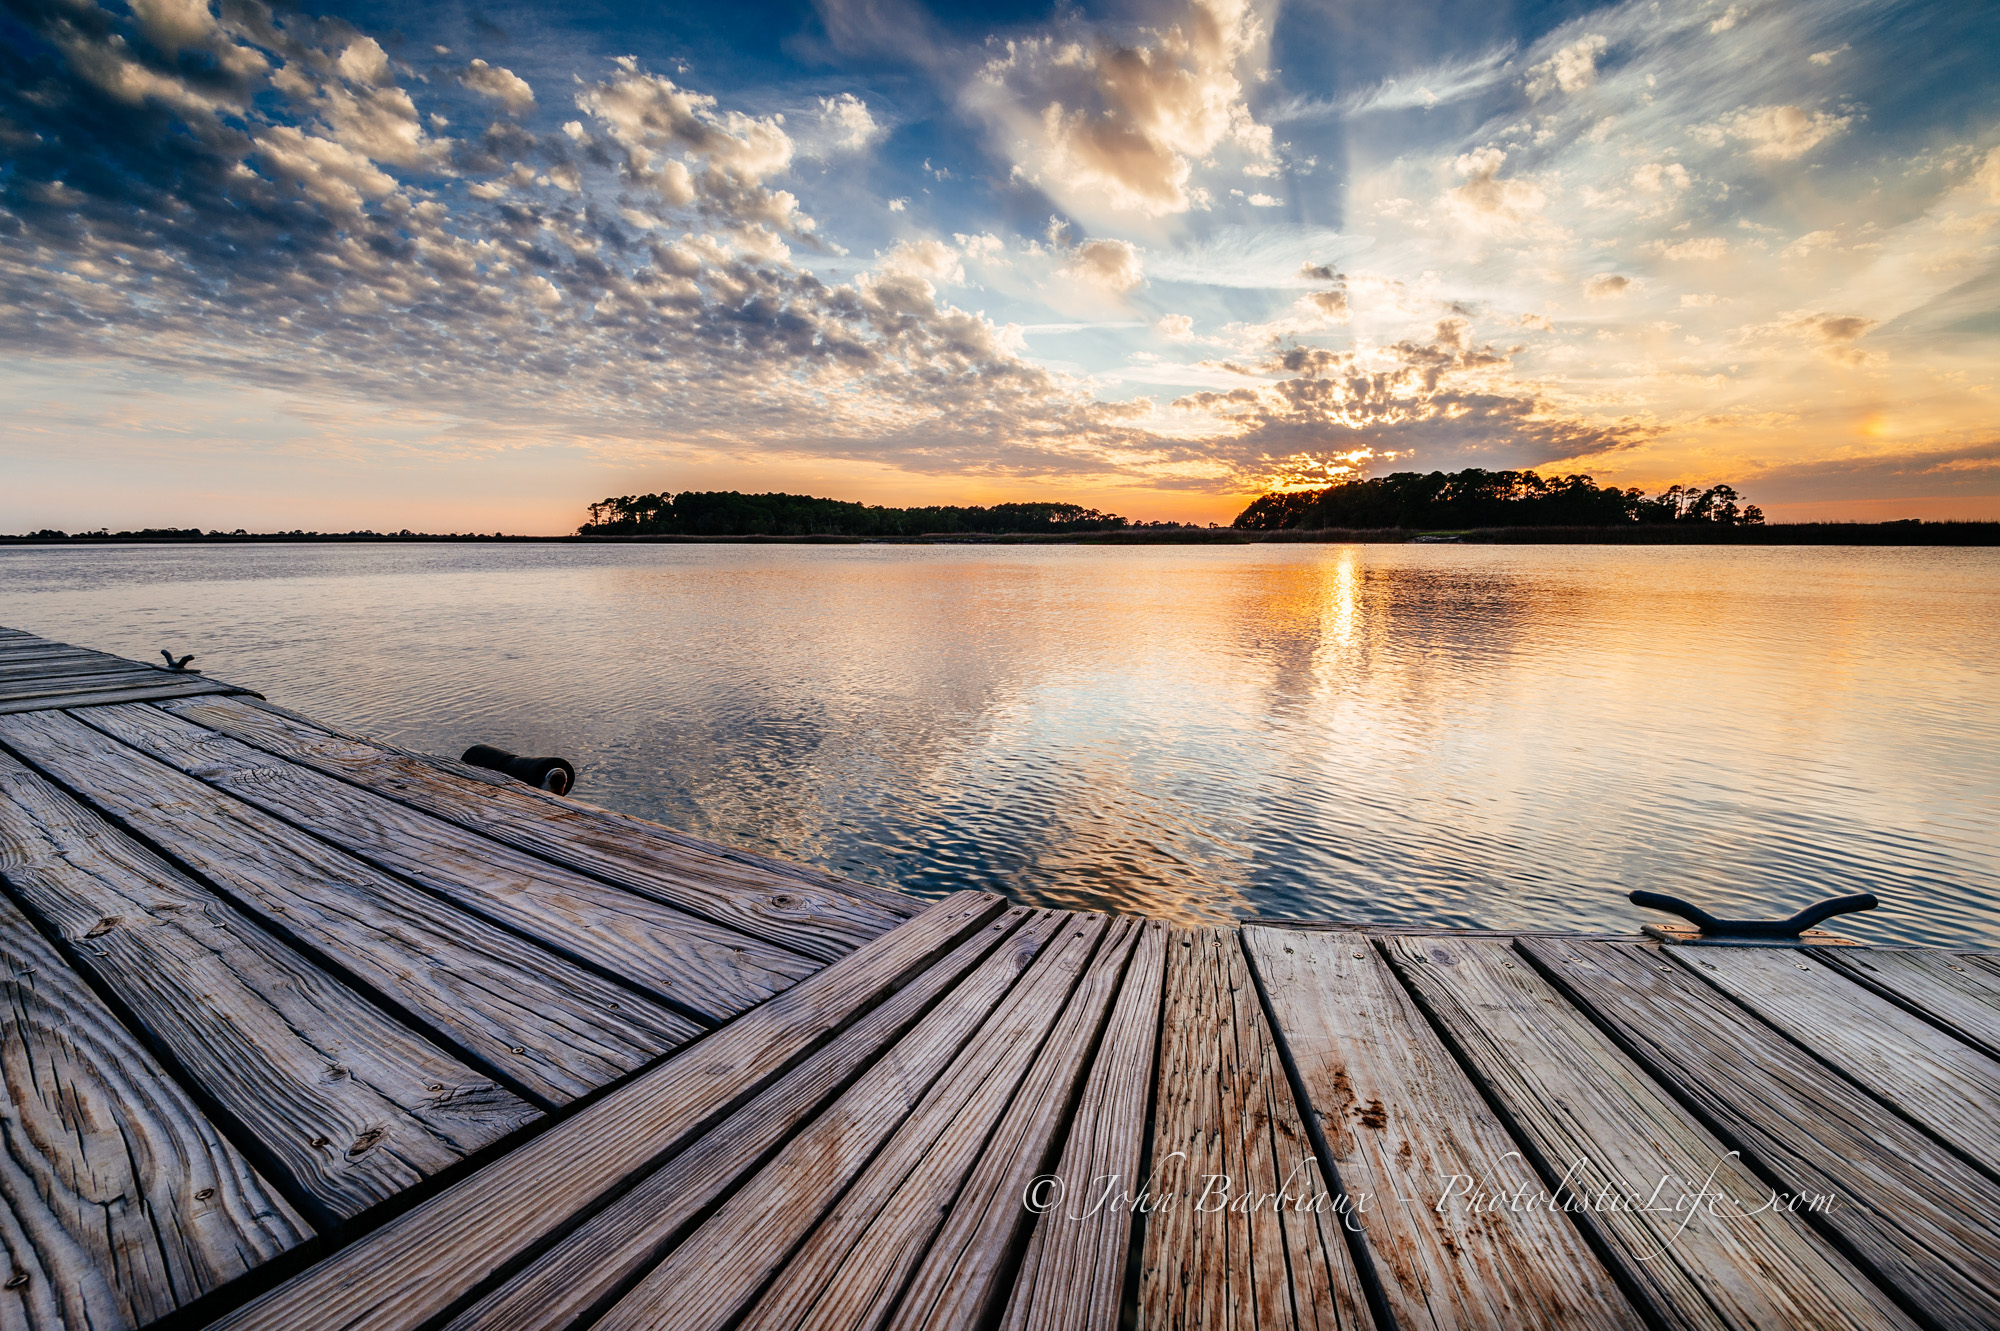
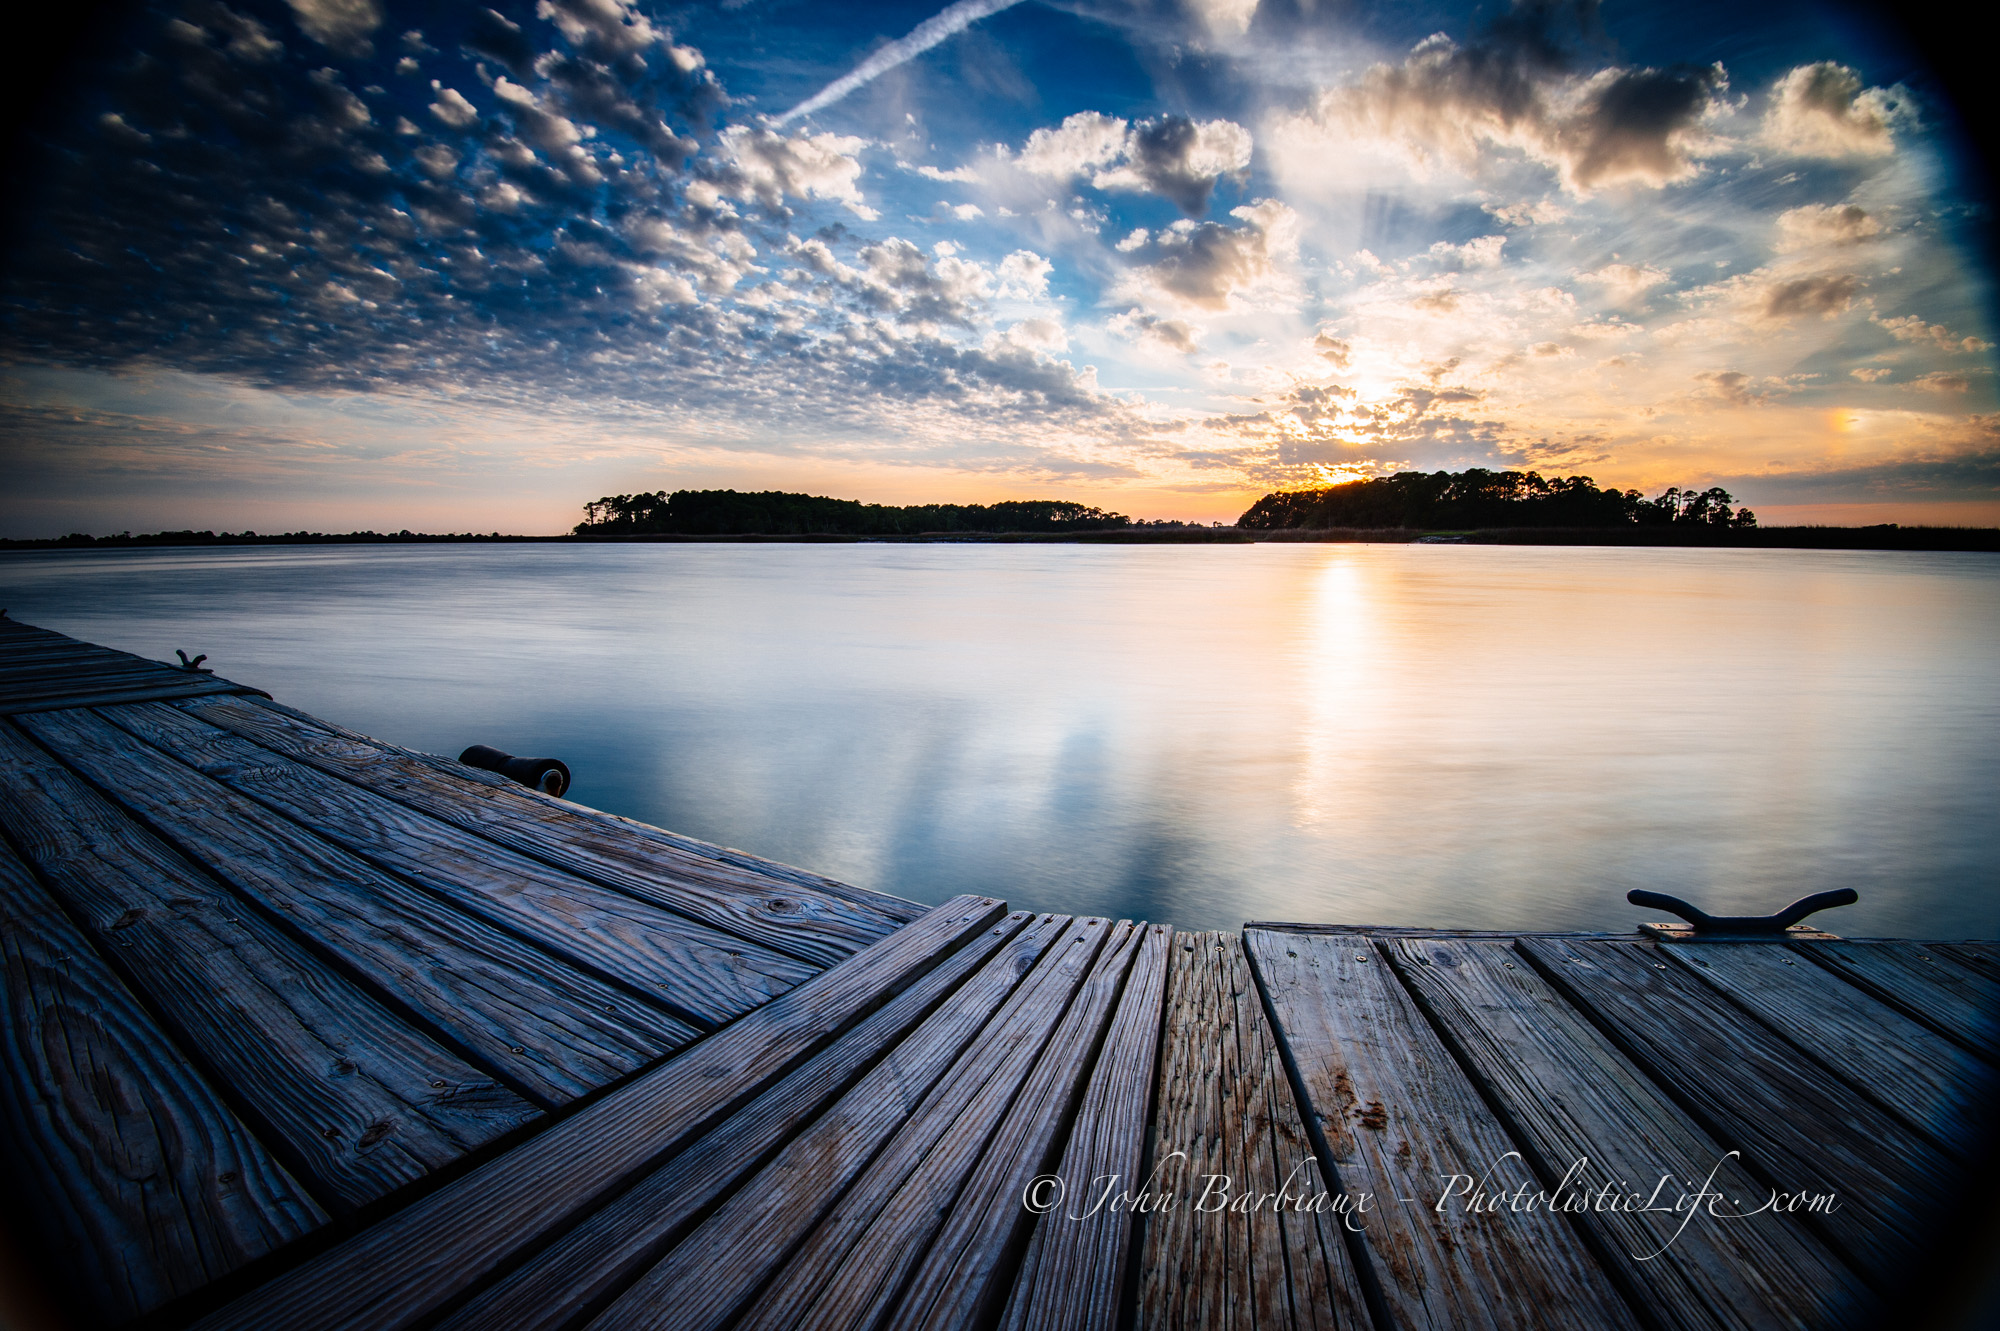
Color Cast
 The ND filter caused the image to have a pinkish color cast
Not all filters are created equal and contrary to the definition of a ND filter, some neutral density filters can alter the overall color of an image. This is easily remedied by shooting in RAW, allowing you to adjust the white balance as needed in post processing.
 Took two seconds to adjust the white balance (in Lightroom) to tone down the color cast a bit
If you take a more naturalistic approach to photography and would rather not spend a lot of time in post processing, or you shoot with film, then you’ll want to invest in a high quality (think expensive) ND filter from a company like B+W.
Focusing
If you use a strong ND filter there is a good chance you won’t be able to see through the viewfinder in order to focus and your auto focus will hunt, and hunt, and hunt, but come up empty because there just isn’t enough light to focus. The solution is to focus your camera before you attach your filter.
When focusing your camera you could either manually do so or allow the camera to use auto focus and once focus is obtained switch to manual without bumping the lens. Once you have the camera focused where you want it carefully screw the filter on and you’re good to go.
Choosing The Correct Shutter Speed
When you use a strong ND filter your camera will struggle to meter correctly for exposure. In fact, most cameras only go to 30 seconds in any mode other than bulb or time mode. You’ll want to invest in some sort of shutter release remote (if you press and hold the button or press to initiate the shutter and then press to stop the shutter you’ll introduce a moderate amount of shake to the camera).
Calculating the exposure time you’ll need while using the ND filter does not have to be rocket science… There are plenty of apps for your smart phone that will allow you to punch in a couple details and it will give you the exact time you need (one such app is NDCalc for the iPhone). The apps will have you enter the shutter time without the filter (the time you’d use for proper exposure) and then the type of ND filter you are using in order to output the exact exposure time with the filter that you’d need.
Another approach is the half-ass approach, probably the more popular approach, where you guesstimate the time needed and then retake the shot 3 more times until you have the desired approach.
Accidentally Leaving The Camera In Auto Mode
 Taken in aperture priority mode the camera compensated for the graduated neutral density filter by over exposing the image.
Leaving your camera in automagic mode with a normal ND filter may work out with weaker (lighter) ND filters but will render a graduated neutral density filter pointless. Your camera will compensate for the dark area the filter introduces and then over expose the image.
 Using a graduated neutral density filter in manual mode you are able to properly expose the image to take advantage of the darker portion of the filter and bring out the colors in the sky while not underexposing the foreground.
Switch to manual mode when using filters like this and you’ll be able to take full advantage of their strengths. If you are not comfortable using your camera in manual mode read my Simple Guide To Using Your Camera In Manual Mode.
Stacking Filters – Vignetting
 Stacked a neutral density filter and a grad nd onto a 16mm lens. The result is a good photograph with vicious vignetting.
Some photographers will stack filters to create really dynamic images (Think neutral density filter with a graduated neutral density filter to extend the shutter speed and also retain the colorful sunset without under exposing the foreground). You’ll get relatively heavy vignetting if you use a wide-angle lens (lots of landscape photography is taken with wide angle lenses) but there are a couple of solutions.
 Same image above with the vignetting cropped out of the picture.
First, you could zoom out to something like 35mm and all but eliminate the vignetting. Second, you could crop the image in post processing to eliminate the vignetting. Either way, you will loose some of the field of view due to the cropping or zooming. A lot of filter manufacturers make filters that are thinner than traditional filters for just this type of thing, I’d recommend buying them if you are a fan of wide-angle lenses and stacking filters.
 Stacked Filters
Conclusion
Neutral density filters are one of the most powerful accessories you could add to your camera. Even though the best ones will cost you close to $200 I believe they give you the most bang for your buck when looking for something to take your photography to the next level.
When shopping for the best filter I’d recommend buying a filter that fits the largest lens you own or will own and buying cheap step up rings (adapters used to attach a larger lens filter to a smaller lens) for 5 or six dollars on Amazon.