
I don’t need to tell you how popular photography has become, millions of people have a camera on them at all times (think cell phone camera) and you would be hard pressed to photograph something that has not already been photographed in the developed world. For a photographer to set themselves apart they need to create a style. But even that is getting crowded, there are black and white photographers galore, light painting has a cult following, ICM (intentional camera movement) has thousands of practitioners, and just about every other style is rather saturated.
You could still take a photograph of a bird sitting on a branch (yawn) or a squirrel chewing on an acorn (type squirrel eating in Google images and see how many millions of photos show up) or you could create your own style all together and make something that will actually grab people’s attention. If you love taking photos of wittle bwirdies it doesn’t mean you need to stop, it just means you need to make some changes. The changes could be lighting, composition, post processing technique, or anything really… Just so long as it doesn’t look just like the millions before it.
First Thing First
This article is not meant to tell you that your style is boring or wrong. I hope that after you read this it awakens some creativity you’ve got locked in the basement of your brain that you lower lotion down to in a bucket or it gets the hose again. The first thing I notice when someone asks me to review their portfolio is how precise their technique is but how un-refreshing it is… Like drinking flat pop. I used to do the same thing and I quickly grew bored with it. Once you know how to capture a sharp photograph that is properly exposed it’s time to take your photography from a science to an art.
There are many different ways you can create stunning photography that stands out from the rest, this runs the gamut from post processing tricks to your specific style. Here are a few:
Composition
Close Up
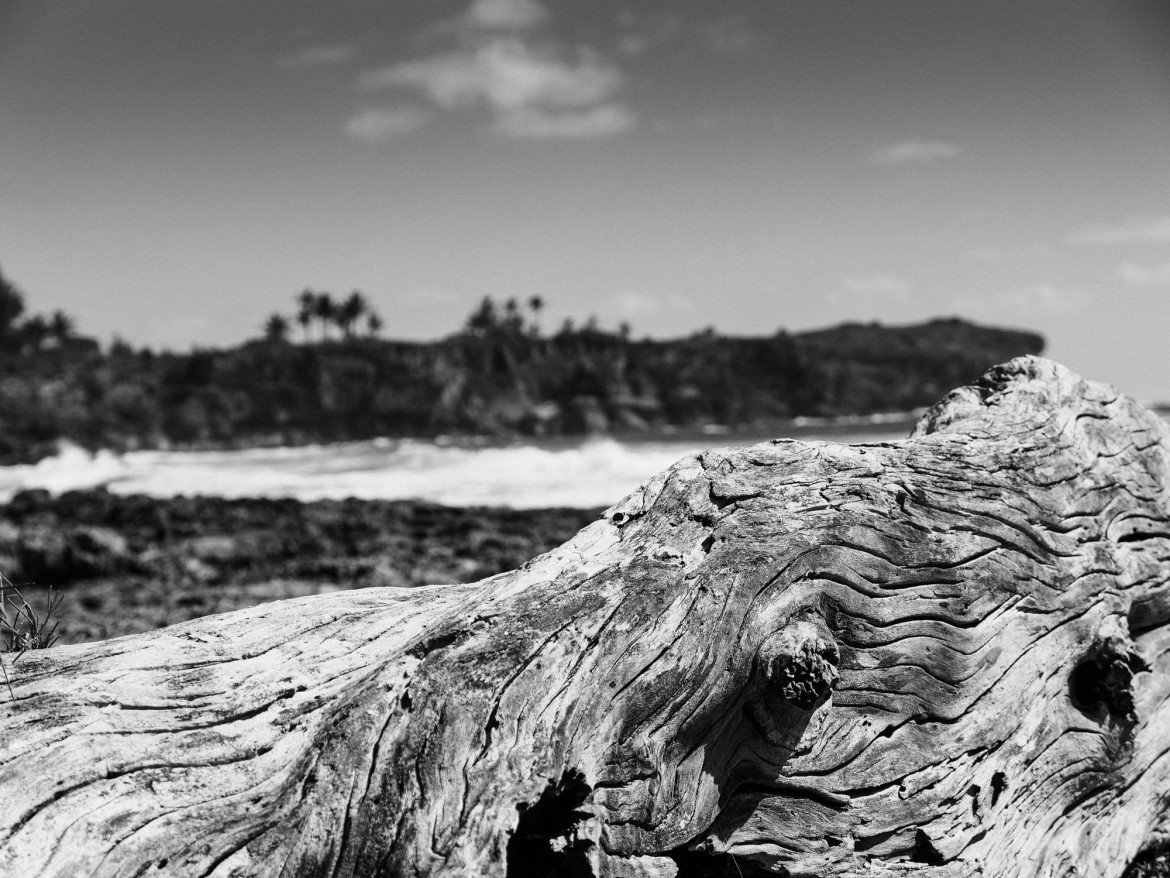
As opposed to taking an ordinary photo and trying to incorporate everything you see into the frame, try to zoom in with your camera (either with the lens or your feet) to what really catches your attention. Isolate that and work the image by trying different angles to capture the right pic.


None of the above images are cropped, these are all the original composition. I start by looking at a scene that interests me and then I subtract elements one by one until I find the element that really drew my interest. Another way to isolate the part of the image that is most interesting is to ask yourself if the image would still catch your attention if this or that were missing, whichever part of the image that makes you think that the image would be less interesting without is an ideal subject for this style of photography.
Angle
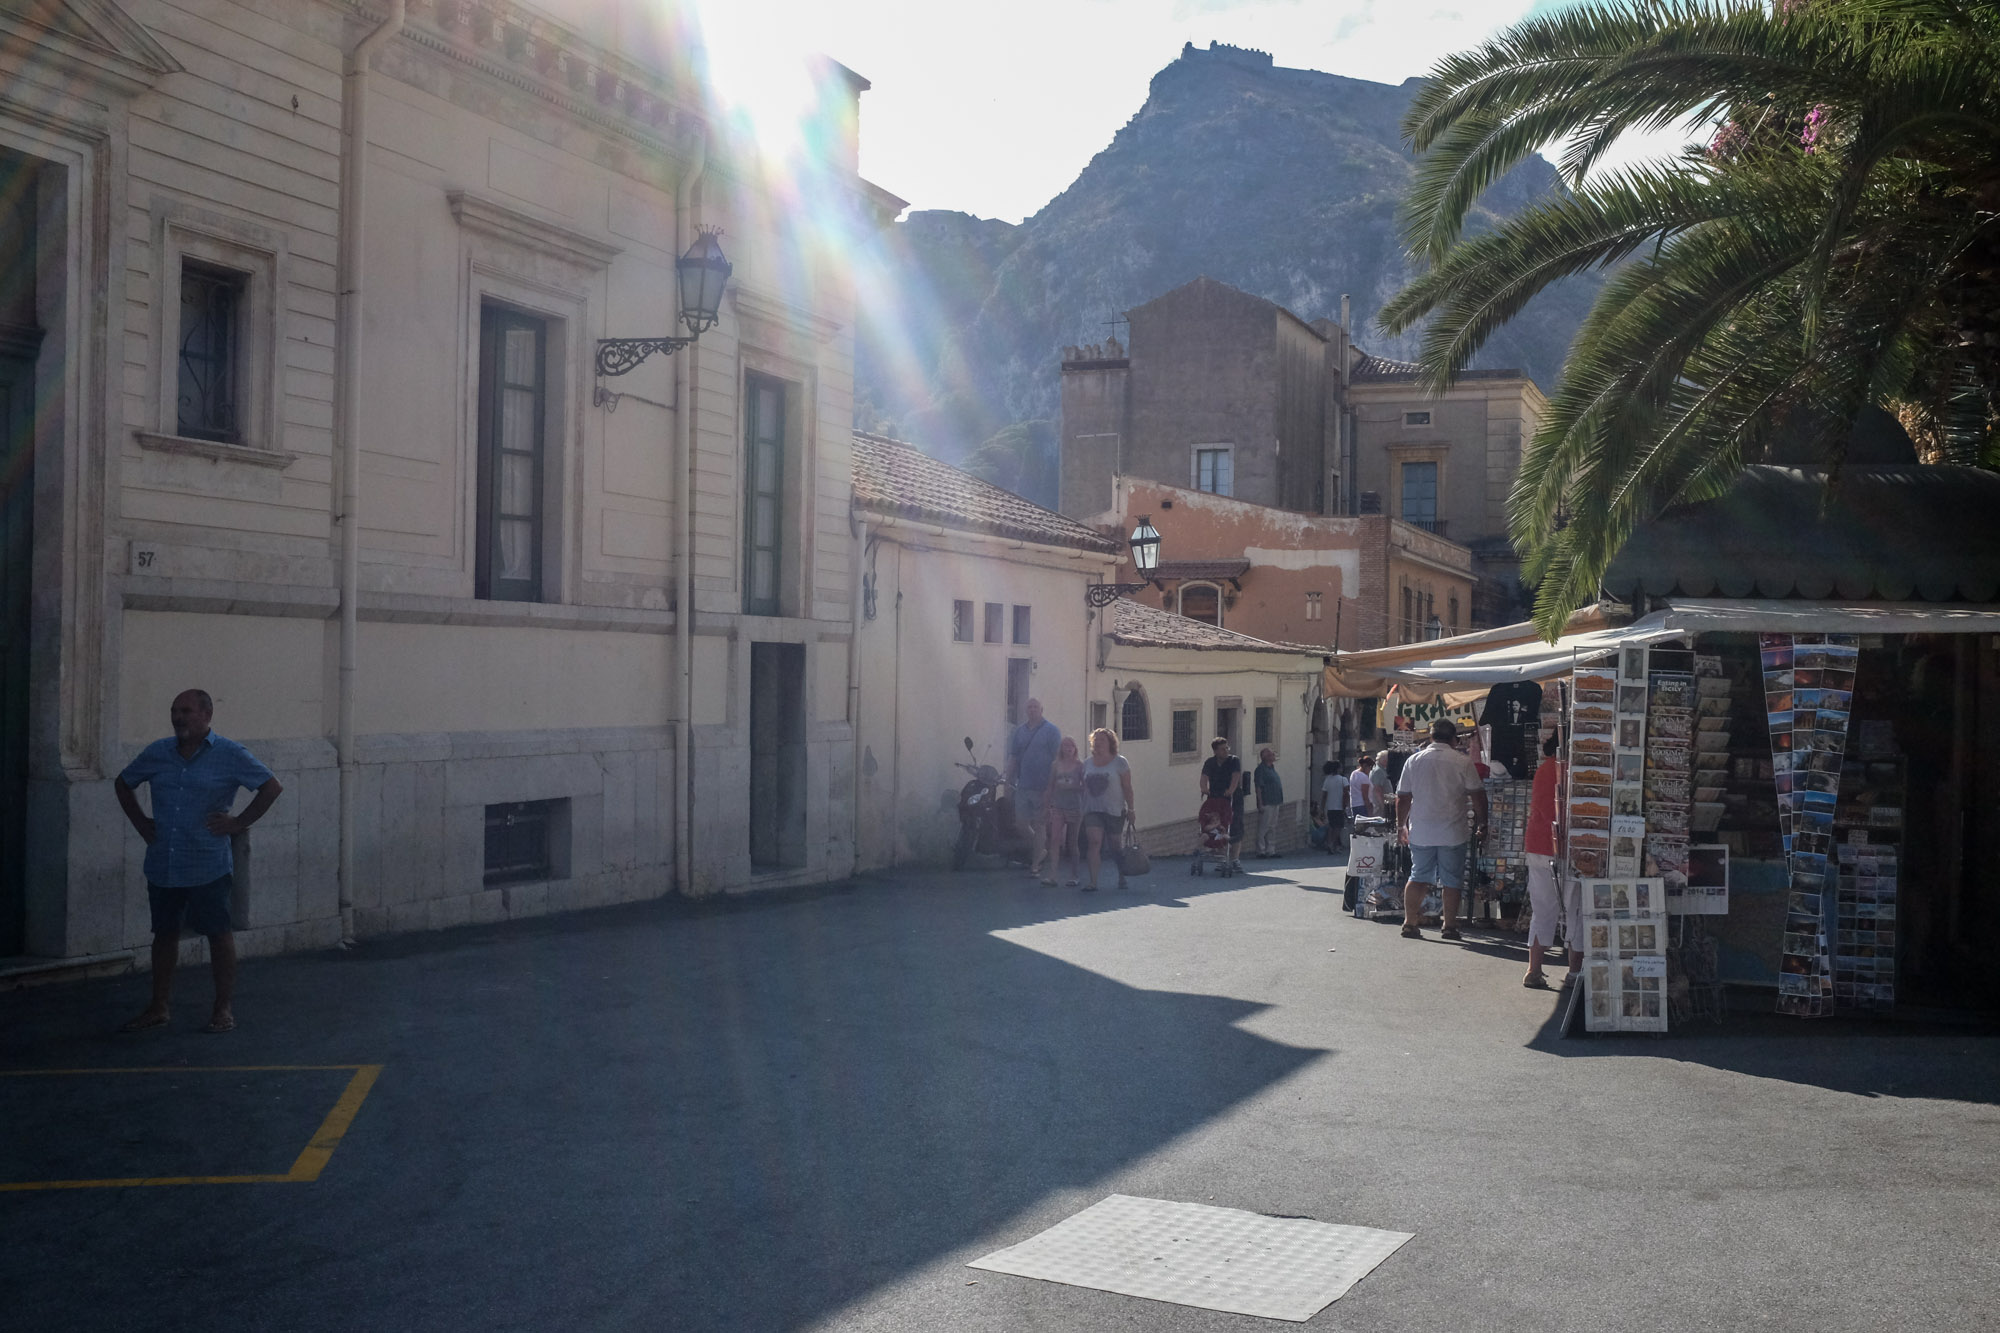
I say it all the time, change your perspective for interesting shots. You don’t normally see people laying on the ground taking photographs so that is where you need to be. When was the last time you saw someone climb a tree for a photograph? Give it a try. You can’t get unique photographs taking photographs in other people’s shadows.
 This shot was with the camera only an inch or so off the ground. Shooting close to the ground like this has yielded me plenty of great shots that stand out compared to others.
 One of my more popular shots was taken by kneeling down as low as I could get and shooting up the stairs towards the cat… You can almost hear the cat thinking “what the heck?”
Use Filters
If you aren’t familiar with the different types of lens filters that are available for your camera then you are really missing out. Check out my article Camera Lens Filter Guide if you want to know what the pros know. I’ll mention two of the filters I use most often and give you an example of one.
Circular Poloarizer Filters
The circular polarizer filter is instrumental in professional photography, it’s the difference between beautiful blue skies and bland washed out skies. The effect that the CP filter gives you can not be reproduced in post processing, not the same way as it’s done with the filter when the shot is taken (and no, using the graduated ND filter tool does not replicate it). You can read more specifically about CP Filters here.
Neutral Density Fitler
The ND filter is one of my favorite filters. This filter is another one of the few filters that you can’t replicate in post processing. ND filters allow you to slow your shutter speed down to give creative looks to moving water or clouds (among other things).
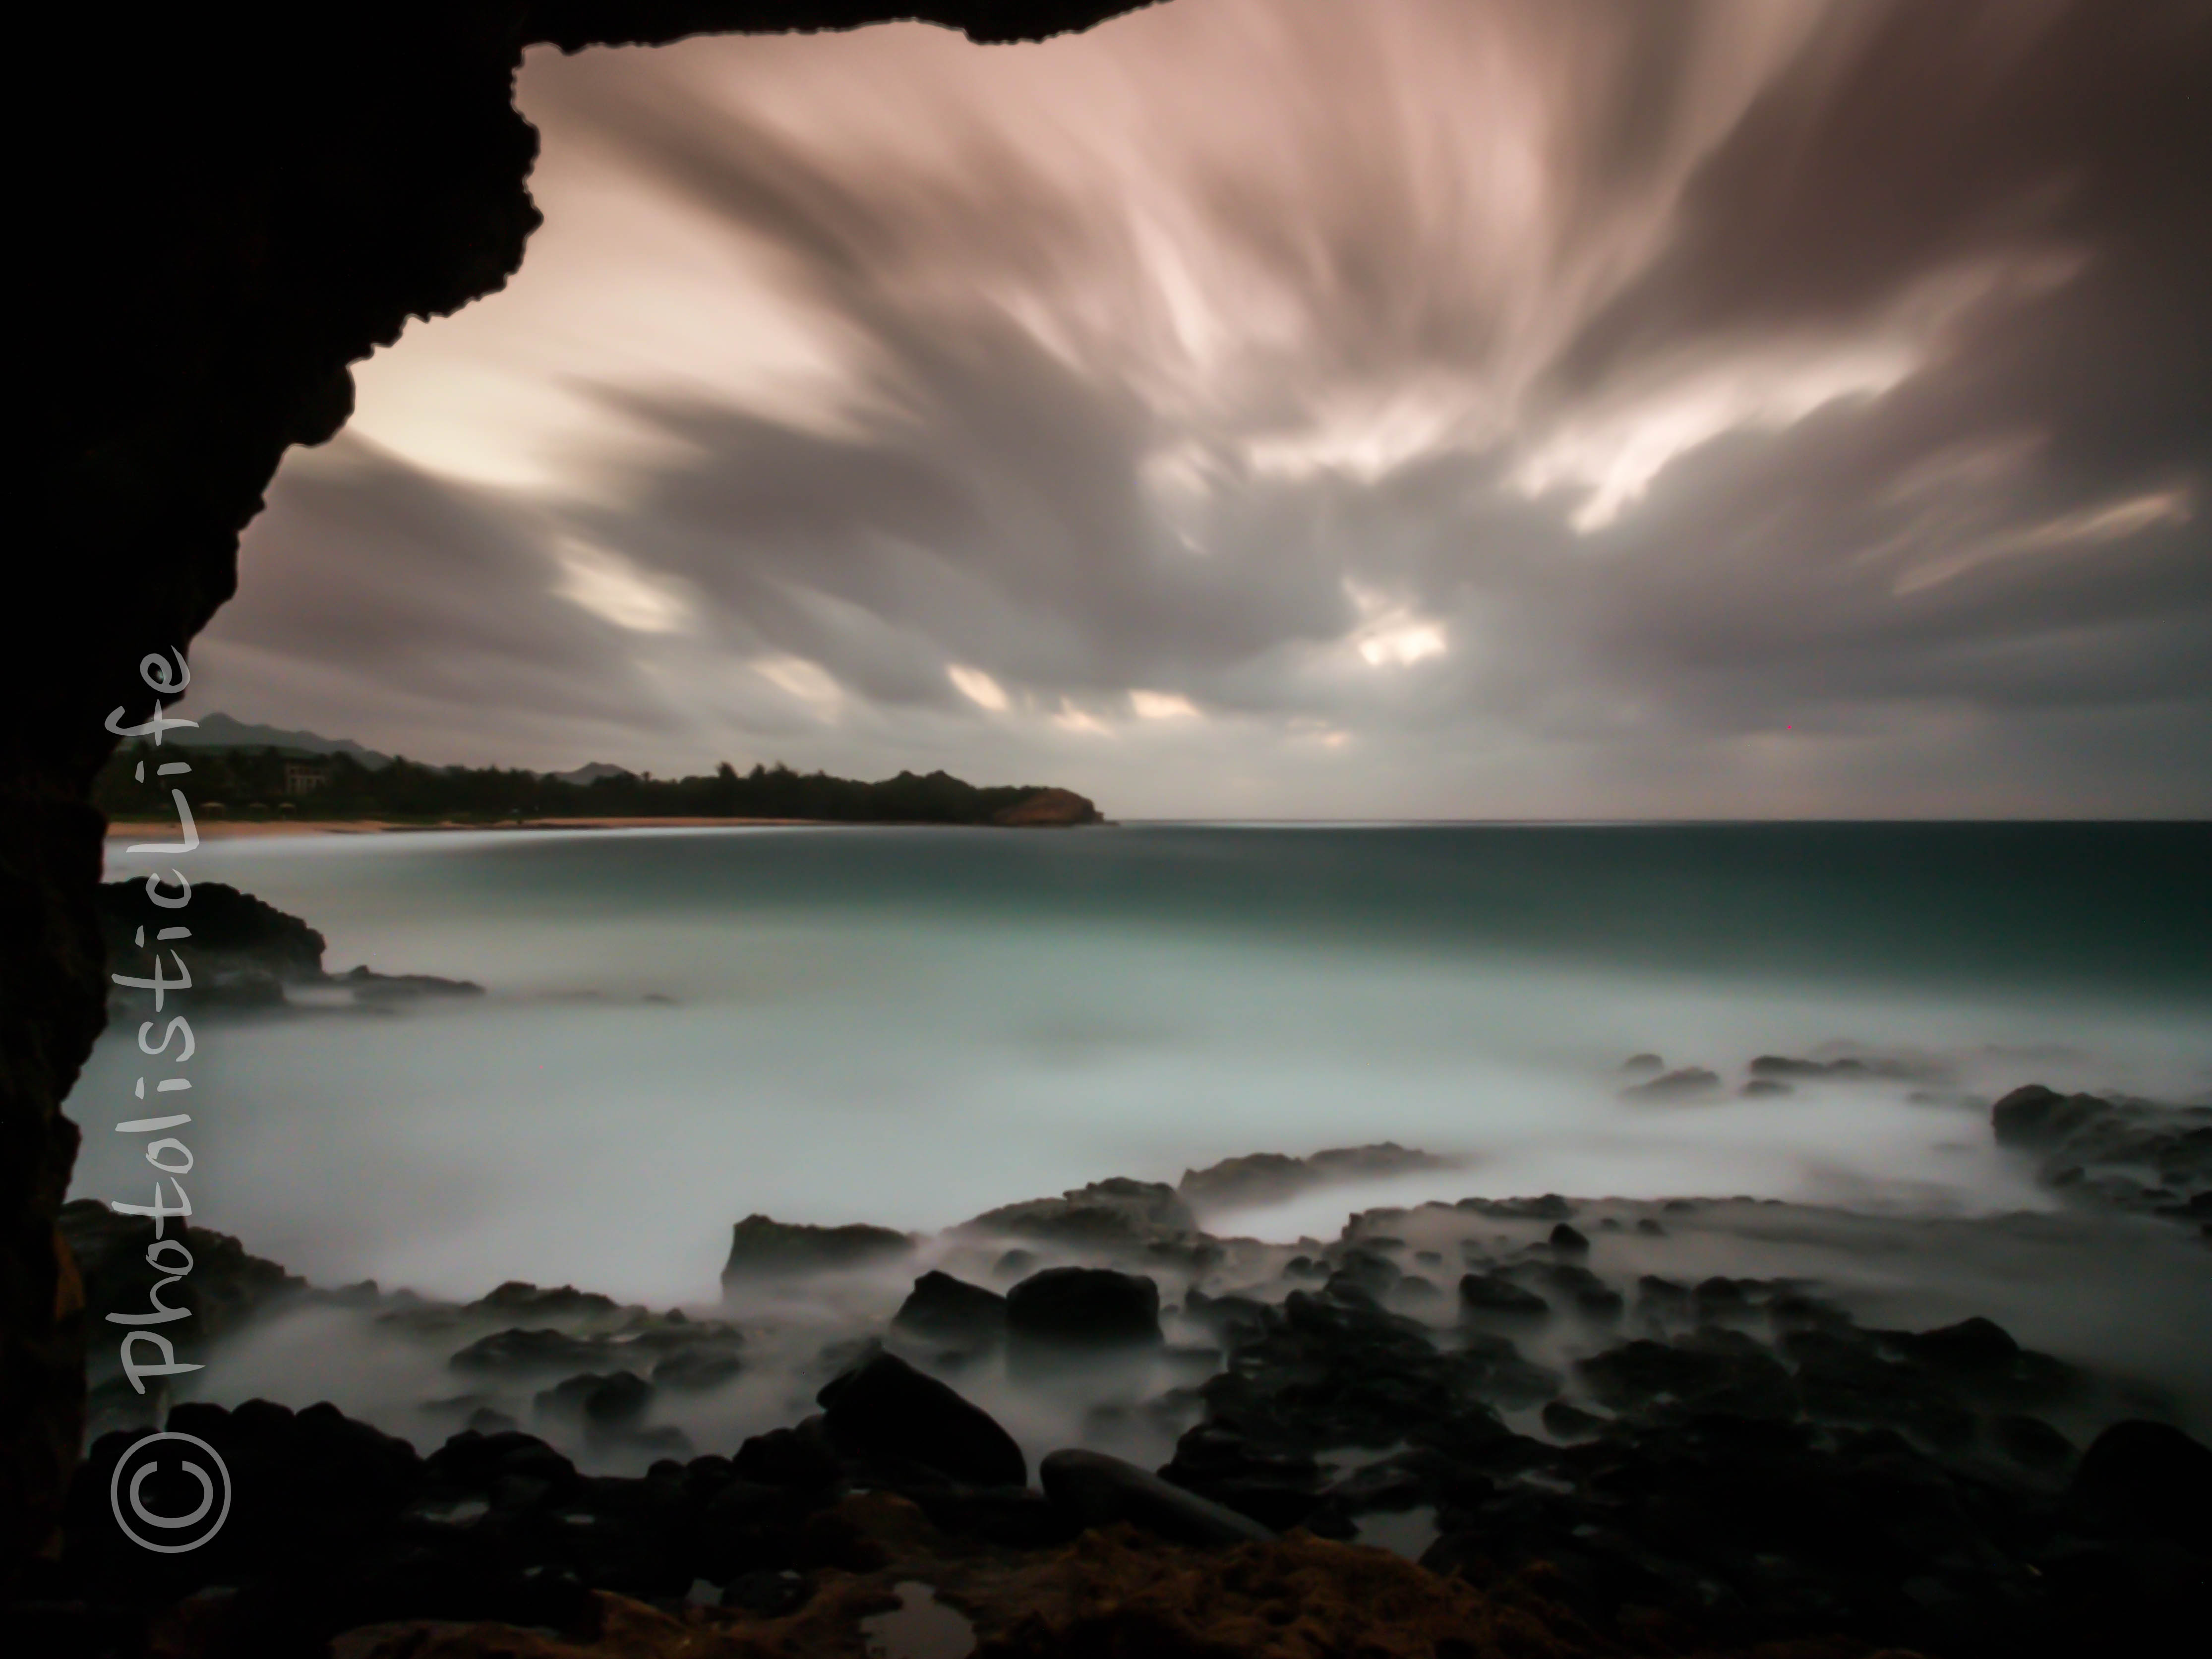 Using a ten stop ND filter I was able to make a very choppy ocean look calm and serene, almost like it had been frozen over. The clouds also look to be painted in when in fact they were fluffy and moving quickly because of the wind.
There are certainly other lens filters that can really give your photography a boost (the graduated ND filter is another one of my favorites) so it’s worth reading my Lens Filter Guide to see which ones make sense for you.
Always Be Prepared
The boy scouts said it best, always be prepared. You won’t find me anywhere where there isn’t a camera on me. Granted, it could be as simple as the camera on my phone but that will do in a pinch. If I’m not prepared I usually pay for it by seeing a fleeting moment and missing it because I was too lazy to carry a camera with me.
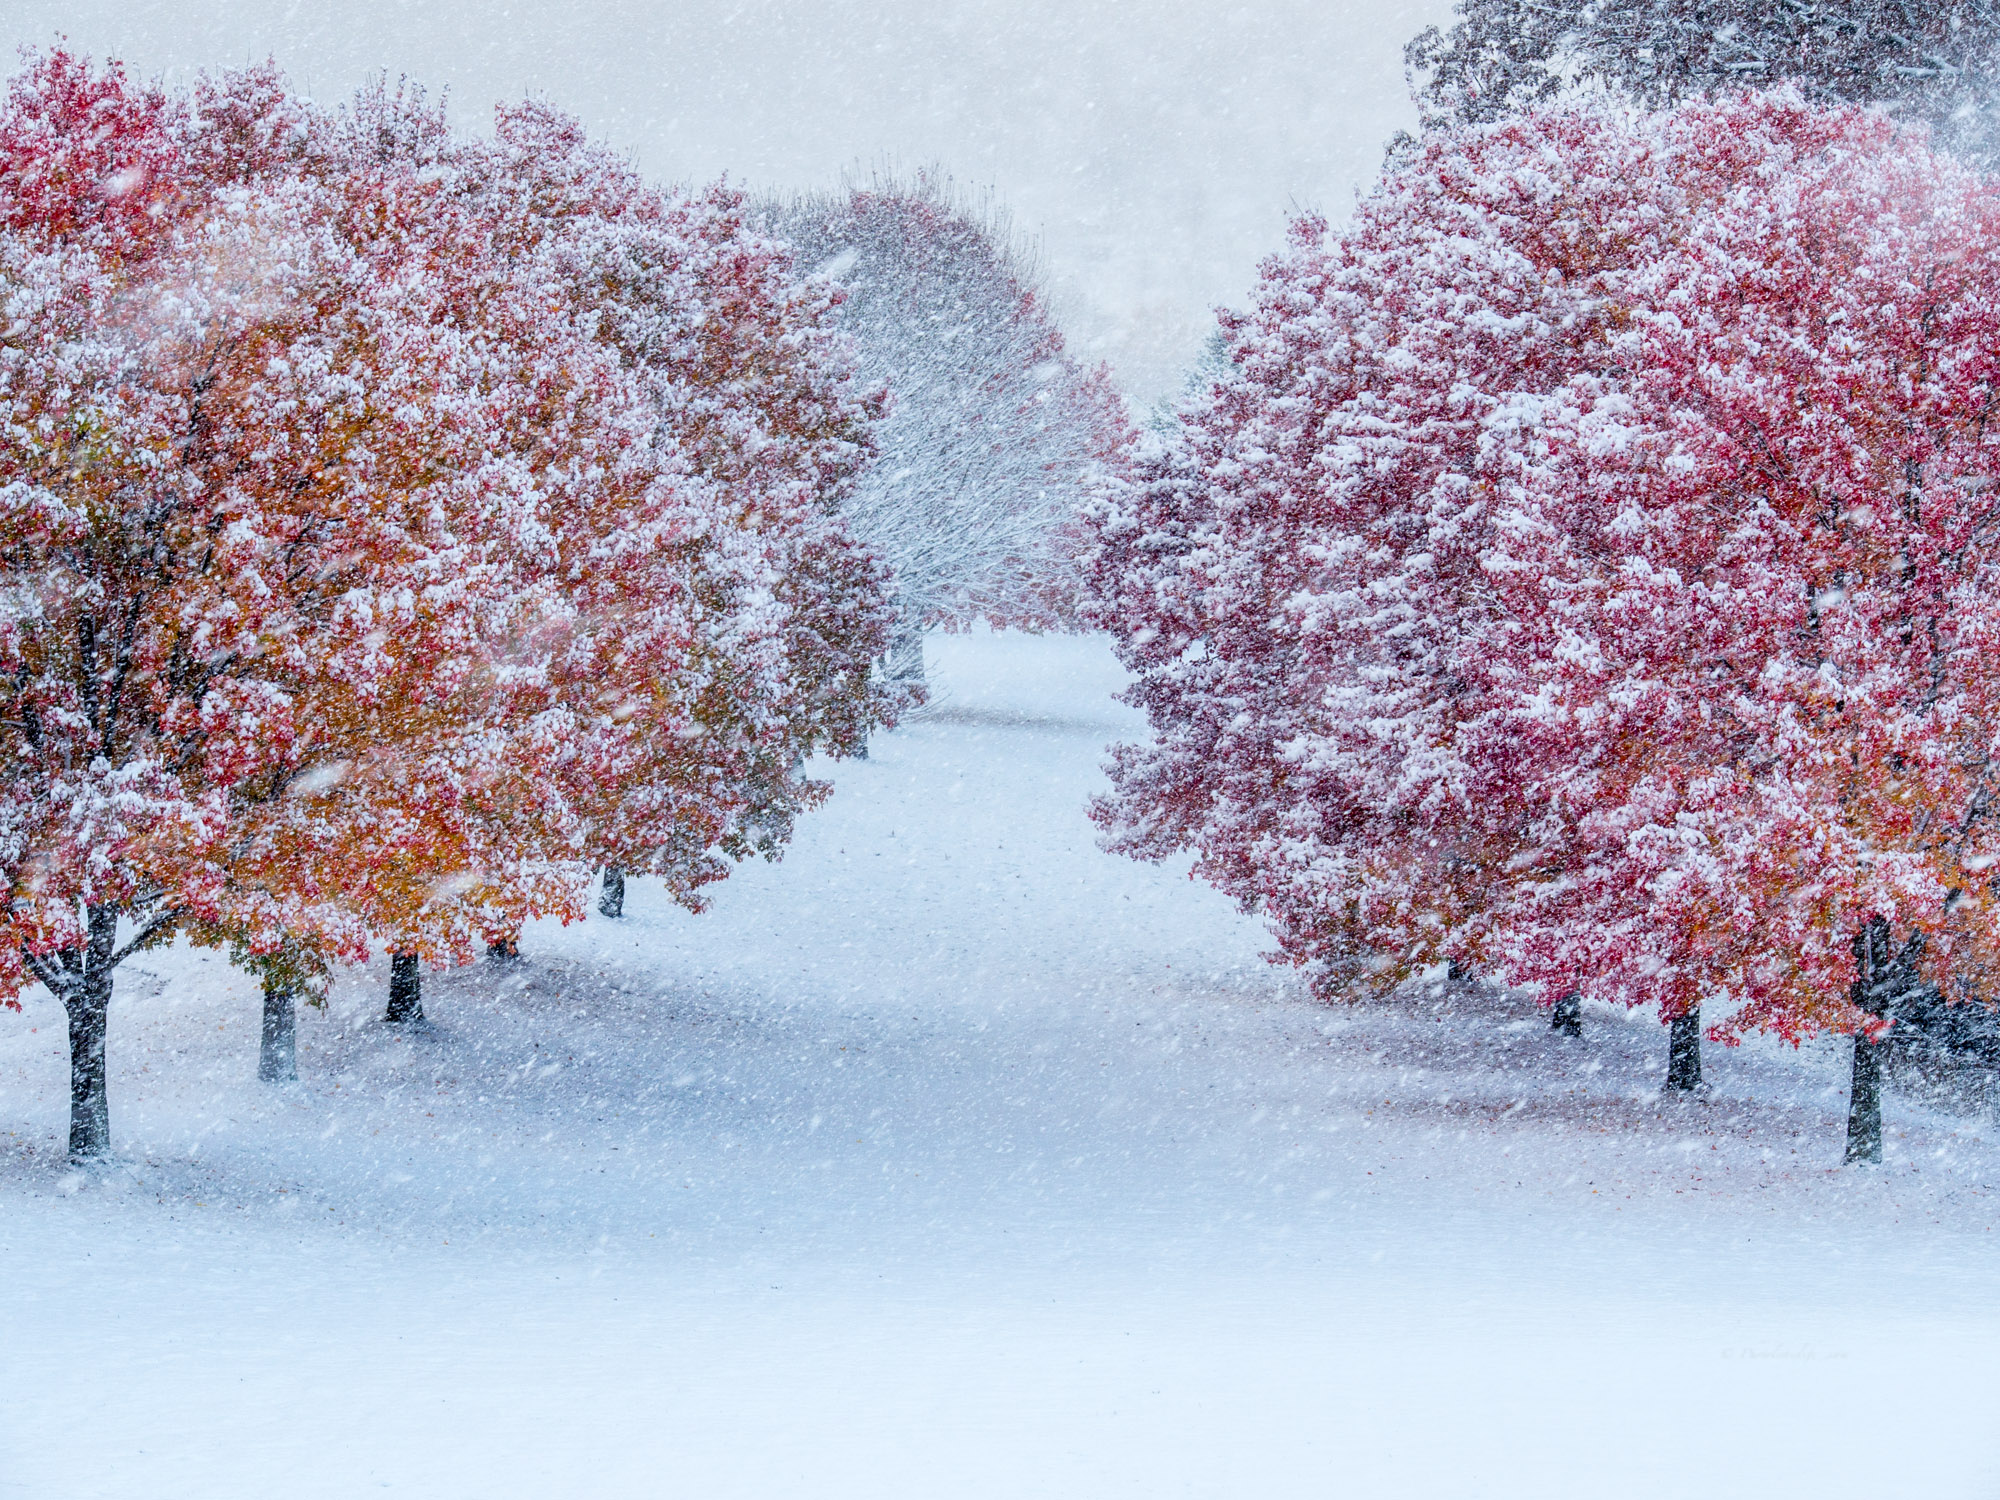 Truly a fleeting moment, the next day a large storm came through and blew most of the leaves off these beautiful trees. I only had my phone with me at the time and I literally turned around and drove the five minutes back to my house to get my camera reminding myself why I never should leave home without it.
I can’t stress this one enough, as your eye for photography matures you’ll notice great shots everywhere you go. If you own a behemoth like the D800 I can understand why you would not want to take that everywhere you go, it’s massive. One of my favorite cameras for everyday walking around as well as some professional work (I’ve met people who earn a living using just this camera) is the awesome Fujifilm X100S (reviewed here). The X100S can be dropped in your cargo shorts pocket or coat pocket and you won’t even know it’s there, you’d be hard pressed to find a better travel camera.
Shoot In RAW
No matter how good you are you will always run into an image or two that you either over or under exposed. If you want to realize the full potential of your camera’s sensor then shooting in RAW is recommended. Shooting in RAW will enable you to pull details from shadows as well as recover some detail from the highlights that would have been lost in JPEG format due to compression.
I used to swear by only shooting in JPEG format, and you might too, but I changed my mind the first time I traveled overseas and came home with a bunch of photographs that I was unhappy with because I could not realize the full dynamic range of the cameras sensor (either the shadows were too dark to recover detail from or the highlights were too bright or both). The exposure was spot on but the lighting was very difficult. That week was the last time I shot JPEG.
If you are shooting with a crop sensor camera, or anything less than a full frame camera, then shooting RAW in the 0ff-chance you need to push your post processing to recover details in the highlights and shadows is a good idea. For the same reasons you’d shoot in RAW with a full frame camera but furthermore you’d be wasting the capabilities of the full frame sensor by shooting in JPEG (the compression would limit your flexibility in post processing and greatly reduce your dynamic range).
Process Your Photography
The closest I’ve ever gotten to liking an image “as is” off a camera (sans any post processing) is the X100S, when shooting in JPEG. But since I’ll assume you read the section right above this titled “Shoot In RAW” then I’ll also assume you know I don’t shoot in JPEG anymore. If you shoot in RAW (and JPEG for 99.9% of cameras out there) using post processing will not only improve your photography but it will also help you to understand your cameras strengths and limitations in the field.
Processing forces you to study your photography, you’ll be intimately aware of your weaknesses as a photographer after you process a memory card full of your own photographs. Having trouble keeping images sharp? White balance issues? Distracting elements in the frame? You’ll be able to dissect each scene and file that in your memory for the next time you take your camera out, making you a better photographer. You’ll never improve if you don’t know what you’re trying to improve.
 I think I’ll add a kitten to every article, views would sky-rocket. This shot was processed using Lightroom 5, not a lot was done… A little sharpening and an adjustment to the Clarity bar got me the subtle look I wanted.
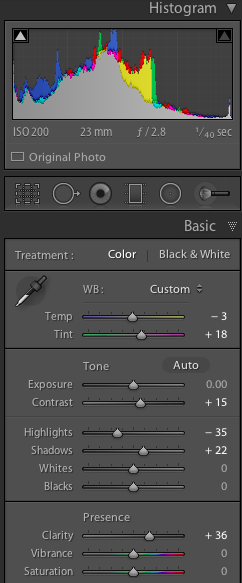
If you take my advice above about shooting in RAW then you’ll notice your images come out looking dull and flat, this is because your camera adds very little if any adjustments to the image. The image is coming out of your camera much like a negative would come out of a film camera. Just like negatives coming from film cameras the digital negatives (RAW files) must be processed in your digital dark room (Photoshop, Lightroom, Pixlr, etc.).
 Here is the same shot as above but straight out of the camera (RAW). The difference is subtle but for me the difference is like looking through a window (unprocessed) versus not (processed). The slight processing gave the image a little more punch.
Timing (Lighting)
 The sun is bright… Enough said? There is a reason why photographers talk so much about the golden hour, the light is softer and highlights and shadows are not as harsh.
There are plenty of applications out there that will let you know where the sun will be at any given time in any given place, The Photographers Ephemeris is one of the highest rated and strangest named ones available. If you’ll only be visiting someplace briefly then it’s imperative you’ll know where the sun is raising and setting so you know where and when you want to be certain places to make the most of your time. There is nothing quite like being on the wrong side of a Lake when the sun rises or sets.
The winter is a great time to get out and photograph because the angle of the sun creates softer light throughout the day as well as the timing of the sun rise and set is more ideal (later rising and earlier setting). I’m sure everyone has their preferences though, feel free to share them in the comments section.
Experiment
Grab the Bunsen burner and a couple of test tubes… Just kidding. As soon as you realize that your camera will never be able to see light the way your eyes do is the day you will begin to unlock the full potential of what a camera can do.
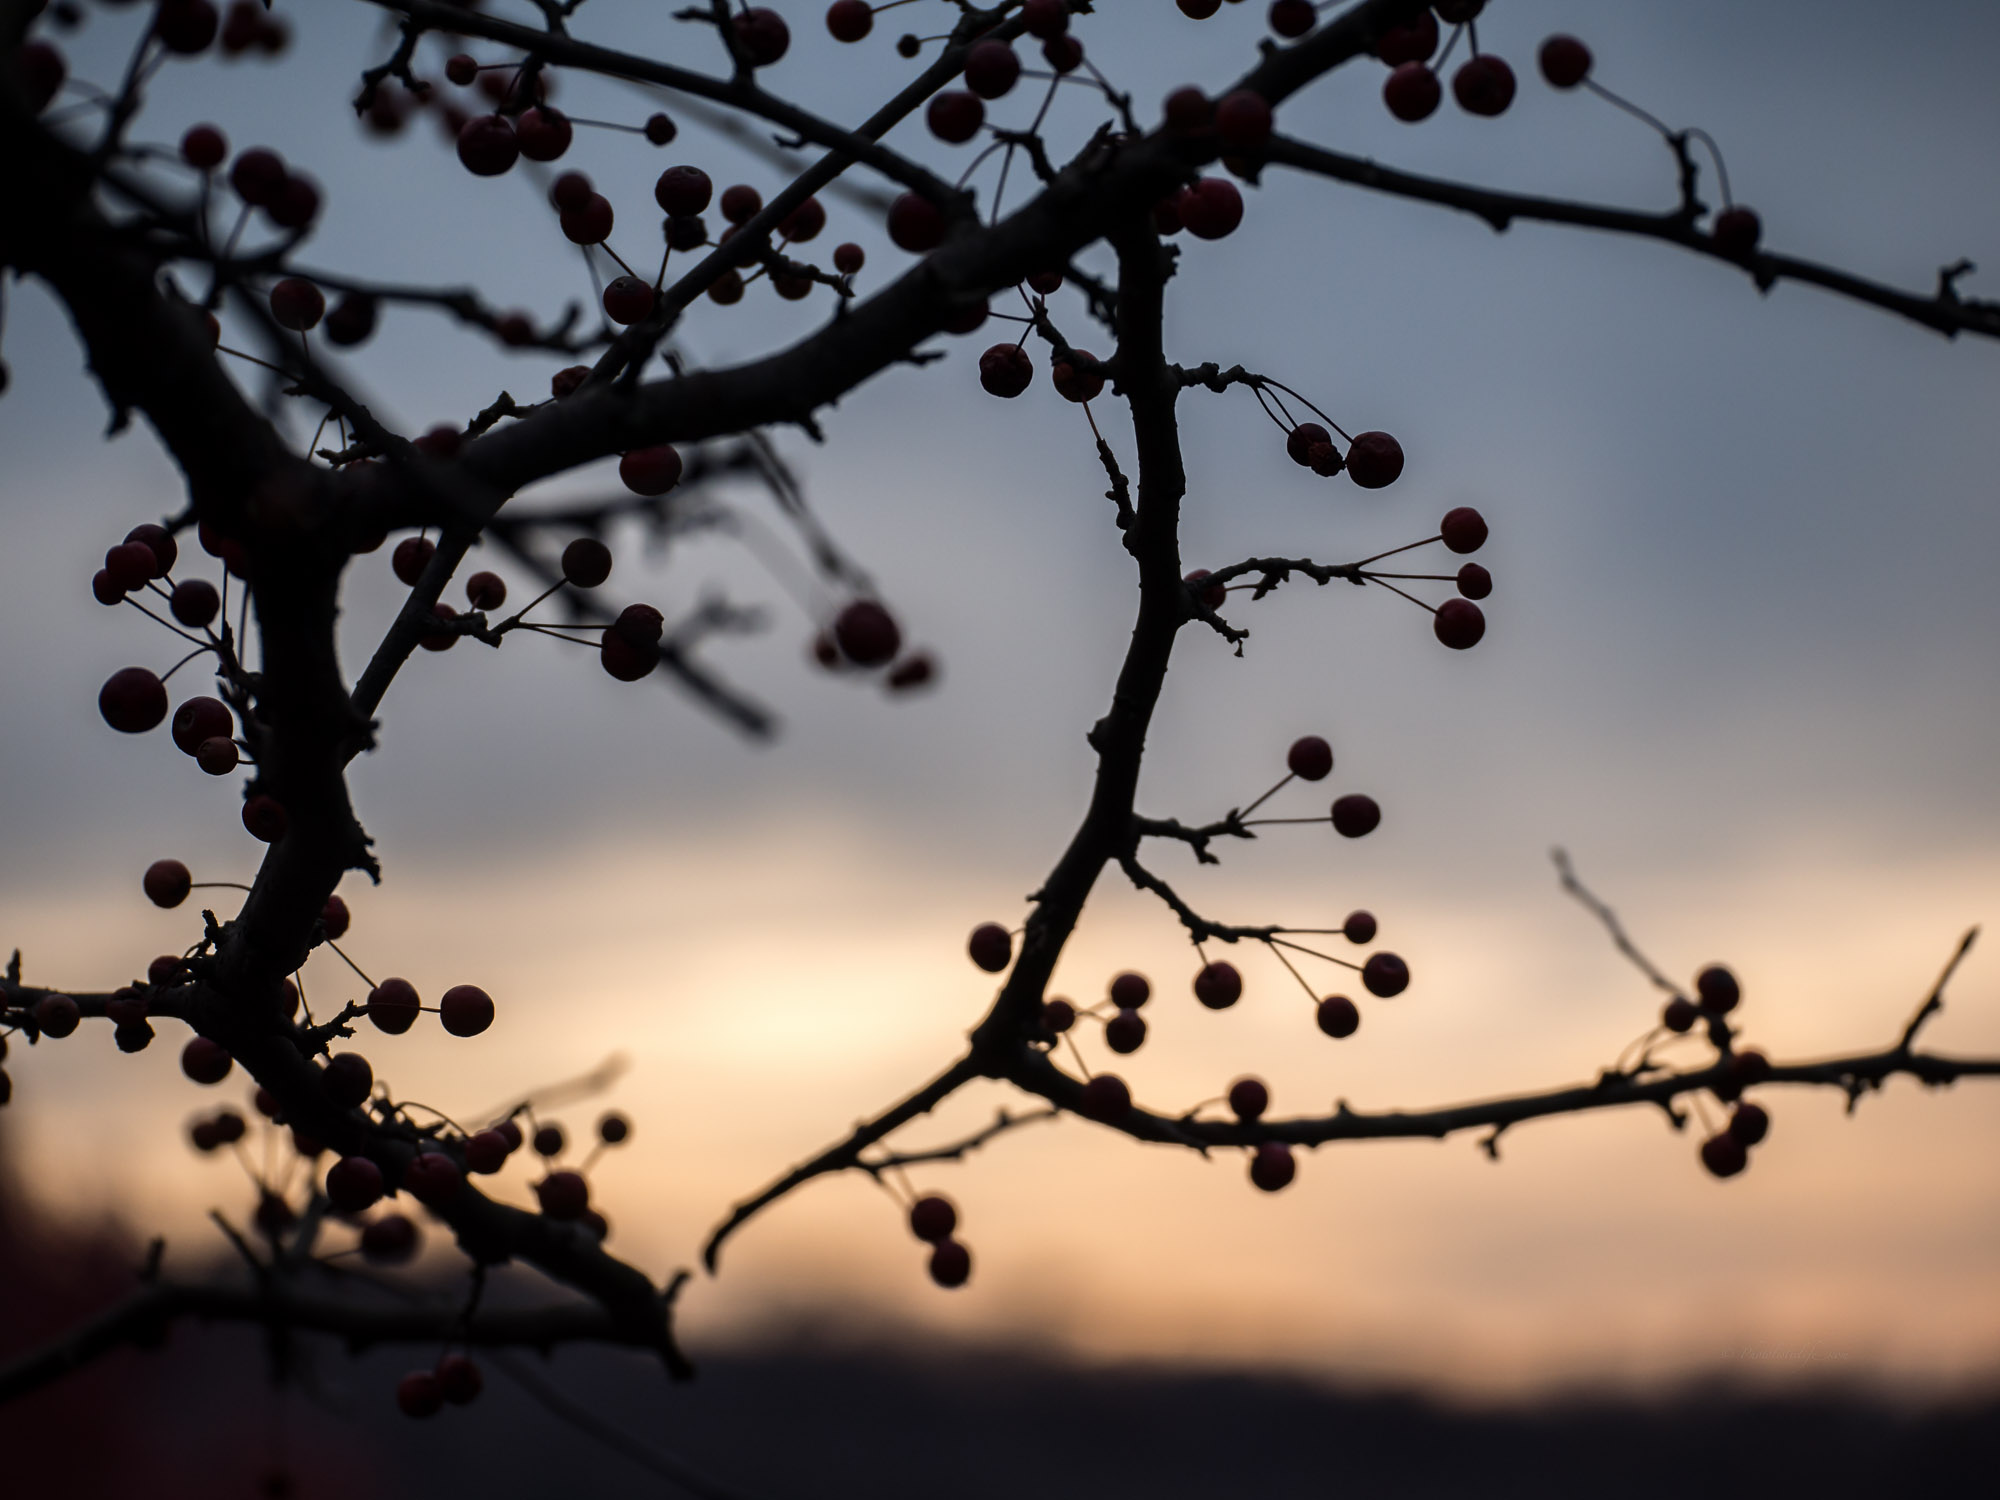 Though this image looks as though it was dusk (or dawn) it was actually taken in the afternoon while it was still fairly bright outside. I under exposed the image slightly because I like the silhouette of the branch and berries against the bright sky. If I would have followed the cameras metering suggestion the branches would have been properly exposed but the sky would have been blown out. I experimented and liked this result much better.
Experiment with subjects.
 Look for subjects that aren’t typically photographed, everyday objects. A few adjustments with lighting and/or camera settings and you may come up with something fairly interesting.
What is your favorite technique to capture interesting photographs? You can share with us by visiting the Submit an Article page or leaving a comment below. Enjoy!


I appreciate and agree with your tips for increasing interest in photographs that we take. I LOVE the ocean and have countless photos of great waves crashing on the shore which never quite transferred to the viewer what I was feeling standing there watching. During a recent trip to Florida, I knelt down and shot from a much lower angle which greatly enhanced the capture and translated into a better feel for the sand and surf.
Thanks! I don’t know if I’ve ever been disappointed with changing the perspective like that… It’s such a simple adjustment but it makes a huge difference.