

Let me preface this, this is meant to be an exercise to get your creative juices flowing. Photoshop is fantastic for adding some creativity to your already great images and every individual will enjoy different levels of processing. Feel free to emulate the setting I lay out below and tweak them to suit your tastes. You can finally enhance the 3,000+ images of your 13 cats and upload them for all your eager friends on Facebook. Enjoy meow!

You can grab a photo from your vast library and throw it into Photoshop and follow along if you’d like, this isn’t too difficult. I’d go with something that has potential but just doesn’t have that attention grabbing edge.
Every photograph that comes out of my camera will go through a digital darkroom before I do anything else with it and this includes editing it in Photoshop. My workflow goes Lightroom then Photoshop and sometimes (rarely) back to Lightroom for a quick adjustment. With that being said, I’m going to assume you have the correct exposure and white balance and will skip right to Photoshop.
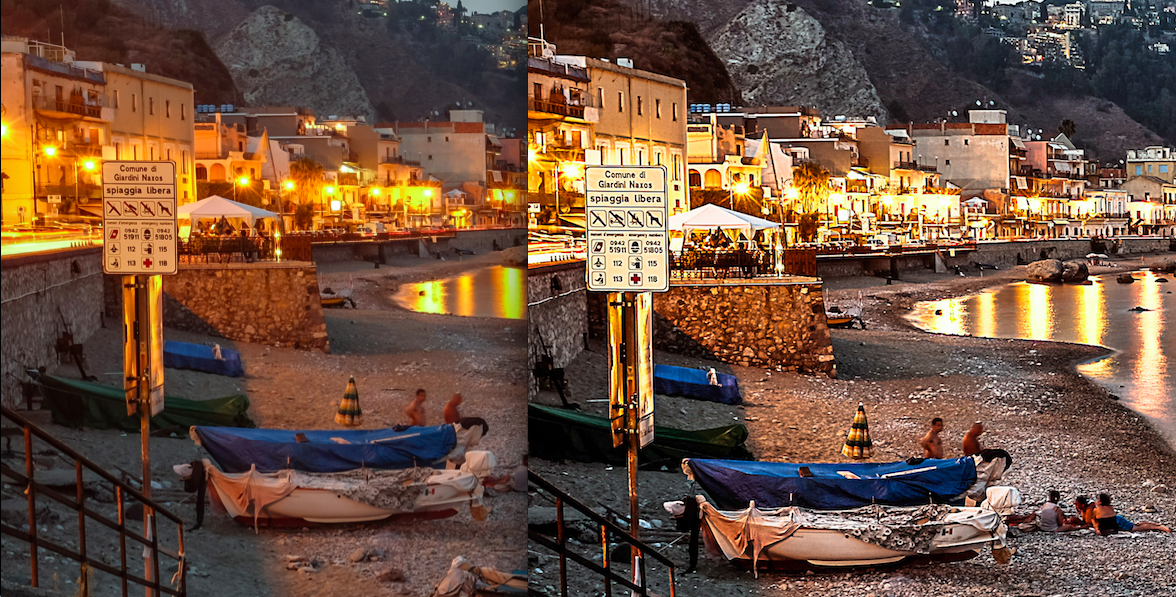
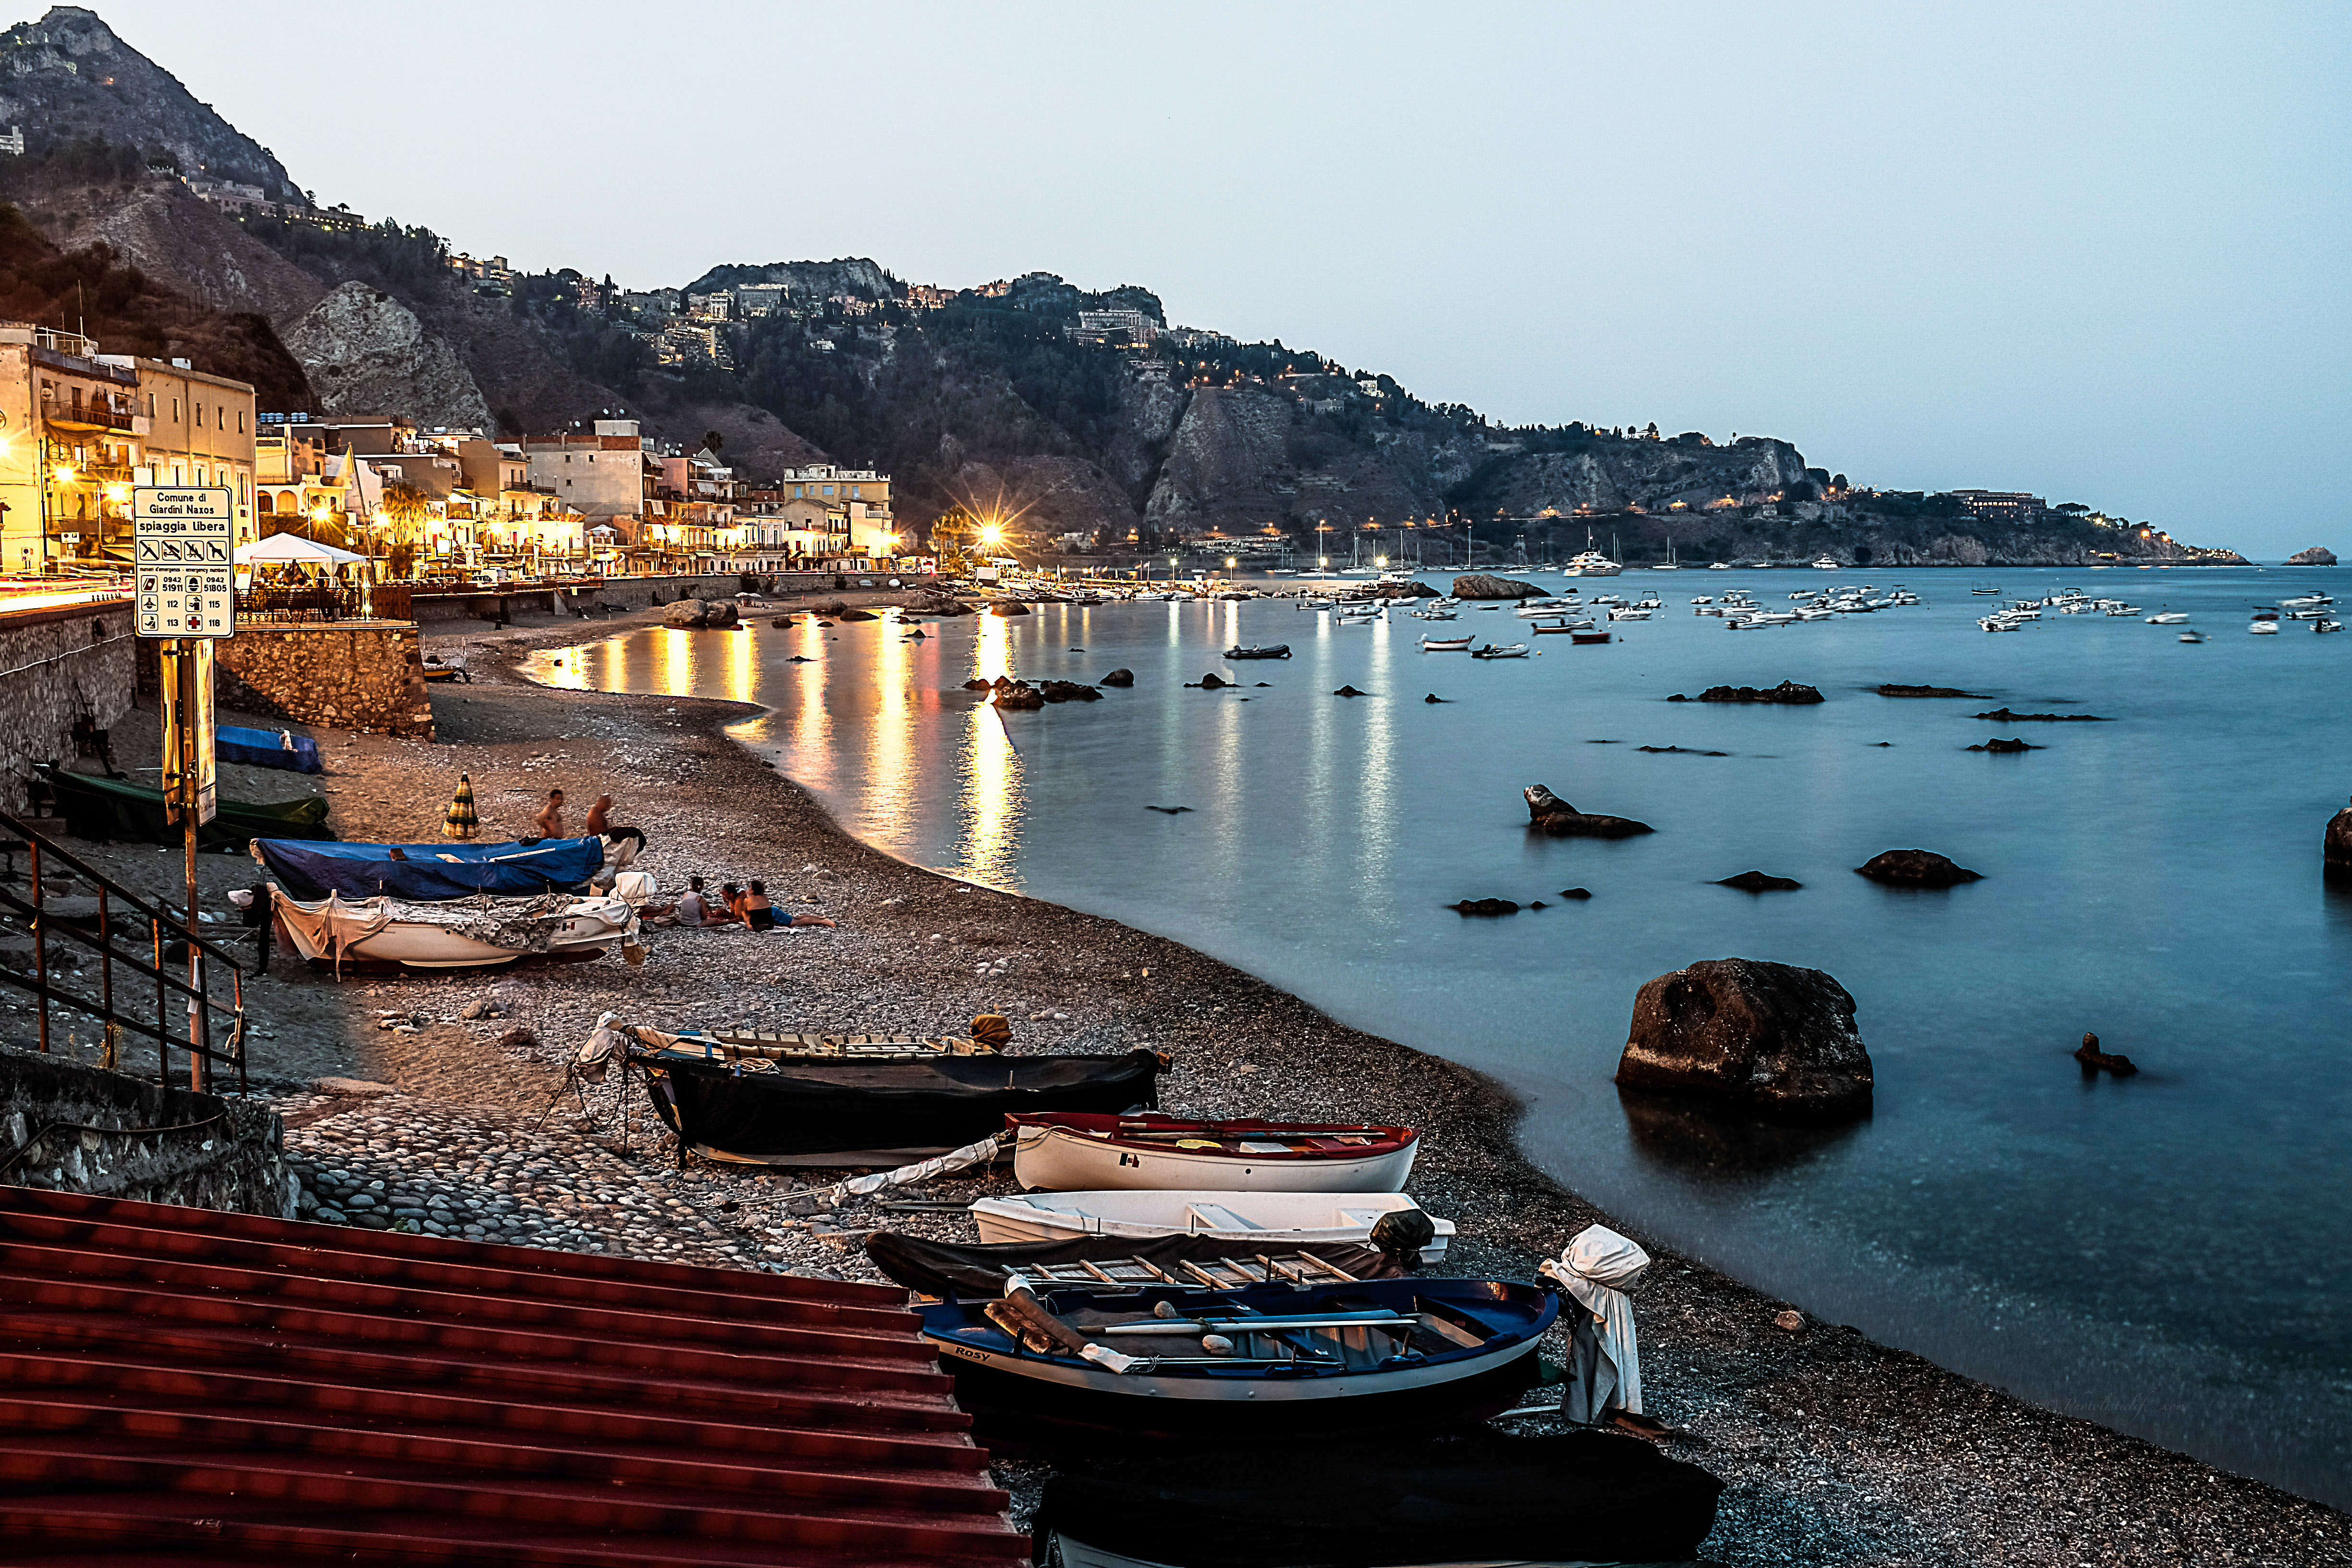
You may want to adjust the image a little lighter than you normally would because the adjustments below will darken the image slightly as you can tell from the above images.
Step One:
If you have not done so already you need to move the image from Lightroom to Photoshop, for Lightroom 5 and Photoshop CC it’s as easy as right clicking the image in Lightroom and selecting “Edit – Edit in Photoshop”.
Step Two:
Make a copy of the background by clicking Command J (or right-click the original layer called background and select “Duplicate Layer”.
Step Three:
Now make sure the background copy you just made is selected and apply the high pass filter by clicking filter in the main menu at the top of your page, then click other, high pass, and set the radius to 4-6. Now make sure you change the layers blend setting from normal to overlay (the setting is located right above and to the left of the layers section in a drop down box).
Step Four:
Now, you are going to duplicate the original background layer once again (the initial image you opened in Photoshop). Move this layer to the top of your layer list (it will show up sandwiched between the other two layers you created).
Step Five:
Make sure the new duplicate is highlighted, the one you moved to the top of the layer stack and click on image in the menu at the top of your screen. Scroll down to Adjustments and choose desaturate. Then change the blend mode to Hard Light (the same place you changed the initial duplicated layer to Overlay).
Step Six:
Now flatten the image. You can do this by either clicking on the menu at the top right of the layer section and choosing flatten image or you can right-click the layer and select flatten image as well.
Step Seven:
Duplicate the flattened layer and then press command + F (Ctrl + F on a PC) to duplicate the settings of the initial filter. Then select Overlay as your blend mode.
Step Eight:
Flatten the image again.
Step Nine:
Create an adjustment layer by clicking on the tiny icon below the layers section that looks like a circle half filled and half empty. The adjustment layer you want to choose is the curves adjustment layer. Once it’s opened you want to click near the top (right) of the line that cuts from corner to corner and drag it up to lighten your image.
Adjusting the Sky (for landscape shots)
Step Ten:
Flatten the Image and then add a blank layer. This should be automatically labeled layer 1 by Photoshop. Press D to make sure your foreground and background colors are reset (the black should be in front and white should be behind).
Step Eleven:
Next you will choose the gradient tool from the left hand side of the screen (or press G on your keyboard).
Step Twelve:
Change the gradient to Foreground to Transparent gradient. It’s located at the top right of the screen when you have the gradient tool selected.
Step Thirteen:
Drag your gradient tool from about half an inch into the horizon to about an inch under the horizon (pick the lowest area of the visible horizon if you have mountains, trees, or houses blocking part of it). Make sure that you do this while layer 1 is selected on the left hand side in the layers section.
You can also start at the top of the frame and drag all the way down to below the horizon if you want a more gradual gradient.
Don’t freak out if the sky turns black, that is supposed to happen!
Step Fourteen:
Now change the blend mode of layer one to Overlay. This should darken your sky and give it a more pleasing look. If for some reason there was a mountain or something in the way then follow the next couple of steps.
Step Fifteen:
Add a layer mask to layer one (it’s the one that looks like a square with a circle in the middle). Next select the brush tool from the left hand side or press the “B” button.
Step Sixteen:
Before you use the brush you are going to want to set the foreground color to black (it automatically switched it to white when you created the layer mask). You can do this by pressing “X” on the keyboard.
Step Seventeen:
Now paint over the areas you don’t want to have been darkened by the initial changes (mountain, trees, or house). You can change the size of the brush if you’d like and it certainly helps to zoom into the image so you don’t over correct.
There you have it, a quick and dirty way to really enhance the crap out of your images.
Below is another image enhanced in the same way minus the adjustments to compensate for the sky.
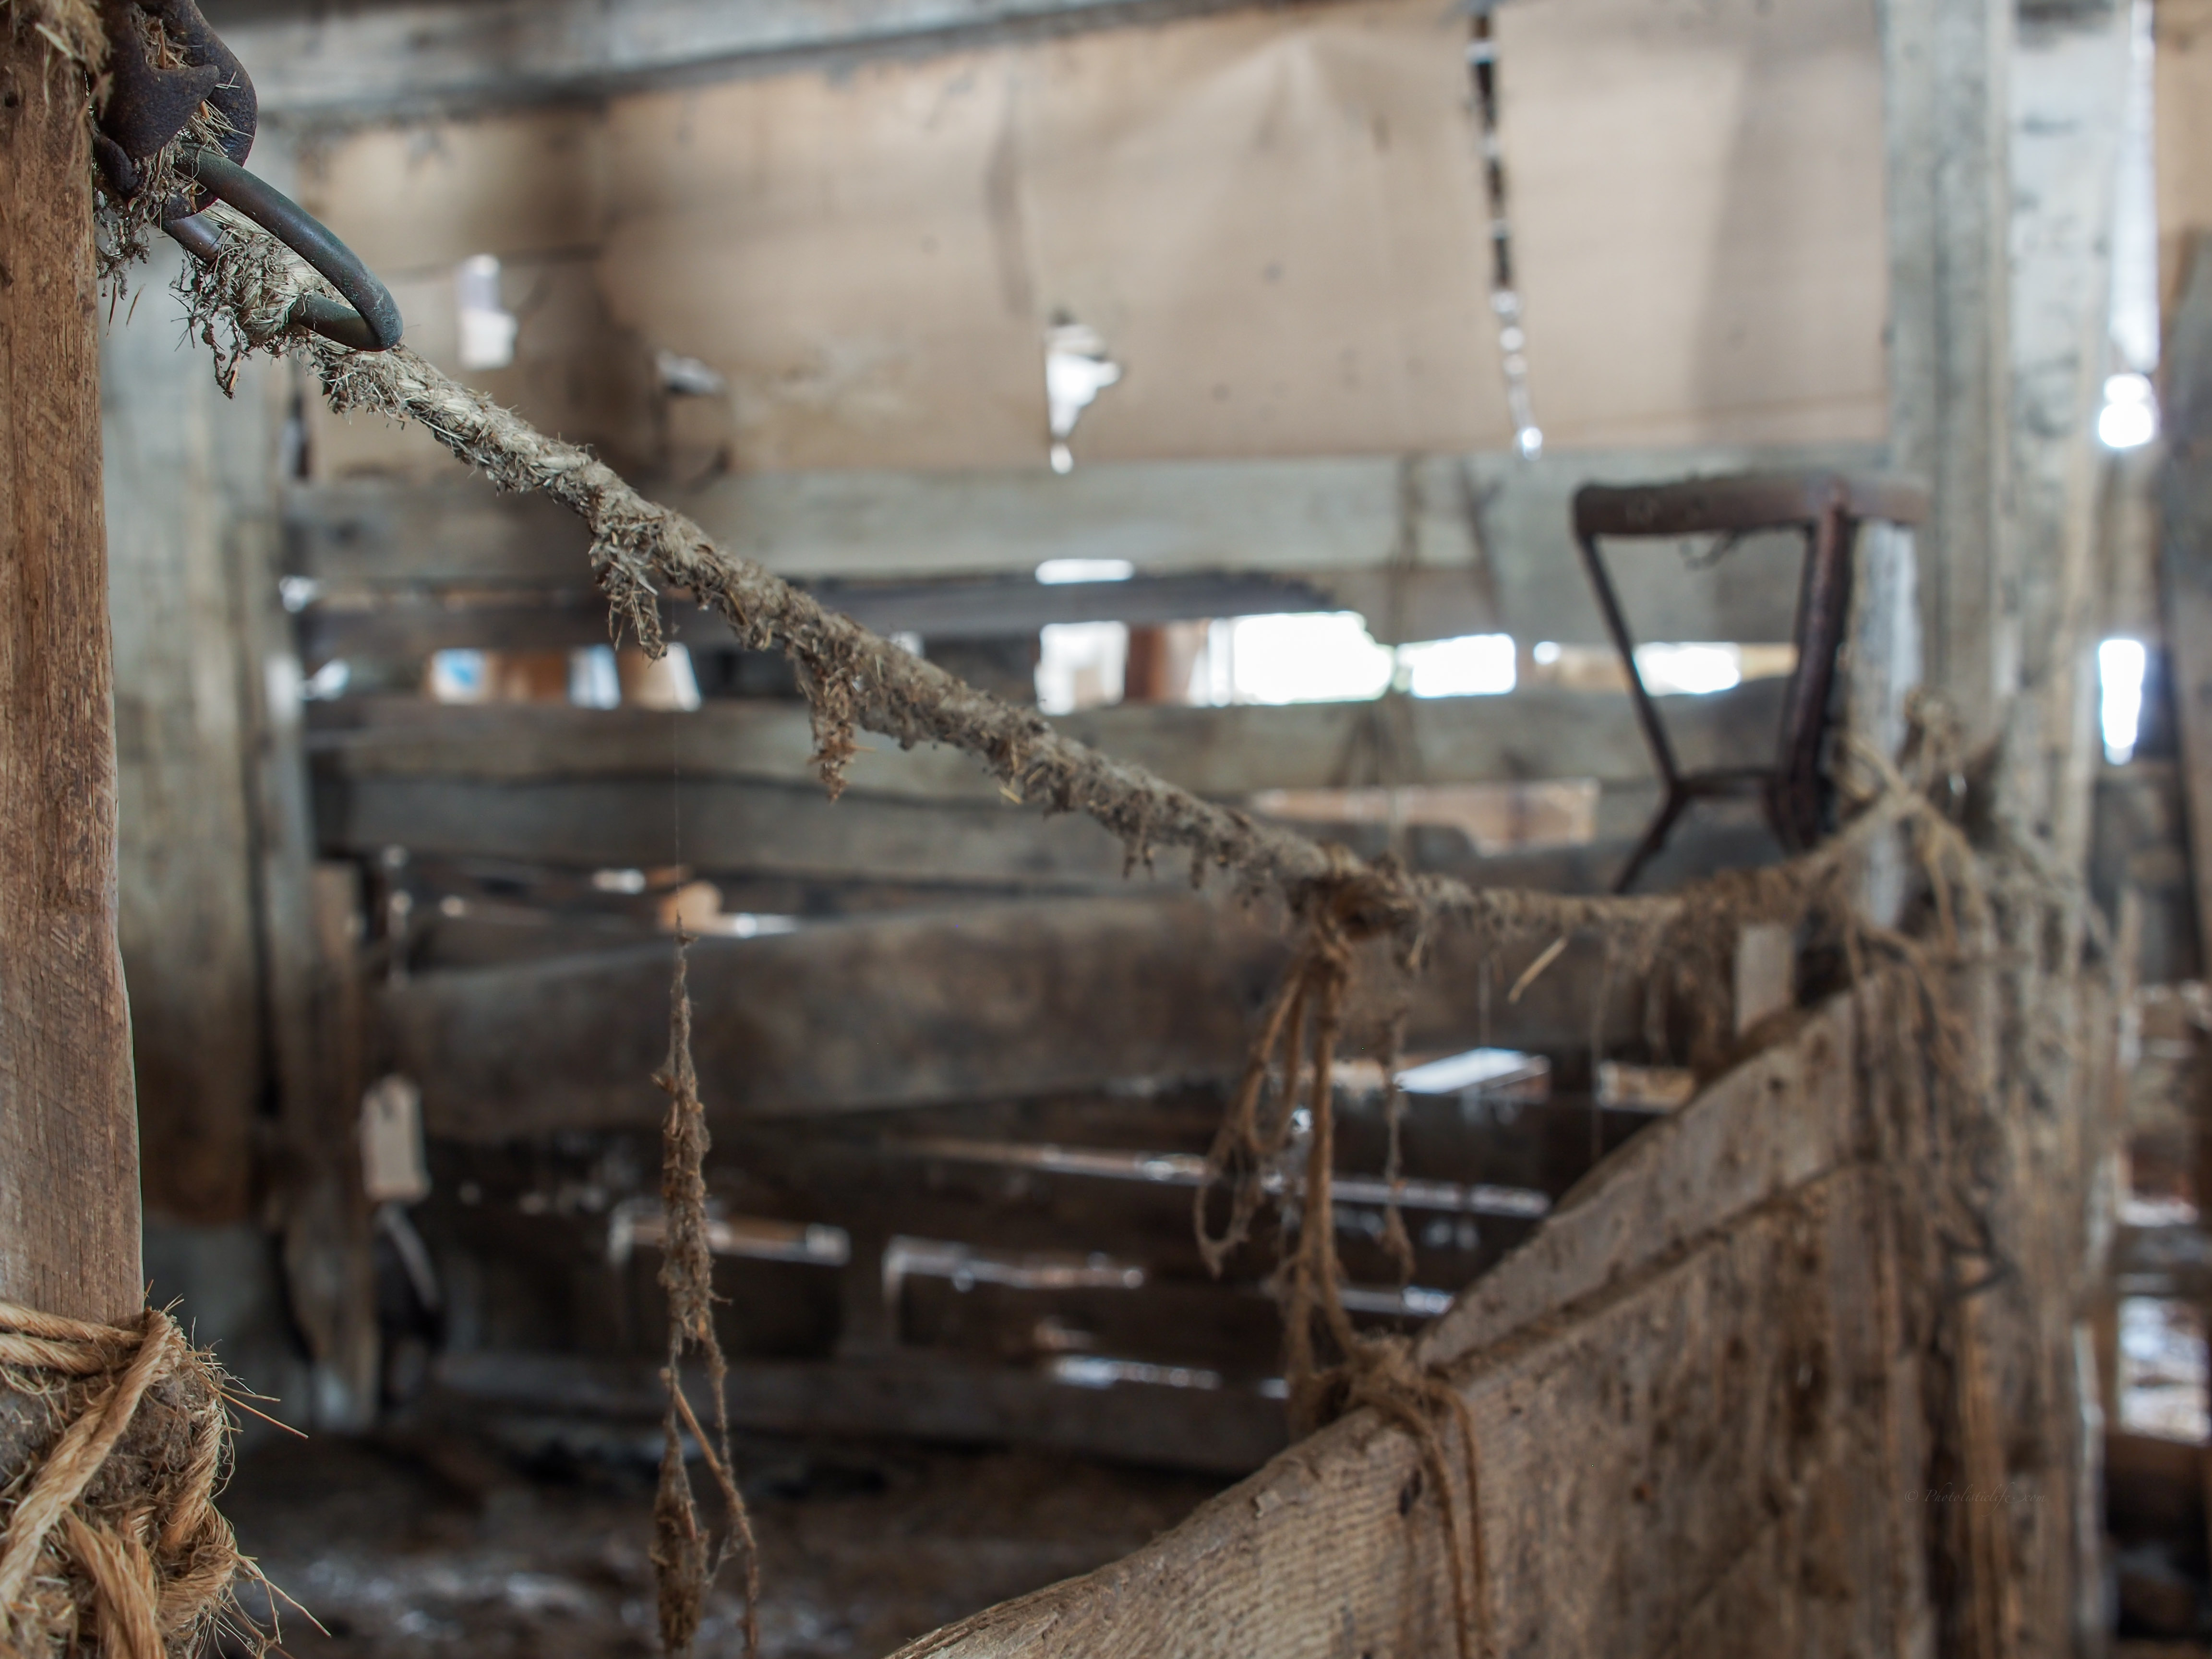 Original
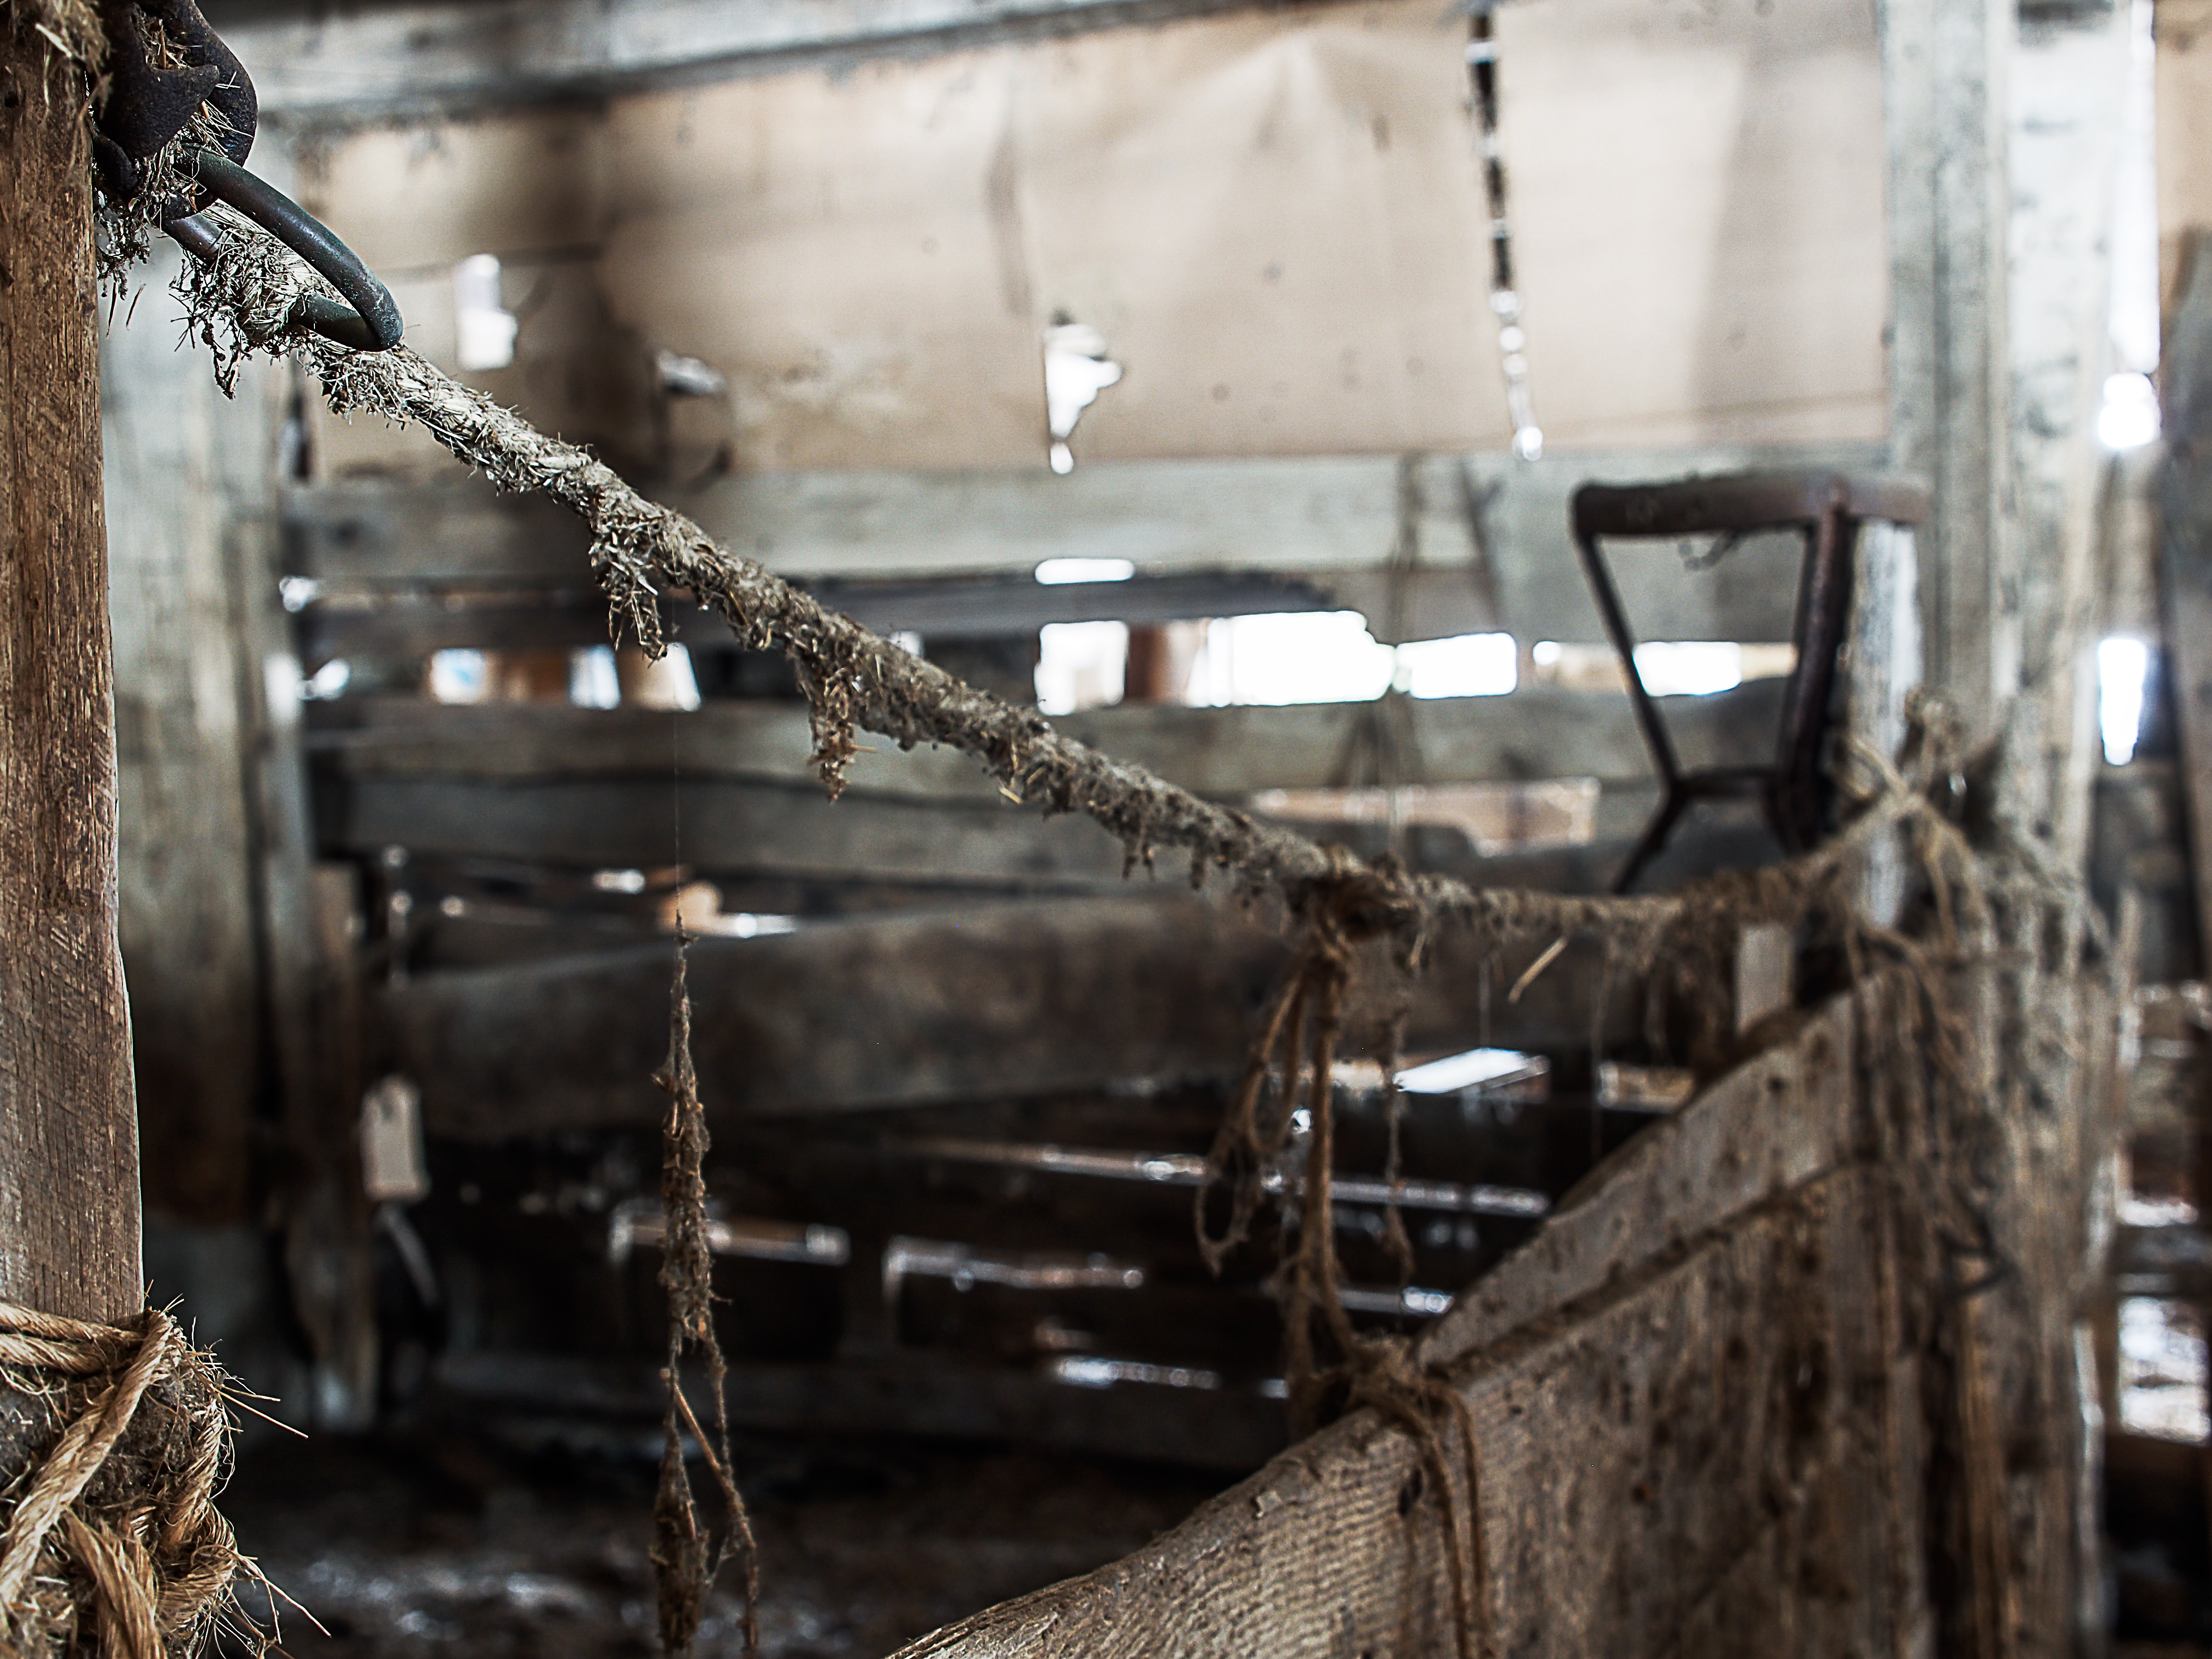 Enhanced
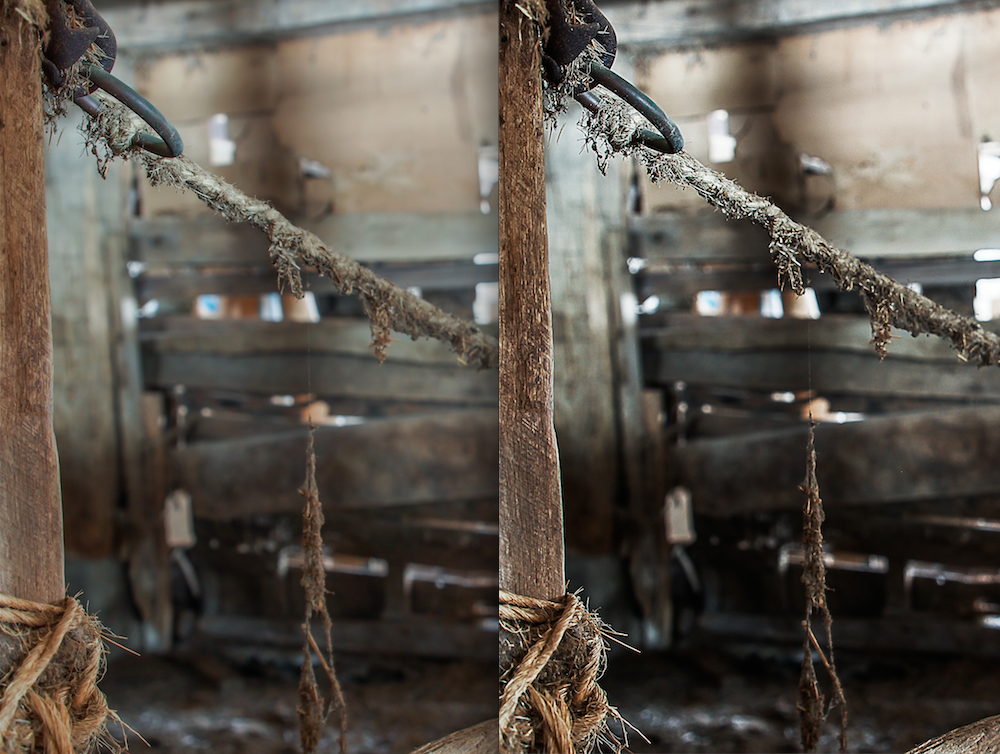 Compared
Photoshop is an incredibly powerful tool that allows you to express yourself in unique ways. Have you created something truly unique with Photoshop? Would you like to share your own Photoshop tips with the rest of us? Feel free to share either using the Submit an Article link at the top of the page. Enjoy!