Know when to shoot Manual, Aperture Priority, Shutter Priority, Program Mode, and never Auto
Sorry auto lovers, if you want to progress past the point and shoot stage you’ll need to learn the basics of manual control. But John, I am shooting with a $3000 D800, so auto is just fine for me. Right, and I think I’ll buy a Porsche with an automatic transmission?!? There is nothing wrong with shooting in auto mode so long as you are comfortable knowing that a slightly trained monkey could take the exact same photographs you could (they can also use sign language which is actually pretty impressive).
Don’t get me wrong, I’ve seen phenomenal photos from friends who only shoot in auto mode for one reason or another. Unfortunately they are few and far between and they only happen in ideal lighting conditions, which for a camera in auto mode is right smack in the middle of the day when the sun is right above you (not ideal lighting for great photographs).
Manual Mode
I’m sure you’ve heard the occasional photog friend tell you “I only shoot in manual mode” (said with bottom lip out and an English accent to portray arrogance). These are the same photog friends that tell me “I only shoot in RAW.” Manual mode is fantastic, you’ve got complete control over every little detail. I shoot in manual… sometimes. You should shoot in manual… sometimes. Shooting in manual does not mean you have somehow made it into the upper echelons of the extremely talented photog world, it simply means you’ve mastered the relationship between light and depth of field. Knowing when to use your camera in manual mode means you have improved your camera skills considerably.
Manual mode is great for landscape photography as well as portraits and product shoots. Photographing things that won’t jump around quickly or change rapidly is ideal for manual mode. Sports photography and street photography on the other hand demand something a little quicker like shutter priority or aperture priority. If you’ve got plenty of time to dial in the correct settings then I highly recommend manual mode otherwise use aperture or shutter priority for speed.
Aperture Priority
Ok, I’ll admit that (for a short while) I was one of those jerks that would tell his friends “I only shoot in manual mode,” like it was some sort of right of passage. I was pretty pleased with myself once I learned how to squeak the best exposure out of my camera time after time without the help of the tiny man inside my camera called “auto”. Then I found Aperture priority and the exposure compensation buttons on my camera.
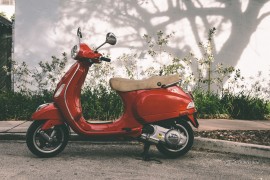
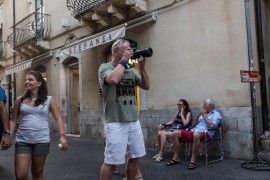
Before I put the camera up to my face I know what aperture I want to use so if I’m walking through the city and snapping some shots of people or architecture I leave my aperture around f/6 or 9 and I’m ready in an instant to take a shot. The camera will adjust the shutter speed automatically based on what it feels is the proper exposure and I can fine tune that by adjusting exposure compensation up or down by up to two stops.
[alert type=”info”]A step up (doubling) or a step down (halving) by one Exposure Value (EV) is called a “stop”.[/alert]Shutter Priority Mode
Shutter priority mode is ideal when you photograph moving subjects. You choose your shutter speed and the aperture is adjusted to compensate for exposure. Mind your aperture when using shutter priority mode otherwise you may end up with a photograph that has a very narrow depth of field (less of the photograph is in focus) due to high shutter speeds.
Program Mode
Program mode is a sort of hybrid between aperture priority, shutter priority, and auto. When in program mode your camera will act similar to how it would in auto mode, giving you the ideal exposure (what it thinks is ideal) but you have the freedom to adjust your ISO, white balance, as well as adjust aperture/shutter speed. When you adjust the aperture/shutter speed combination the camera will compensate to maintain what it thinks is the ideal exposure. If you want motion blur you can slow the shutter speed and the camera will adjust your aperture to compensate and vice versa.
If you’d like more in-depth detail on what each mode means and how to use them you’ll want to check out these articles.
What is the “P” Setting on Your Camera?
What is Shutter Priority Mode?
Simple Guide to Using Your Camera in Manual Mode
Know Your Histogram
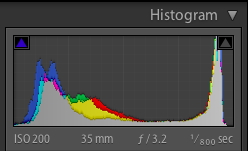 Sometimes it’s hard to see through your viewfinder when you shoot in direct sunlight. Wouldn’t be nice if there was a way to know if the shot you just took was under or over exposed? If only someone would have thought of some way, maybe a graph of some sort, that would just sum all that information up for us… The histogram is your friend. Learn it, love it, use it. Looking at a 2″ screen on the back of your camera to gauge whether or not you over or underexposed your photograph is risky business. Even in the best light, your LCD screen on the back of your camera can be misleading. The histogram is a no bull $#!t (see what I did there?) way of seeing if your photograph will be acceptable.
Want to know how to read your histogram? Check out this article:
Use A Filter
There are two main types of filters used these days, the type you screw on to the front of your lens or the type that you attach over lenses of different sizes and drop a square filter into. Both have their advantages and everyone has their opinion on which is better.
The screw on filters get expensive if you have multiple lenses that are different sizes. On the plus side they are small and drop into your camera bag easily. On the flip side, the slot-in or drop-in filter system can adapt to all the different lens sizes you might own (usually you’d buy the system to fit the largest lens you have and subsequently be adjustable to the lower sizes as well) and all you’d have to buy is the different types of filters you’d like. Each system allows you to stack filters on top of other filters but as you do this you degrade the image quality of your photographs.
Circular Polarizer
Circular polarizing filters should be your best friend. They make blue skies bluer and white clouds puffier (I’m joking, they do make clouds stand out more though). You’ll be able to eliminate reflections where there were once reflections, like shooting out of a window or trying to photograph a fish in the water.
Whatever you put in front of your lens will degrade the image somewhat, if you are going to use a filter on your lens then you need to use the best you can afford. B + W lens filters are the best I’ve found but the Google machine will help you find a number of others that are probably just as good. A good polarizer is going to set you back close to $100. Can you use a cheap filter you got in a package deal or from Best Buy? Sure, but I assure you the image quality is going to suffer and you’ll eventually upgrade, so why not do it the first time around and save yourself $20.
Want to know more about cirucular polarizer filters? Like how to use them… Read this article:
How to Use Your Circular Polarizer Filter
ND Filters and Graduated ND Filters
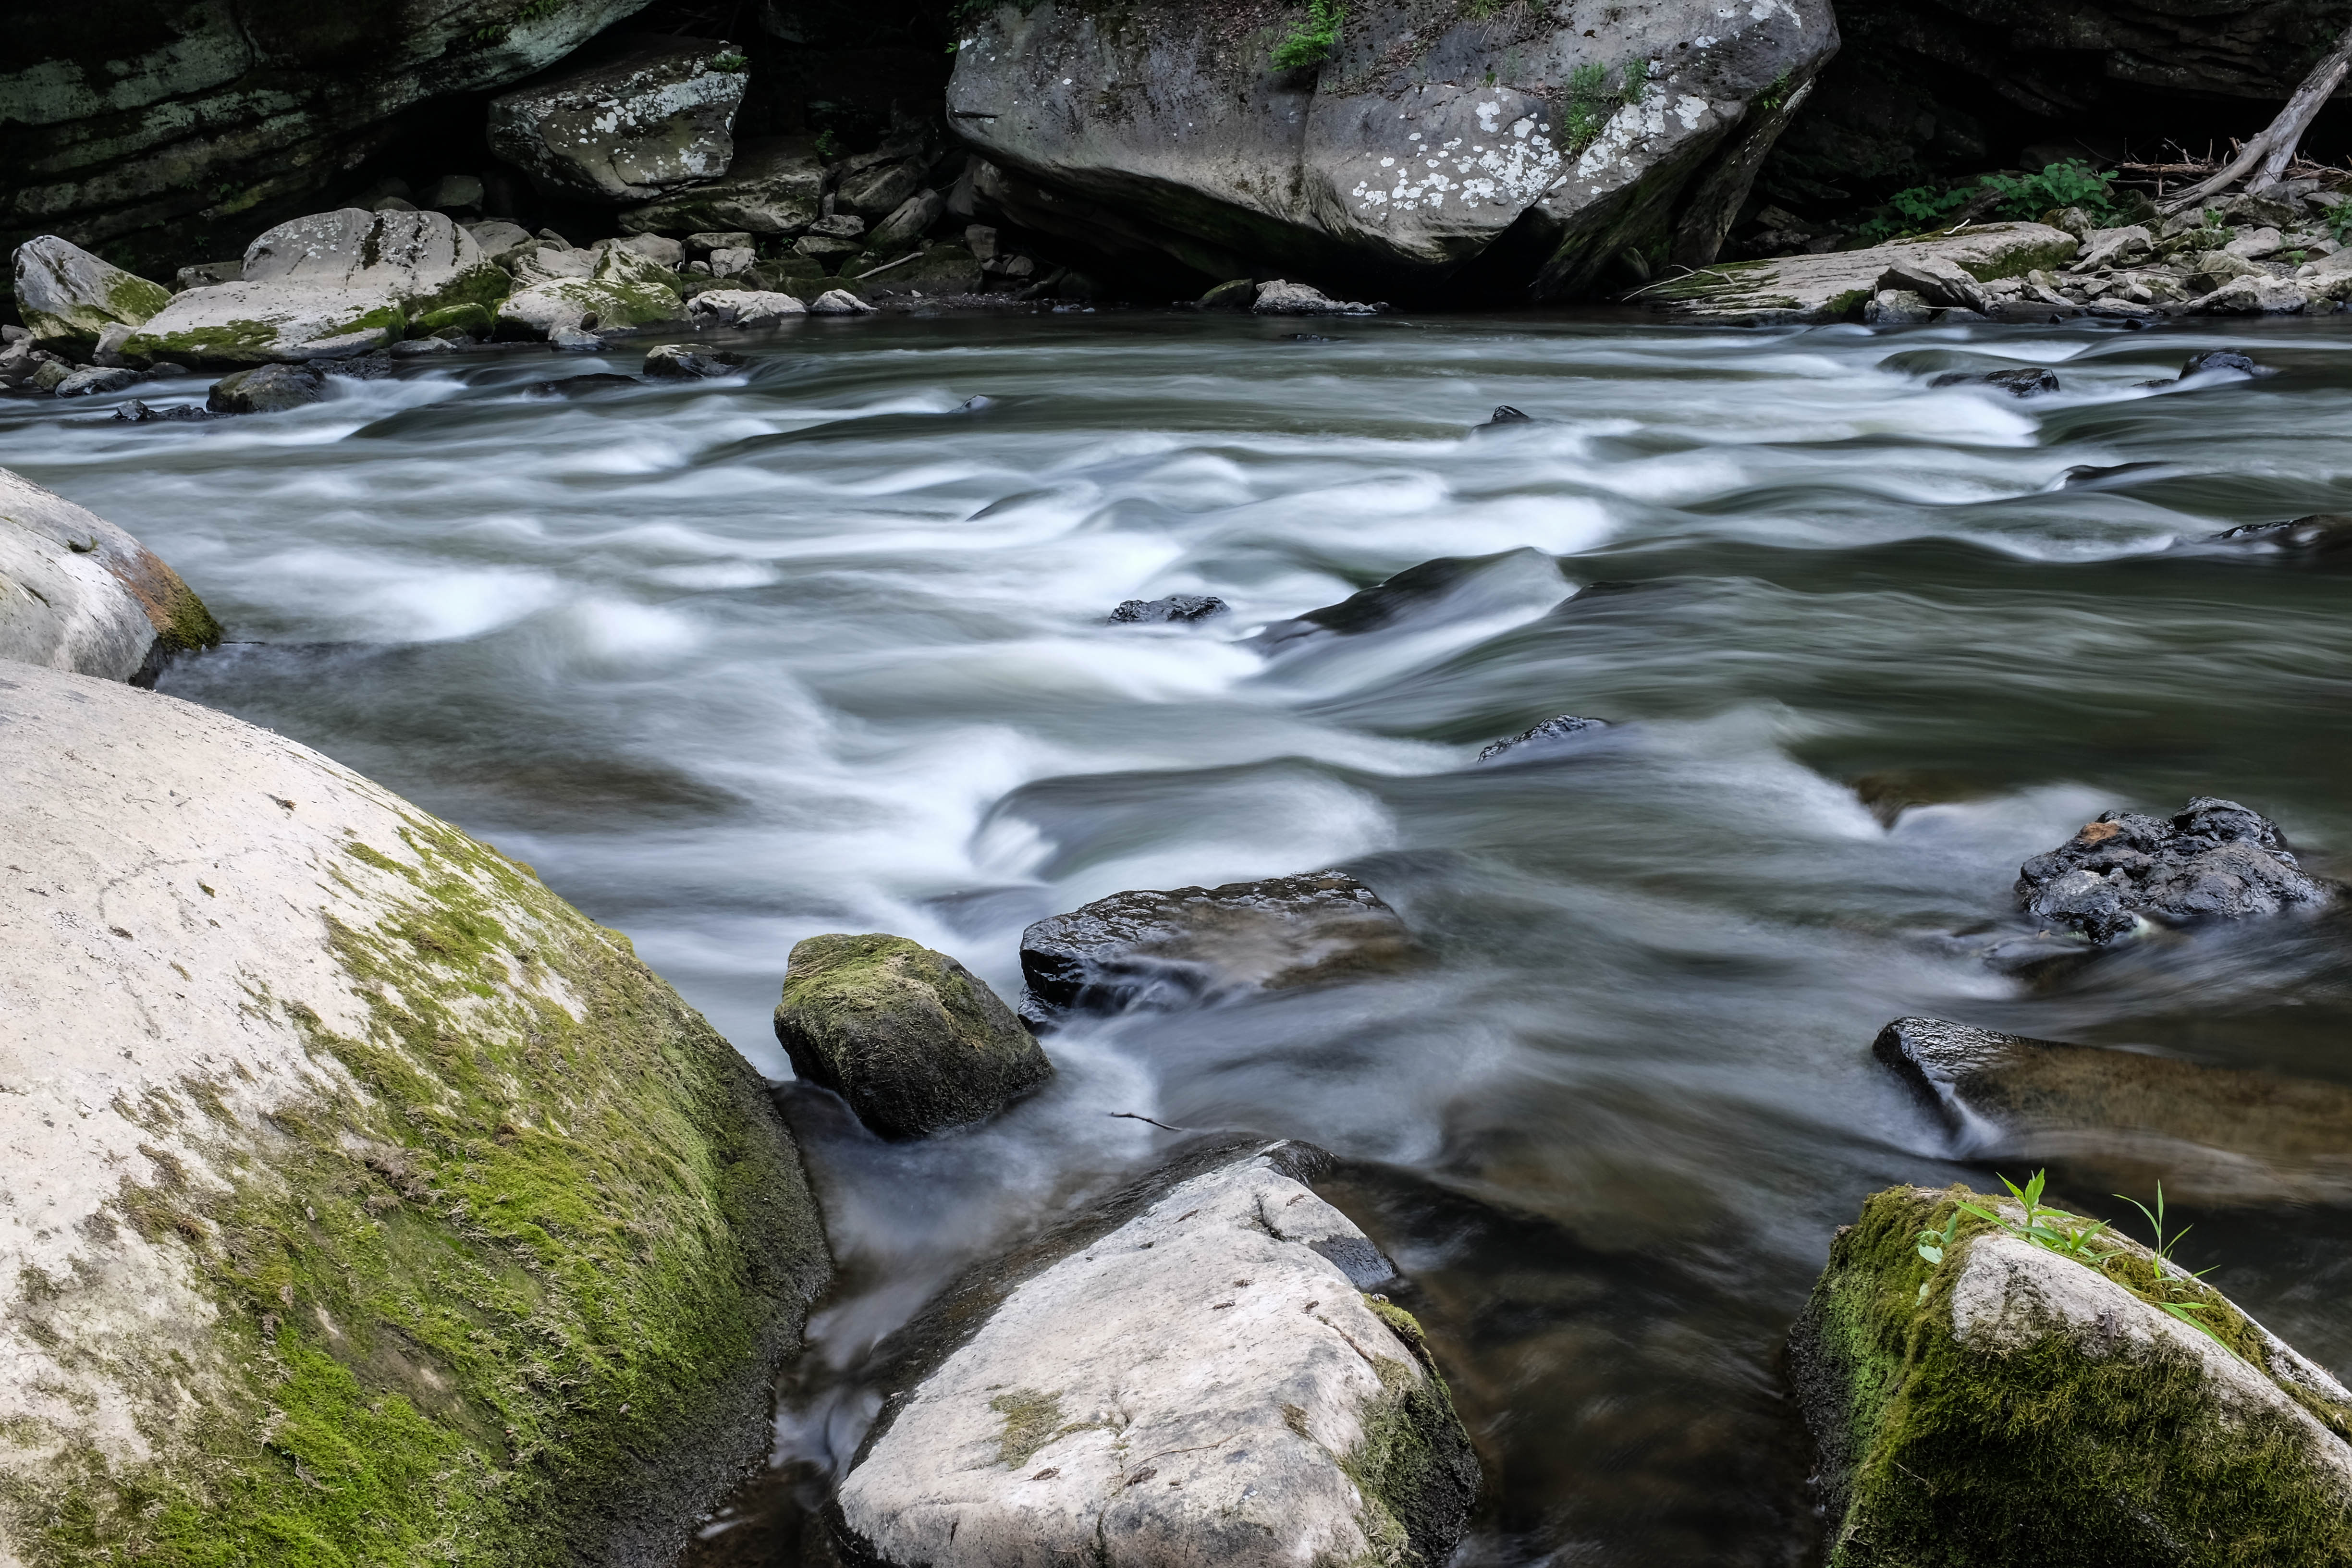
Neutral Density filter used to give the water the look of silk or snow. It allows the shutter to stay open for longer periods of time without over exposing the image.
There are a couple types of ND filters, the graduated type and just a straight ND filter. On top of that, there are different variations of each, some are darker and some are lighter. You can use a graduated ND filter (half is dark and then gradually lightens clear) to darken a sky at sunset so that you don’t lose detail under the horizon or you could use the ND filter (entire filter is darker) to darken a scene so you can slow your shutter speed down and blur movement (like in the photo above).
For more on lens filters read my guide to camera lens filters.
Specialize
When you start out in photography it’s important you try a little bit of everything. Even if you’ve been photographing for years and years it’s still important to try new things that you may not have done in the past to improve the photography you like to do.
Recently I spoke with a friend who is creating a magazine for a product launch. I was asked to look at some photographs the professional photographers took and give him an honest opinion. Unfortunately, I knew what I would see even before I looked at it, you could see the disappointment in his eyes. I think he was looking more for an explanation as to why this could happen as opposed to confirmation that the photos were useless. And the photos were useless.
You see, the photos were not just shots of a product in a light tent, the client wanted the photographer to set the mood with the background as well as capture the product in use. Not necessarily an easy thing to do and, sadly, the photographer was unable to do either well. Some shots had the photographers shadow in them while others were useless because the product was not in focus (the photographer botched his aperture settings). You could tell the photographer was used to doing portraiture or wedding photography and not landscape or product photography. This was out of his or her realm and unfortunately they will continue to churn out crap until they come to the realization that it’s not their specialty.
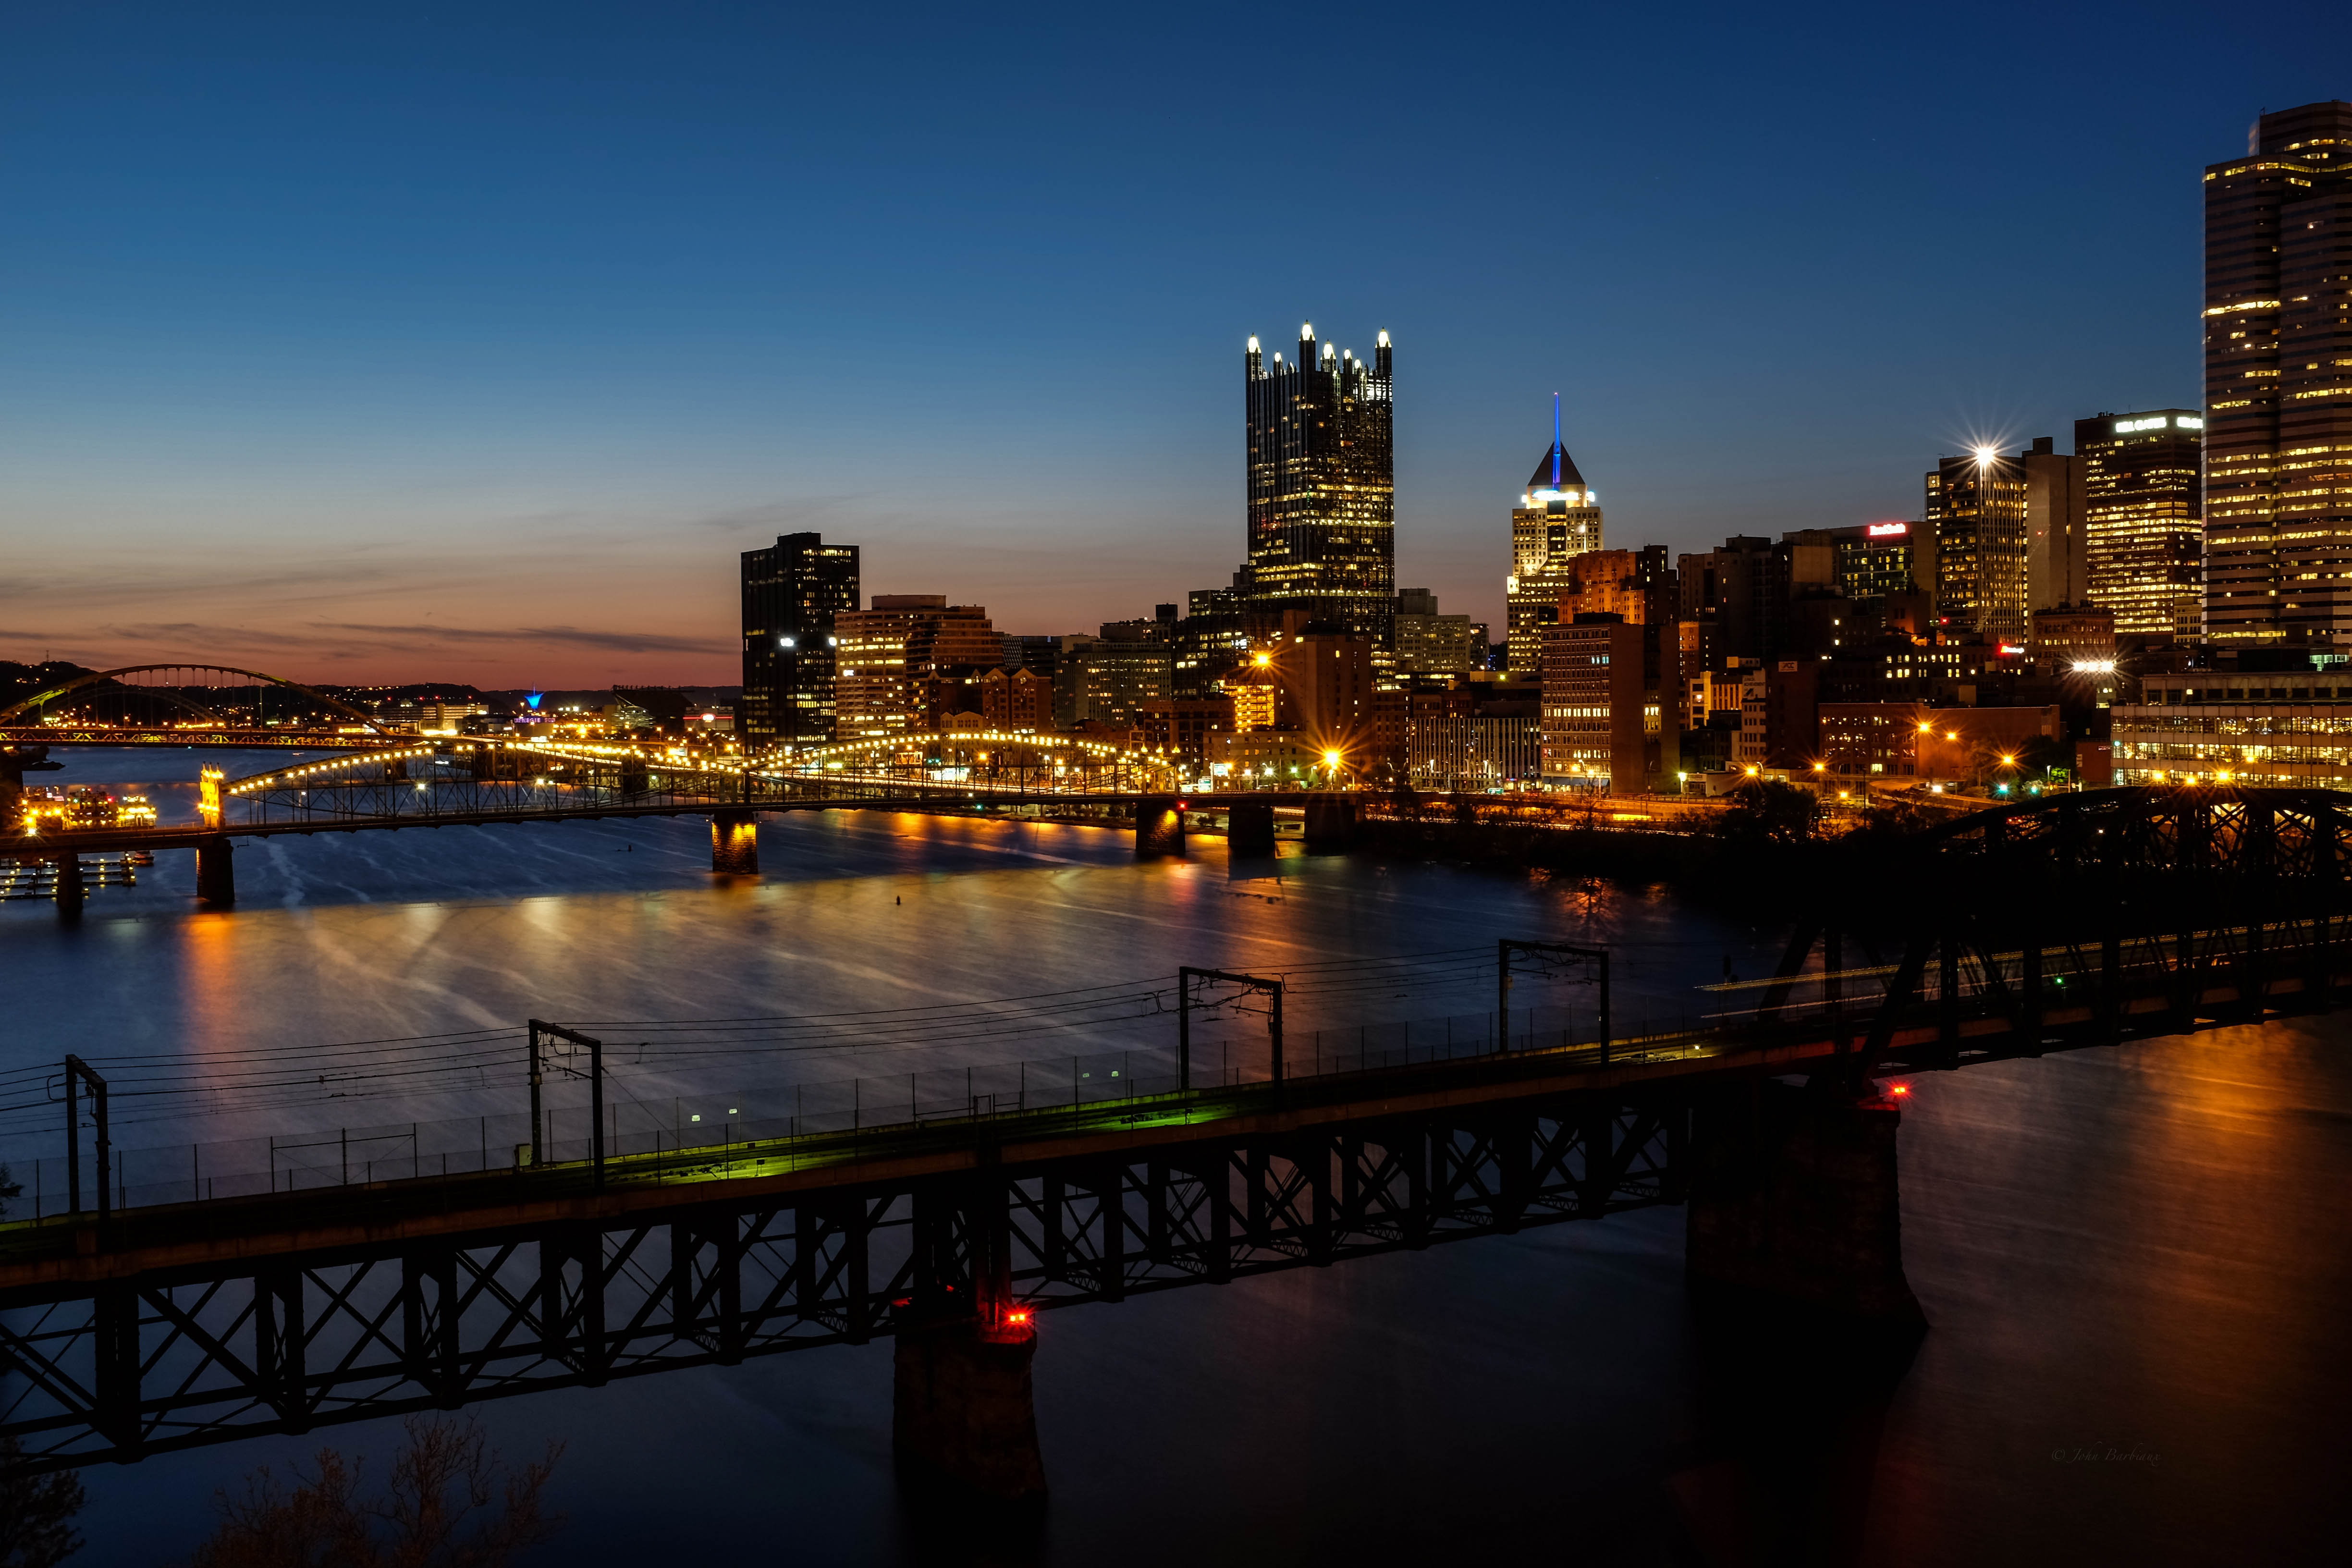
Finding my niche took more than a year. I find the most enjoyment photographing at night and doing long exposure photography.
Shoot all types of photography, try new things every time you go out with the camera. The more you try the better you’ll get. Once you’ve tried everything you can look back and see what you had the most fun shooting and what you feel came out the best. After you find your specialty focus on improving your abilities until you are able to capture photographs you feel are of professional caliber. Always challenge yourself to try new things and learn all you can, it’s the only way you’ll ever excel.
Follow PhotolisticLife for weekly photo tips, challenges, and quarterly contests by clicking the follow button on the bottom right of your screen.