
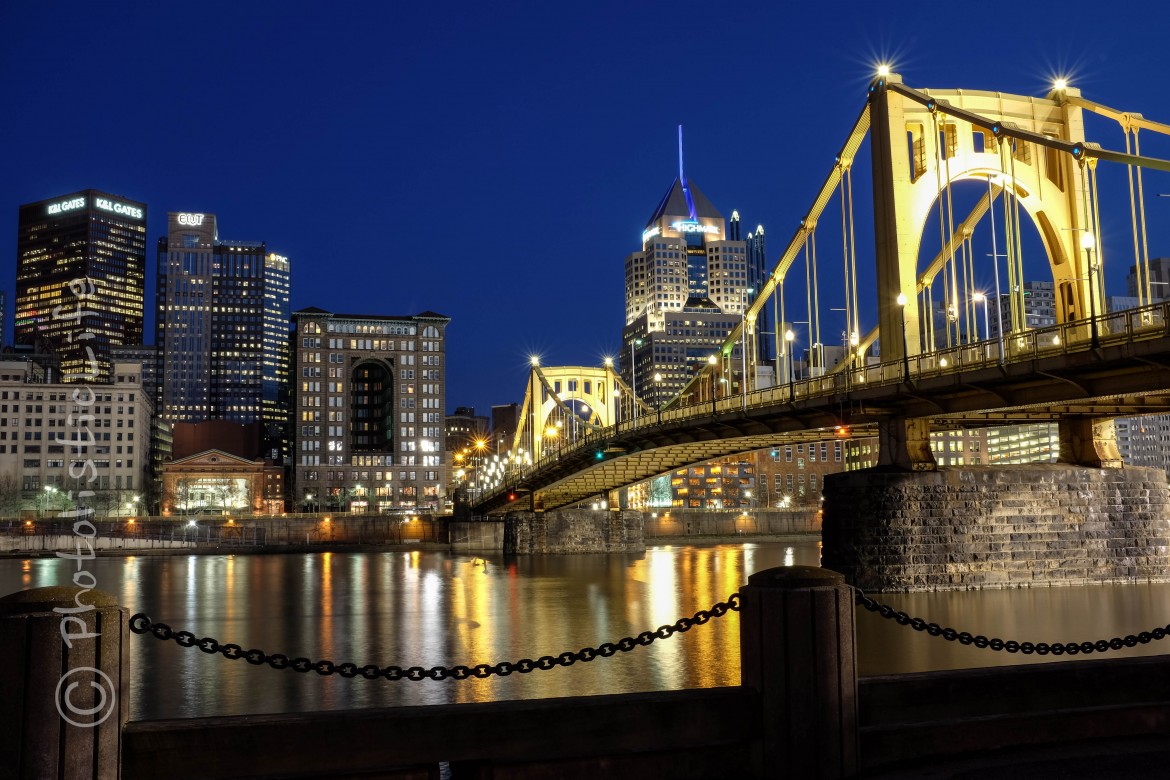
Pittsburgh Reflections (ISO 200, 23mm, f/14, 25 sec)
Photography is fantastic, it can be the most rewarding hobby and profession for some. While for others it can be disappointing and frustrating when your images don’t look like the ones you see on the internet or in the magazines. The truth is, anyone can take professional looking photographs. I’m not saying someone is going to pay you hundreds of dollars for your photography after you read this. I’m not a magician… anymore. What I will show you are some quick ways to squeak the most out of your photography as possible, making it stand out compared to the millions of other photographs floating around the internet.
Processing
Before I continue I feel as though I should put a disclosure in here… I’m not a fan of processing an image for a longer period of time than it actually took to take the image. Everything I’m going to show you has been processed very slightly, with a maximum adjustment time of 30 seconds. Processing is not the only trick though, read on.
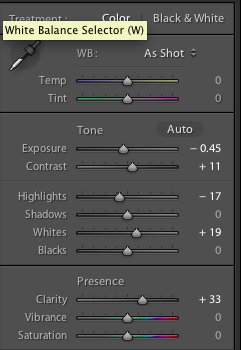
The photograph at the top of the page was taken with the Fujifilm X100S and processed using Adobe Photoshop Lightroom 4
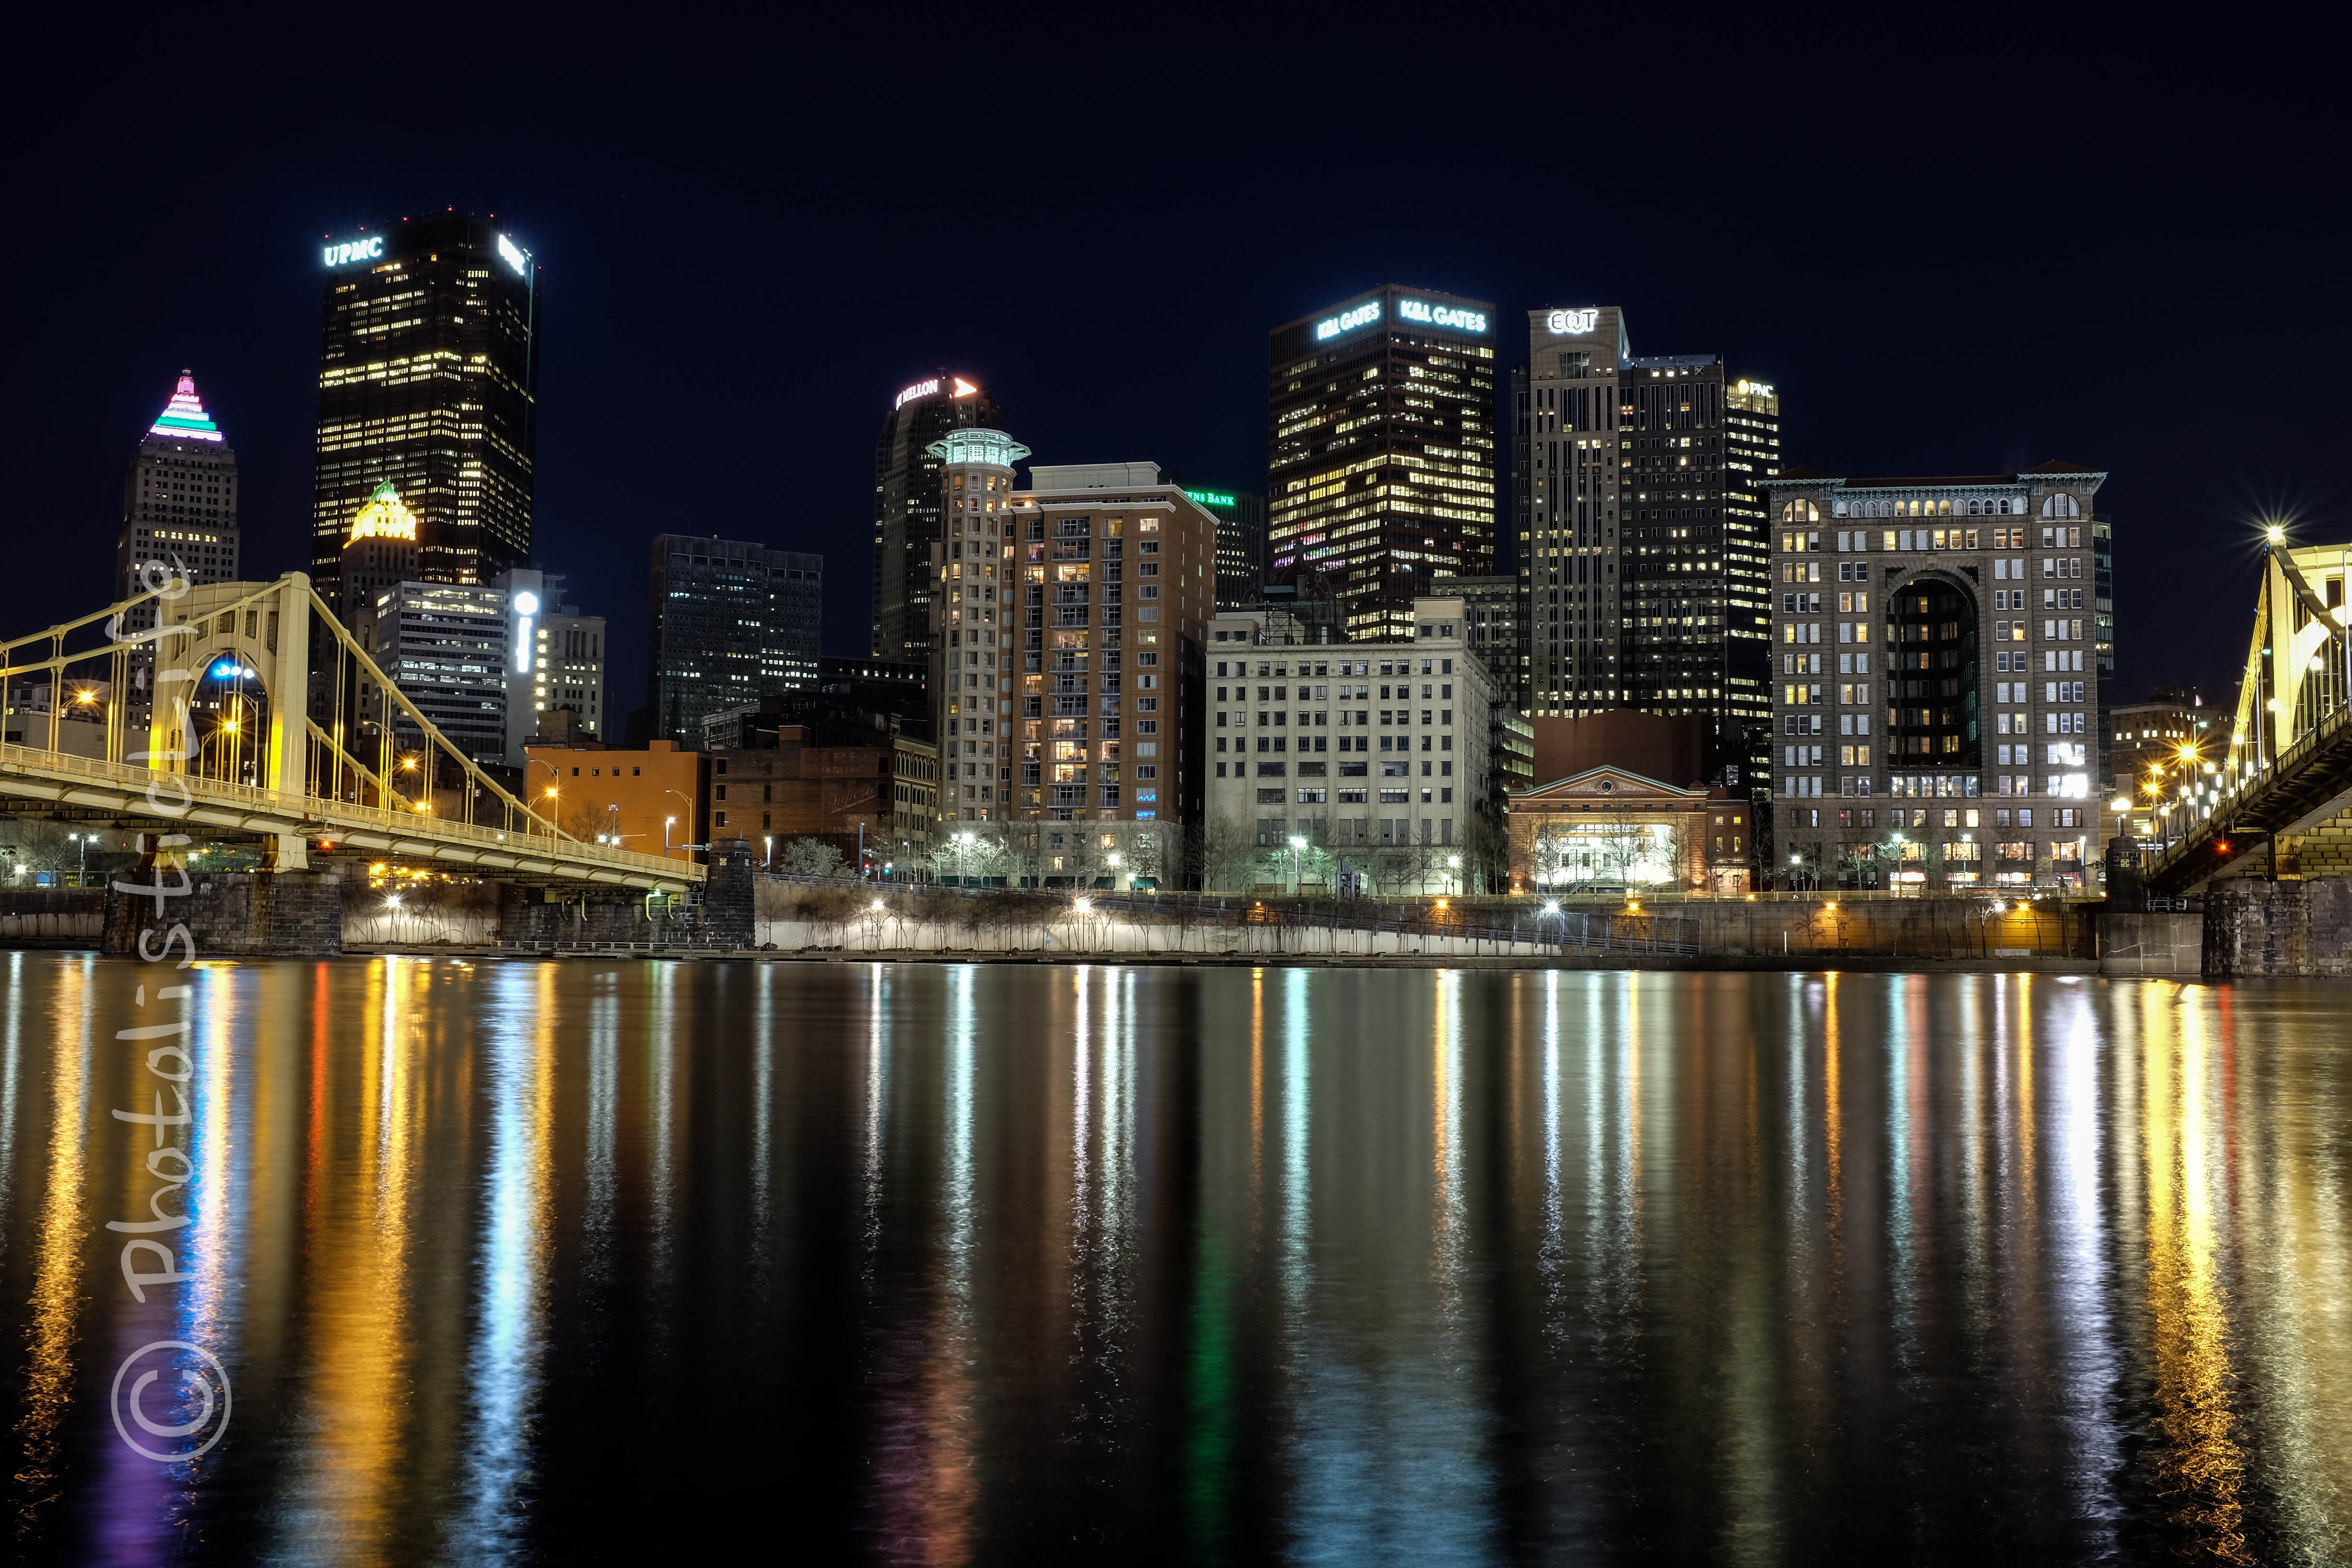
, one of the easiest programs to process images I’ve found. The settings above were the only adjustments made to the photograph and the photo below was the original photograph right off the camera.
Notice a big difference? The original image is a little bright with some highlight clipping on some of the lights on the buildings (hence the adjustments to the highlights slider) but that’s about all without getting in and scrutinizing each individual pixel.
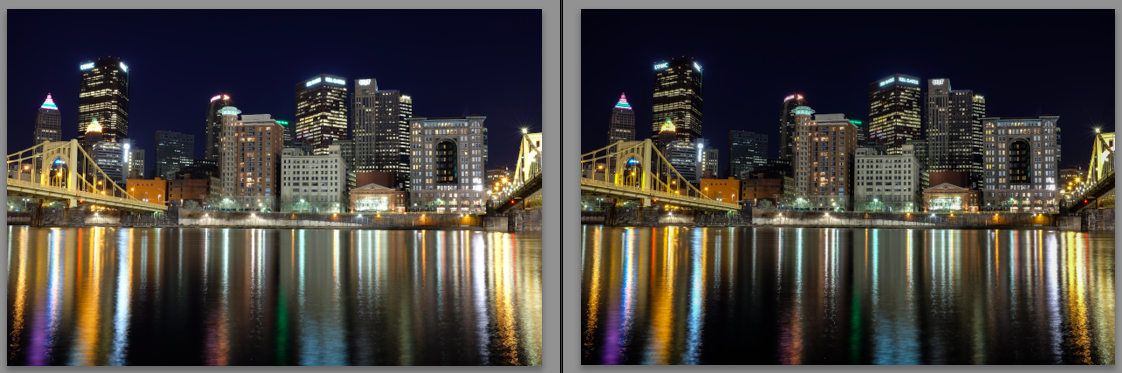
Before/After
Other than processing there are few key things you need to know to take your photographs from poor to pro quality.
Gear
…gear doesn’t matter if you don’t know how to use the gear you already have.
Whoever said that gear does not matter never used great gear. I’ve shot with everything from old Polaroids to D800’s and I can confidently tell you gear matters, it’s not the end all of great photography but it will make a difference. How about this, gear doesn’t matter if you don’t know how to use the gear you already have. Seem like a fair statement?
You don’t need to run out and grab the most expensive camera you can find. Chances are, if you own a DSLR, your camera is perfectly capable of producing professional quality photographs. I would recommend you invest in quality lenses, the glass you put in front of your camera will make or break the quality of your photography. Next, use your freaking tripod. Can’t afford one? Then tape your camera to a tree, set it on a rock, or make it float with scien-freakin-tology.
Knowing how to use the manual settings on your camera, when to turn off image stabilization (when using a tripod), and how to adjust your white balance are all requirements if you expect to take professional looking photographs. This site is full of tutorials as is the entire Google universe, you don’t need to buy a book or take a class to learn the basics of using manual settings on your camera.
Composition
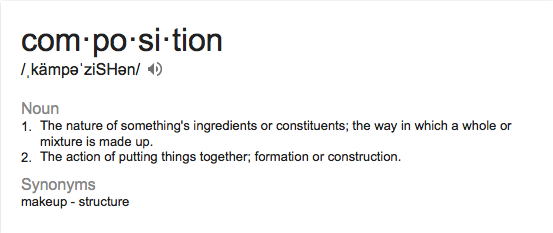
Definition courtesy of Google
Composition is the glue that keeps all the ingredients to getting professional looking photographs together. Using leading lines, reflections, the rule of thirds, and every other compositional element will increase the quality of your photographs ten fold (a lot). You can read some tips on composition here.

I don’t know many photographers who can walk up to a scene like this, set up their tripod, snap a photograph, and walk away happy (though there are some). Composition takes some practice and you will likely have to spend the greater part of your time photographing just moving a foot to the right, a foot higher, a foot lower, and every other direction to get the shot that will attract the most interest. Spend some extra time next time you see something interesting and really try to isolate what it is that attracted you to the scene and then use compositional elements like leading lines and reflections to draw the viewers eyes there.
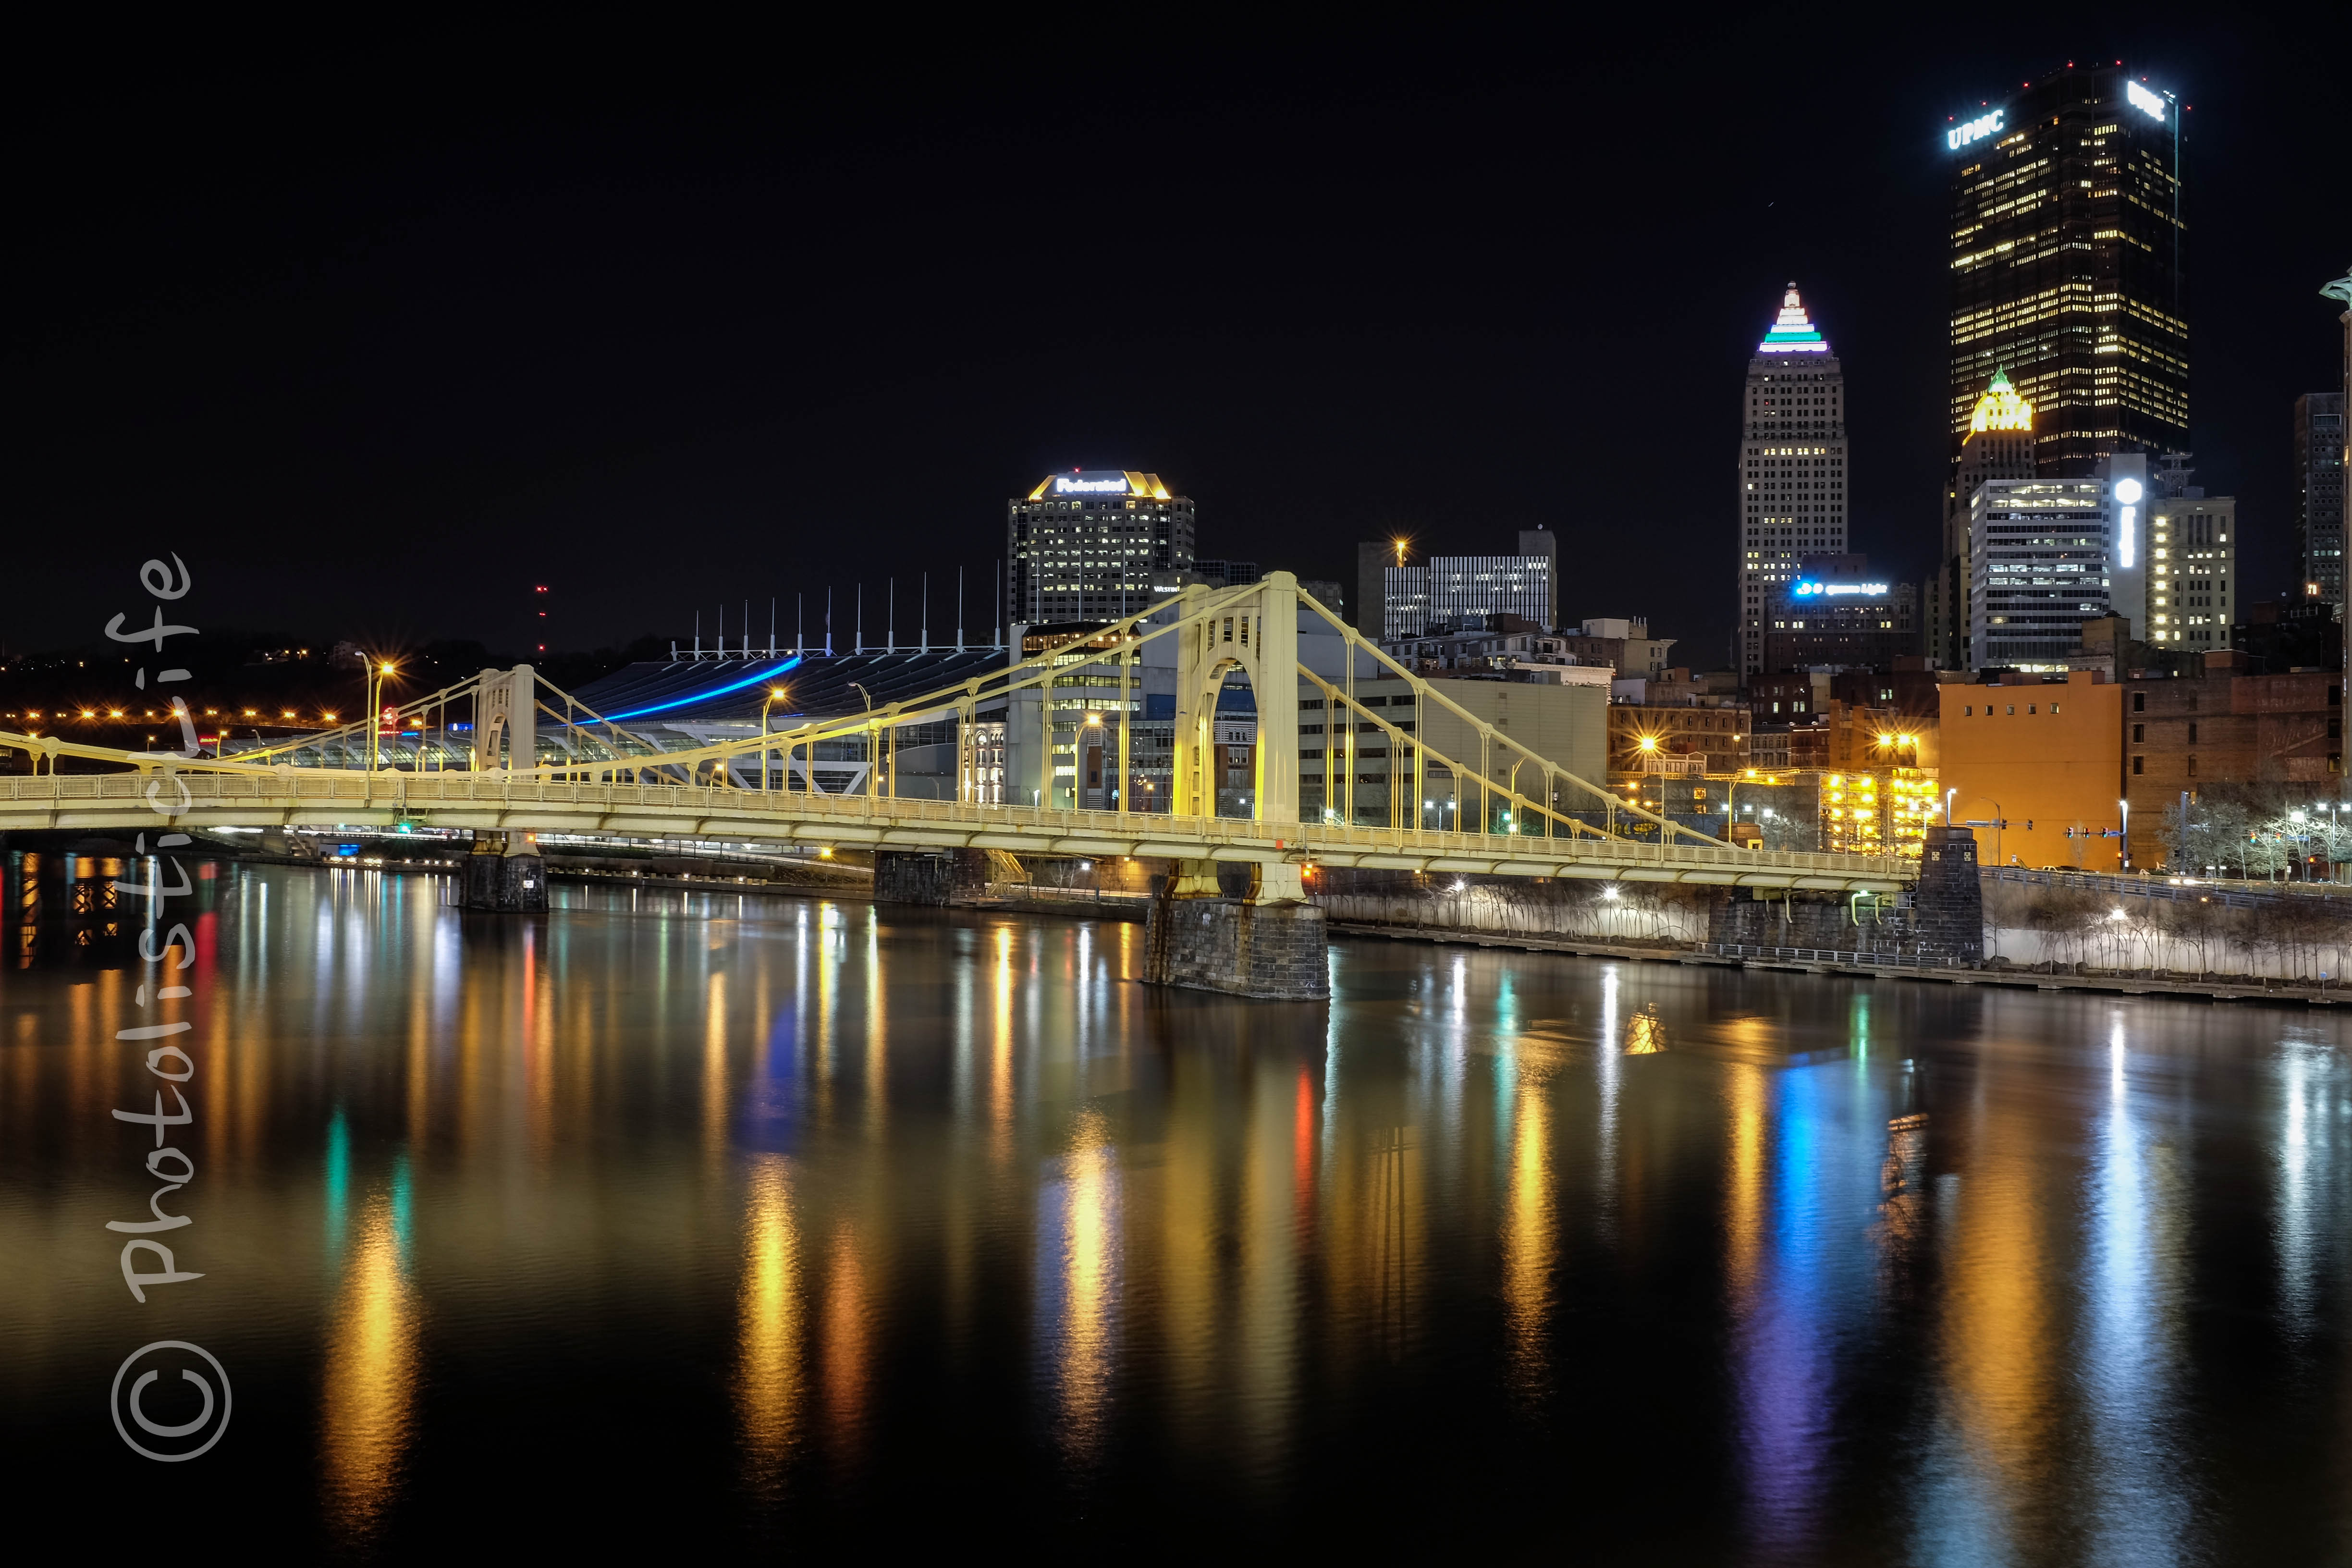
Try to visualize how you’d like your final photograph to look. Do you want the reflections on the water to stand out? Then you may want to move the direction of your camera down so that you capture more of the water and less of the sky line. What about the image below? The subject of interest is the baseball stadium, so you’d expose for the bright lights of the stadium and leave the bridge underexposed (hopefully you could pull some shadows out in post processing) otherwise the bridge would be properly exposed but the bright lights in the stadium would blow out detail and you’d be left with a bright blob of light. These are all things you need to think of before you ever press the shutter button.

Composition, Gear, and Post Processing. These all seem like fairly common sense things but when you put them all together you can create truly amazing photographs. Processing your photographs are a necessary evil if you decide you want to compete with the professional photographers out there (though less is needed if you know how to use your camera properly).
Wondering if your photography is pro quality? One of the best ways to find out is to participate in photo contests. Check out PhotolisticLife’s photo contest and put your photography skills to the test.